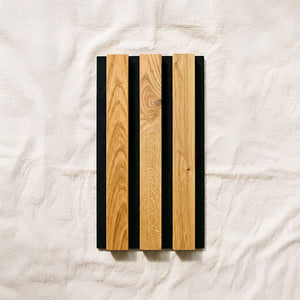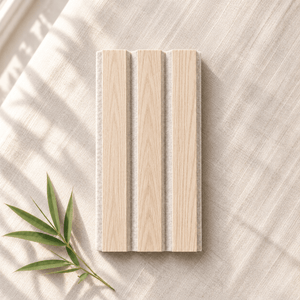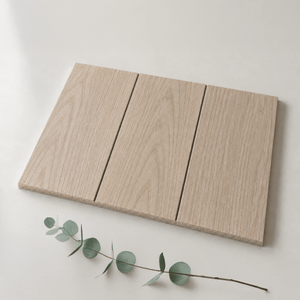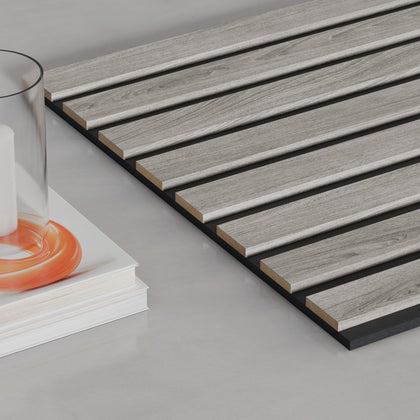





 Ultralight
 TrueWood Lite
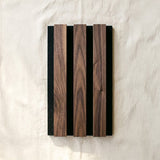
 Solid Oak & Walnut
 Solid Bamboo
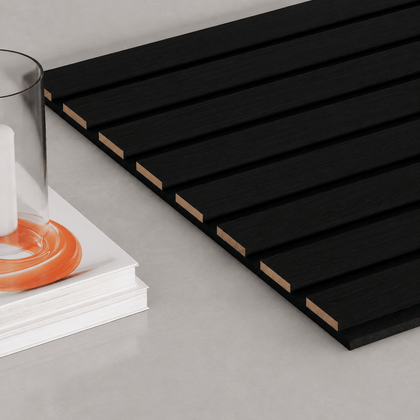
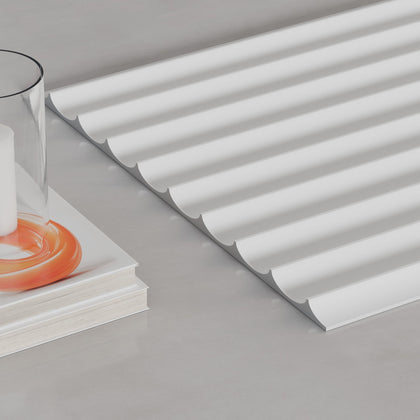
 Paint-Ready


How sound works · 7 min read
Wood slat ceilings and walls for camper vans and RVs
Why van and RV builders choose ULTRALIGHT for ceilings and walls: 9mm thin, light, flexible and soft overhead. Plus how to install it on furring strips or plywood.


Shop by color
Product lines
By ceiling height
Not sure where to start? Most people begin with samples.
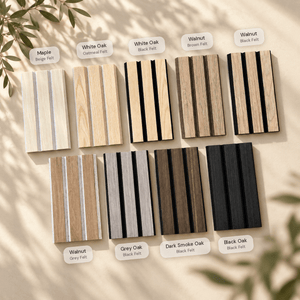
 Start hereEvery Ultralight finish9 samples · save $5.91
//Slatted · The Slats.co journal
Guides, room ideas and straight answers about slat walls: how they’re made, which one fits your room, and how they go up.

How to install Step by step, from the first panel to the last.
Start here
Five posts that answer most questions before you buy, cut or hang a thing.
Every cut, screw, corner and outlet, for every Slats line: the way we’d do it ourselves.
Read the guideIntroduction Choosing the right acoustic treatment for your space can be challenging, especially when faced with...
Read the guideWhen it comes to enhancing the aesthetics and acoustics of a space, acoustic wood slat panels...
Read the guideIntroduction Once you've made the investment in wood slat acoustic panels, it's important to know how...
Read the guideEvery post is written by the people who make the panels, from real installs and the questions customers actually ask, so you get straight answers before you buy, cut or hang a thing.
New to slat walls? Start with the install guide. Working on a commercial job? Our trade team can help with quantities and samples.
All posts
14 posts
How sound works · 7 min read
Why van and RV builders choose ULTRALIGHT for ceilings and walls: 9mm thin, light, flexible and soft overhead. Plus how to install it on furring strips or plywood.
Rooms & ideas · 2 min read
A home cinema can be the ultimate leisure space for movie lovers. However, the room's acoustics play a significant role in the overall...
Rooms & ideas · 2 min read
Open-plan offices have gained popularity for fostering collaboration and efficient use of space. However, they come with a significant drawback—noise pollution. This article...
Rooms & ideas · 2 min read
The ambiance of a fine dining restaurant goes beyond the aesthetics and the quality of food—it also includes the acoustic environment. Unwanted noise...
Care & materials · 2 min read
As the conversation around climate change and sustainability grows louder, consumers are increasingly looking for eco-friendly options in every aspect of life, including...
How sound works · 2 min read
Wood slat panels soften echo and reverb inside a room. Here is how the felt, the gaps and the wood work together, and why they are not soundproofing.
How sound works · 2 min read
Our slat panels are not fire rated. Here is who usually needs a rating, how to check before you order, and what to do around a fireplace or stove.
Care & materials · 2 min read
Once you've made the investment in wood slat acoustic panels, it's important to know how to maintain them to ensure they remain effective...
Installation · 2 min read
You’ve made the decision to improve your room's acoustics and visual appeal with wood slat acoustic panels—a smart choice. However, determining where to...
Buying guides · 2 min read
Choosing the right acoustic treatment for your space can be challenging, especially when faced with various material options like wood slats and foam....
Buying guides · 3 min read
When it comes to enhancing the aesthetics and acoustics of a space, acoustic wood slat panels are a popular choice. However, deciding between purchasing...
Installation · 16 min read
Every cut, screw, corner and outlet, for every Slats line: the way we’d do it ourselves.
Care & materials · 2 min read
Wood slat acoustic panels have emerged as a go-to solution for enhancing both aesthetics and acoustics in interior spaces. These panels not only elevate...
Buying guides · 10 min read
ULTRALIGHT, TrueWood Lite, Solid or Paint-Ready? Compare the four Slats lines side by side, then answer five quick questions to find the wall panel that fits your room.
No posts match. Clear filters
Plan your wall
Enter your wall width and pick your ceiling height. We’ll work out the boxes and price for each line (shown in white oak).
Volume discounts available on 9, 10 and 12 ft panels.
Rounded up to whole boxes for one wall at full panel height. Add a box if you'll cut around windows or doors.
See the difference
Reading is one thing. Order samples of each line and compare the real wood and felt on your own wall.
Shop all samplesInstallation
Pick your line for the steps, or download the full guide as a PDF.
Trim-head screws, adhesive or both
Measure the wall and work out how many boxes you need. Start at the most visible corner and draw a plumb line.
Trim-head screws through the felt in the outermost groove at each edge, rows no more than 30″ apart (a bugle or pan head is too wide and sits proud). Or construction adhesive, or both.
Each end carries half a V-groove. Push until the 45° chamfers seat and the two halves close into one full groove that matches the rest. No lip, no overhang.
No rigid core, so Ultralight bends across the slats around curves and columns. Use adhesive and start from the tightest part of the curve.
Construction adhesive only
Measure the wall and work out how many boxes you need. Start at the most visible corner and draw a plumb line.
One continuous S-bead on the felt back, about 2″ in from every edge. Adhesive only: a screw head is wider than the 3mm reveal.
Each edge has a 1.5mm chamfer, so two panels close into one 3mm shadow reveal. If a join looks wider than the rest, push until the chamfers seat.
Finishing nails pin a panel while the adhesive takes. The head seats down in the reveal and disappears.
Acclimate, then adhesive, screws or both
Unbox and lay the panels flat on the floor of the room they're going in, out of the packaging and away from direct sun and heat. Don't stand them on end.
Each panel has a bare felt lip on one edge and an overhanging slat on the other. Face every lip the way you're working.
Construction adhesive, or #6 screws (1–1.5″, trim-head for the cleanest look) through the felt in the second gap in from each edge, rows no more than 24″ apart. Or both for extra hold.
Lower each new panel so its overhanging slat drops over the last panel's felt lip. The felt butts flush and the gap at the join matches the gaps between slats.
Acclimate, then adhesive, screws or both
Unbox and lay the panels flat on the floor of the room they're going in, out of the packaging and away from direct sun and heat. Don't stand them on end.
Each panel has a bare felt lip on one edge and an overhanging slat on the other. Face every lip the way you're working.
Construction adhesive, or #6 or #8 screws (1.5–2″, trim-head) through the felt in the second gap in from each edge, rows no more than 24″ apart. Or both for extra hold. Save the flattest panels for the most visible spots.
Lower each new panel so its overhanging slat drops over the last panel's felt lip, so the gap at the join matches the gaps between slats.
Put construction adhesive behind the panel and drive a trim-head screw through the felt gap right beside the bowed slat, into a stud or solid backing. Brace it while the adhesive cures.
Hold the panel back 13mm at an outside corner and 6.5mm at an inside corner.
Glue, press, nail, then paint
Give the boxes a day lying flat in the room. Measure the wall and work out how many boxes you need.
Lay the panel face-down and run one continuous S-bead down the back, about 2″ in from every edge. It goes straight onto drywall, plaster or timber, no battens.
Press it to your plumb line and brace it until the adhesive grabs. Slat profile: hang every panel the same way round, or the joins will show. Ridge and Valley can go either way.
Finishing nails into the low point of the profile, never a face or a peak. Set the heads, fill and sand flush. Fill and sand Valley joins too.
Two thin coats. Spray is best. On Valley, brush the scoops first, because a roller bridges them.