







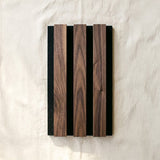

 Ultralight
 TrueWood Lite
 Solid Oak & Walnut
 Solid Bamboo
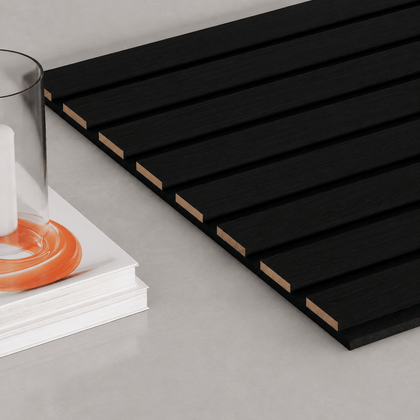
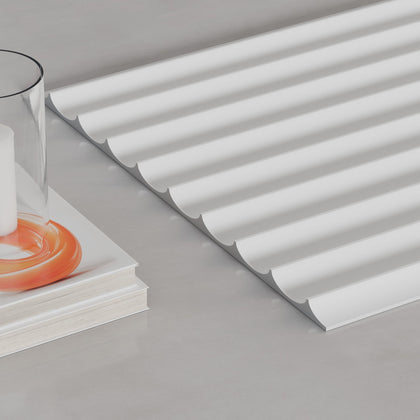
 Paint-Ready

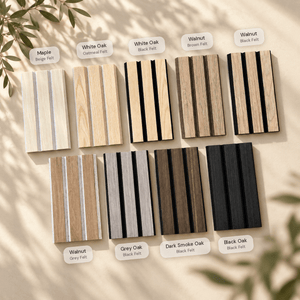
Shop by wood
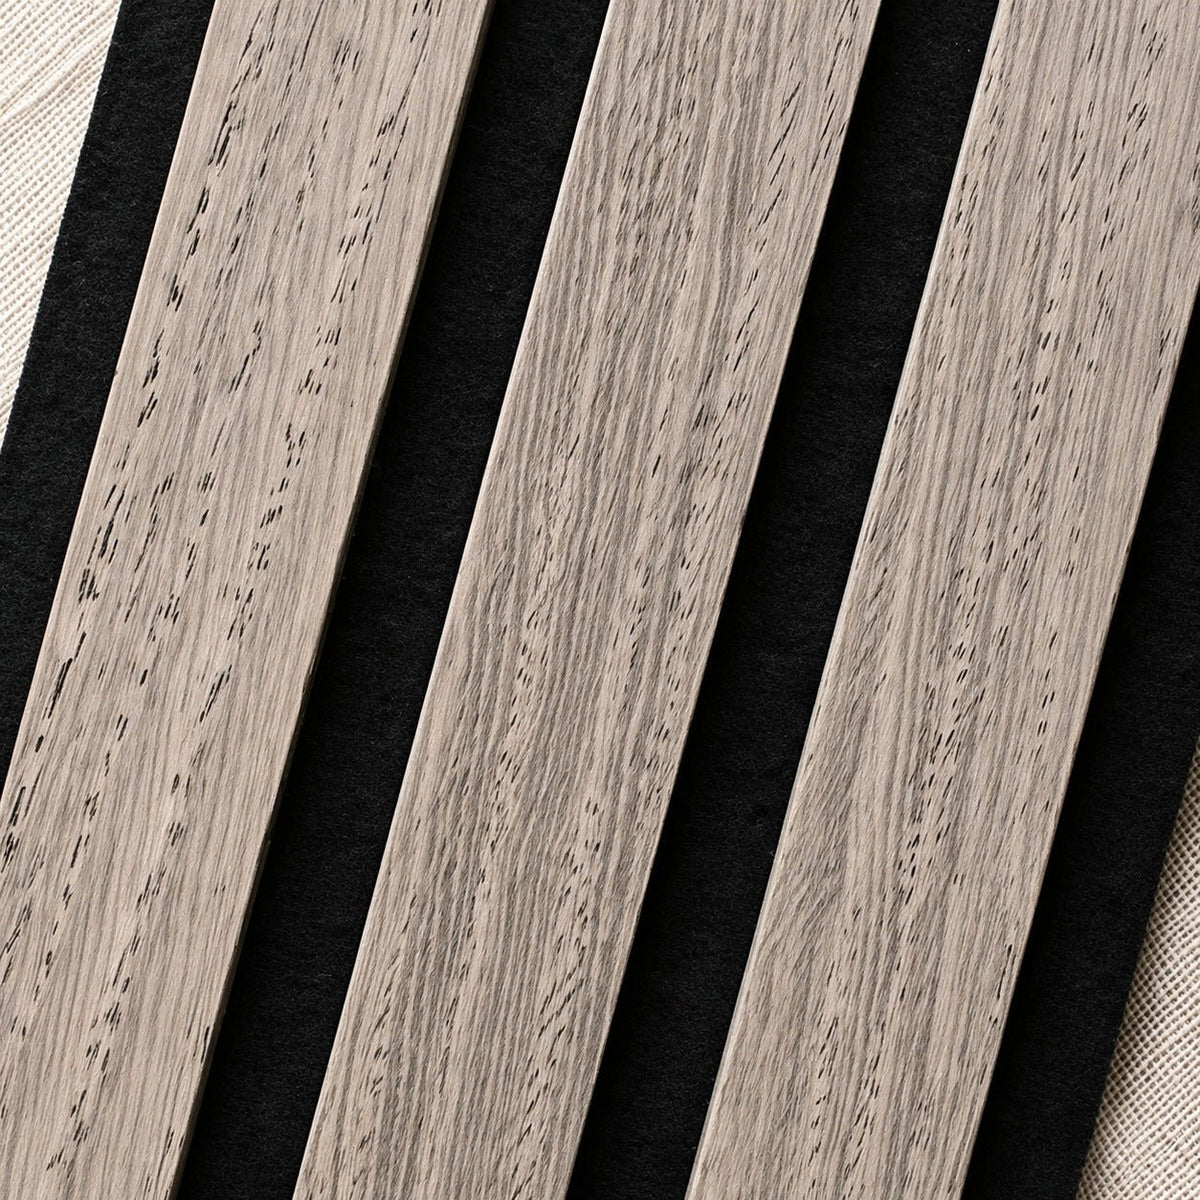
Grey Oak Slat Wall Panels
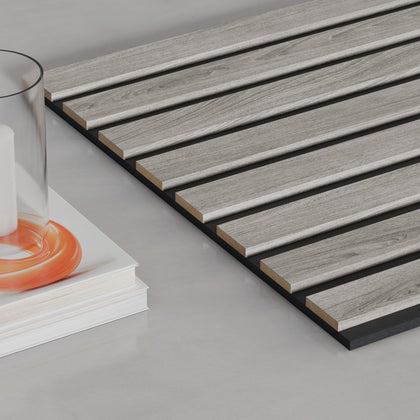
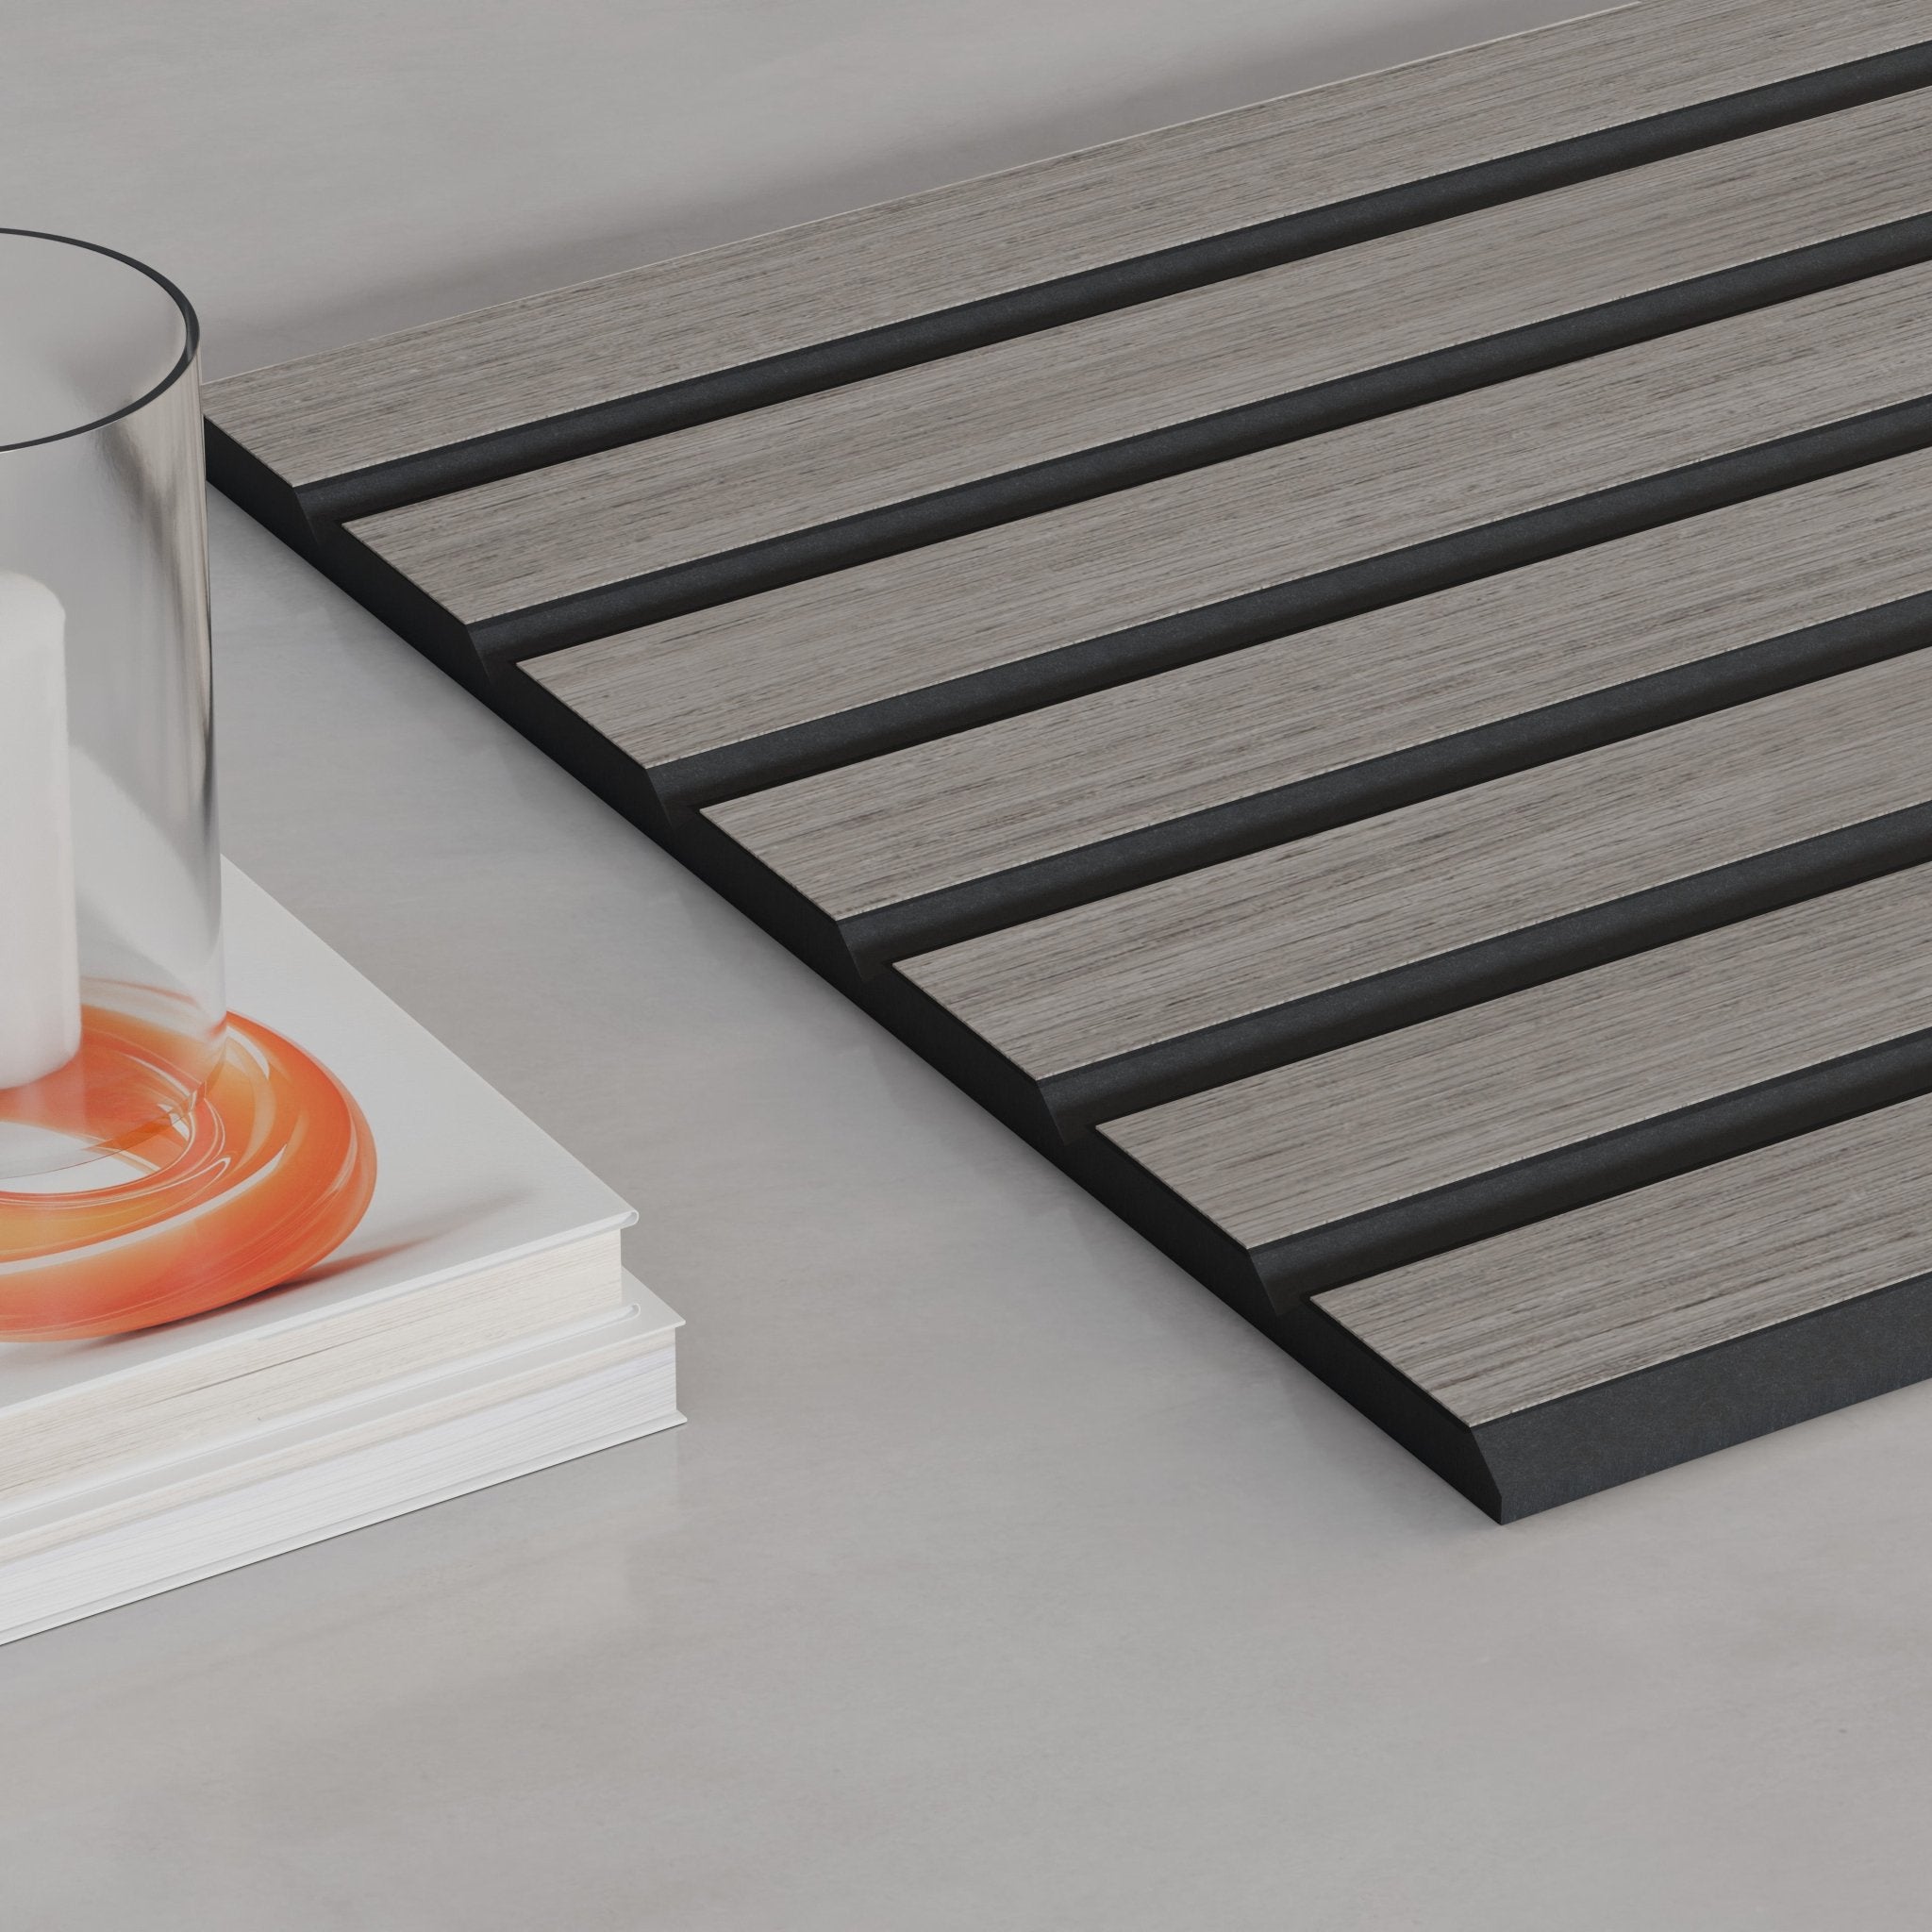
Two ways to get grey oak: the light, flexible grey oak tone of Ultralight, or individual slats wrapped in real oak veneer on TrueWood Lite.


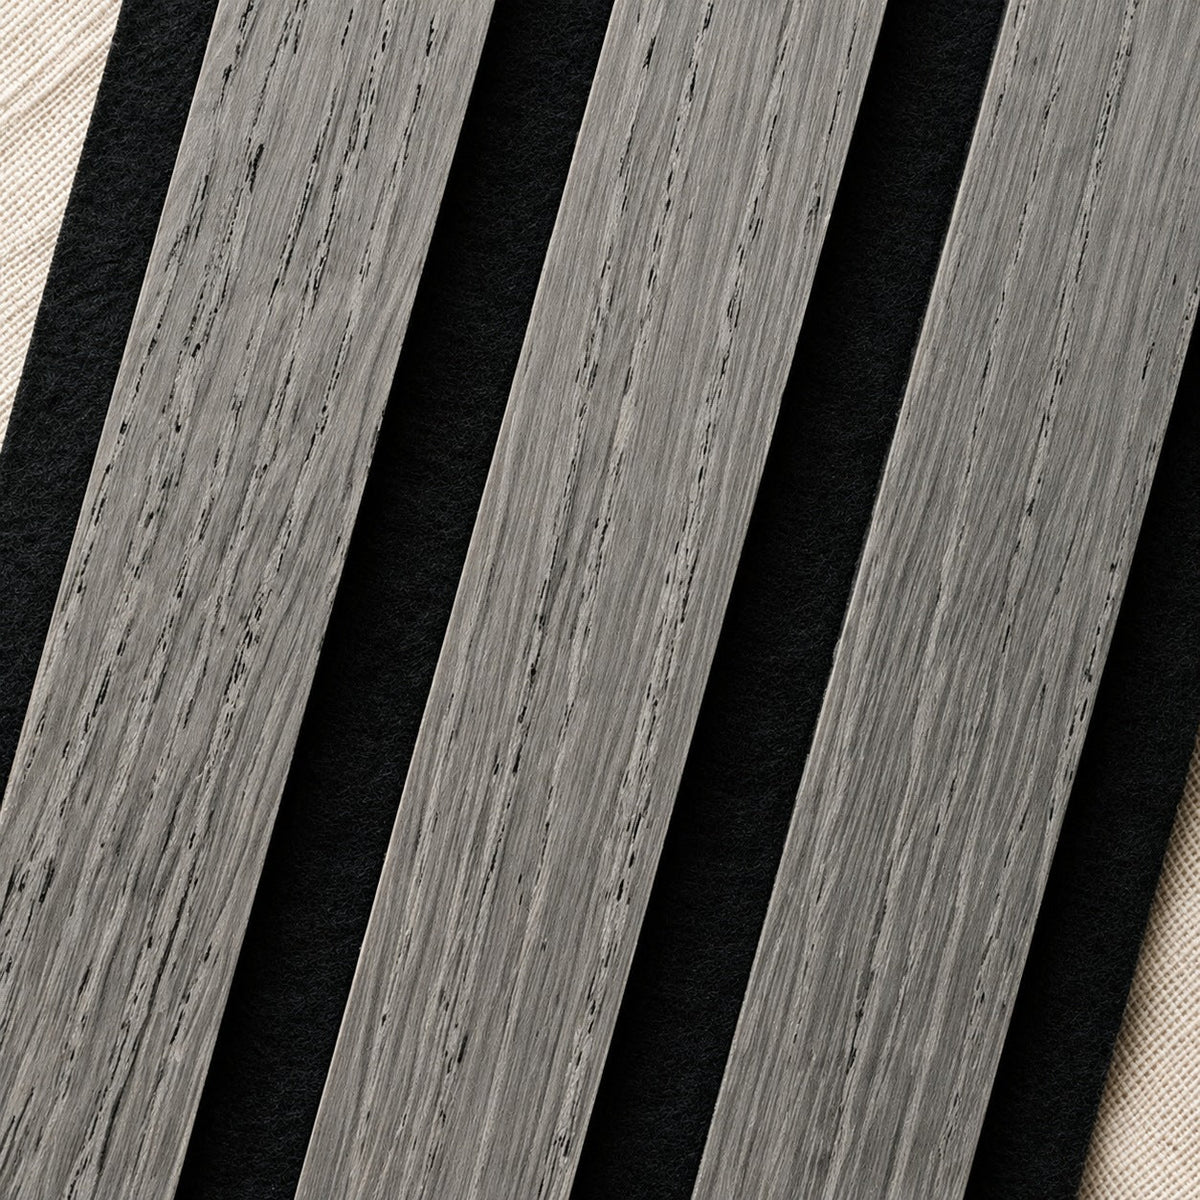
Soft grey A cool, driftwood-grey oak that keeps an entry bright and calm.
3 grey oak options
Compare grey oak slat panels
Every grey oak panel side by side, to scale, plus TrueWood Lite in Dark Grey Oak for a deeper tone.
Ultralight Slat
Real wood veneer stained a grey oak tone, on 9mm felt. It bends.
Shop Ultralight Slat
TrueWood Lite
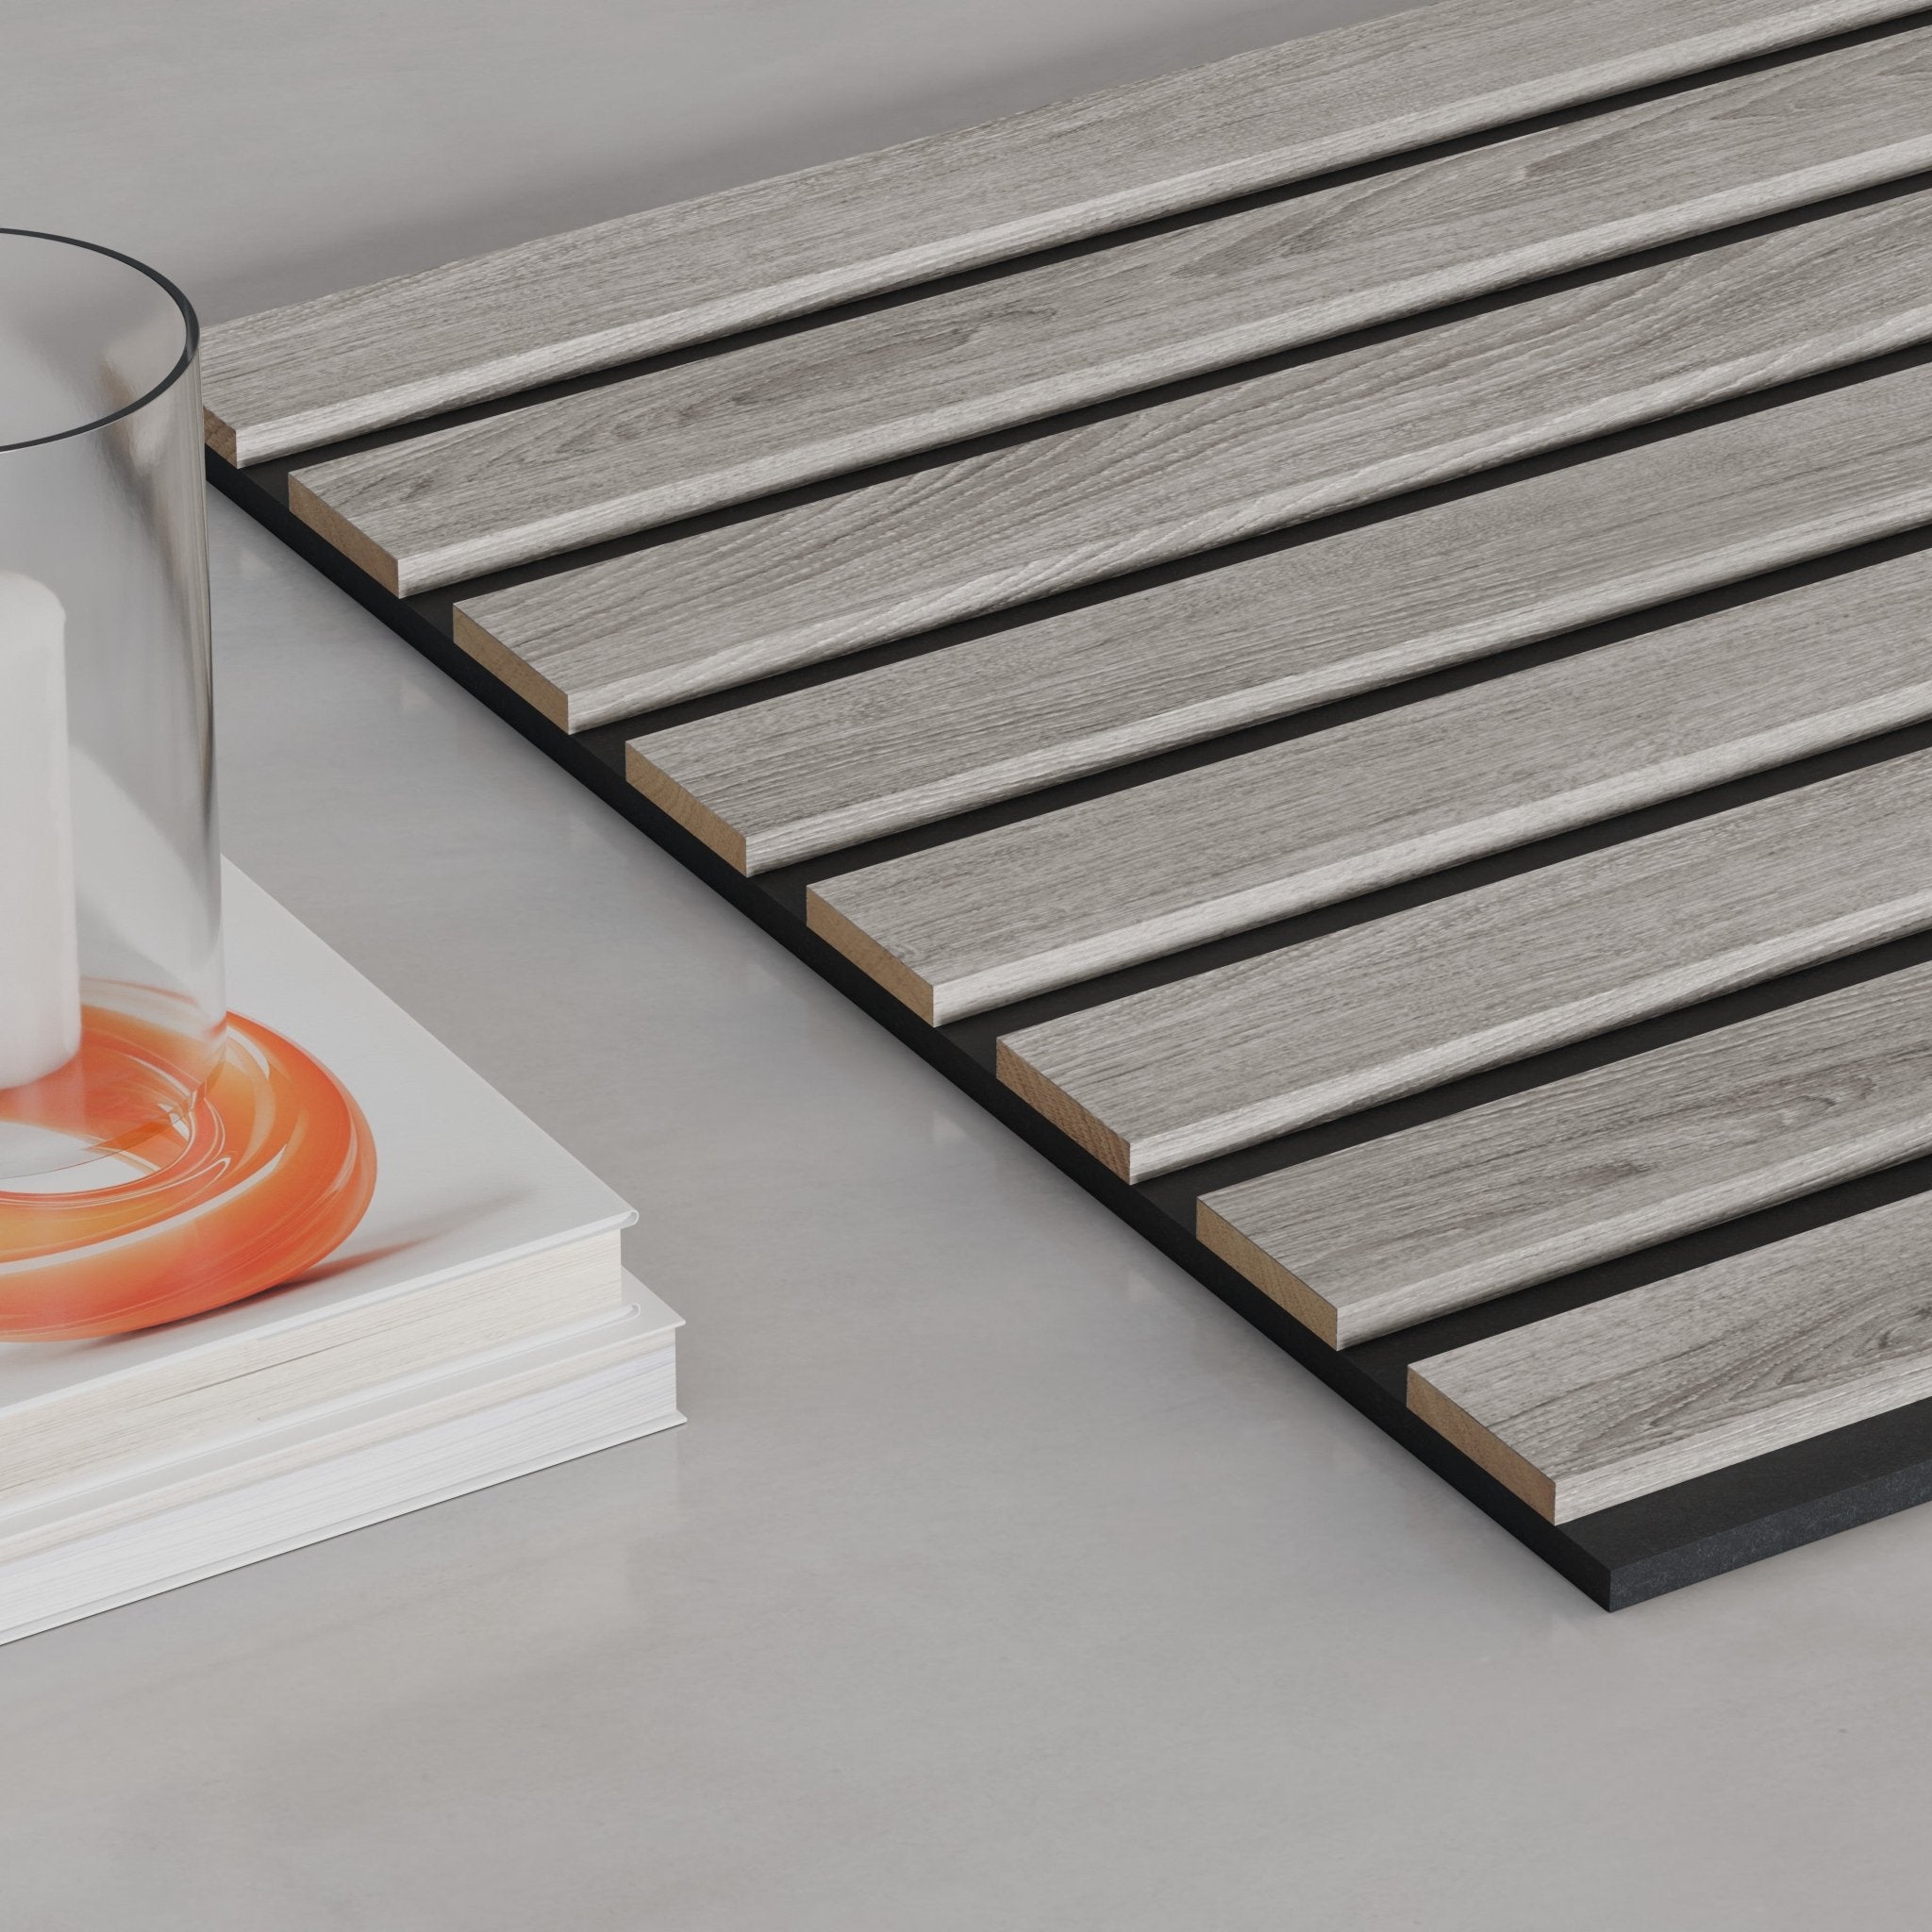
Individual rubberwood-core slats wrapped in real oak veneer on 3 sides, finished grey.
Shop TrueWood Lite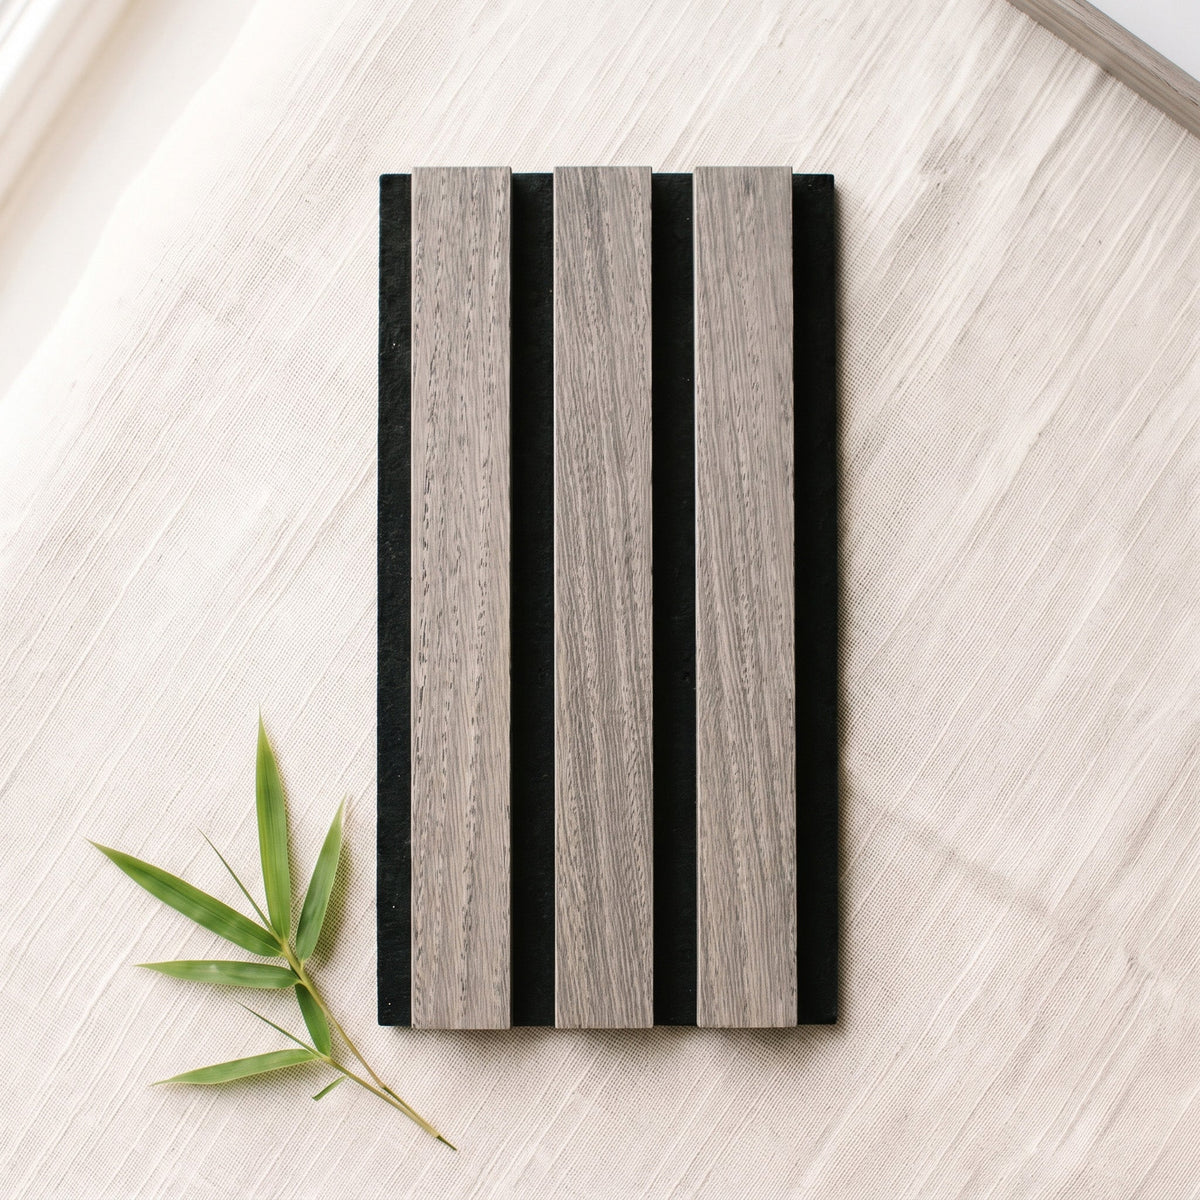
TrueWood Lite Dark Grey Oak
Individual rubberwood-core slats wrapped in real oak veneer on 3 sides, finished dark grey.
Shop TrueWood Lite Dark Grey Oak
Why grey oak
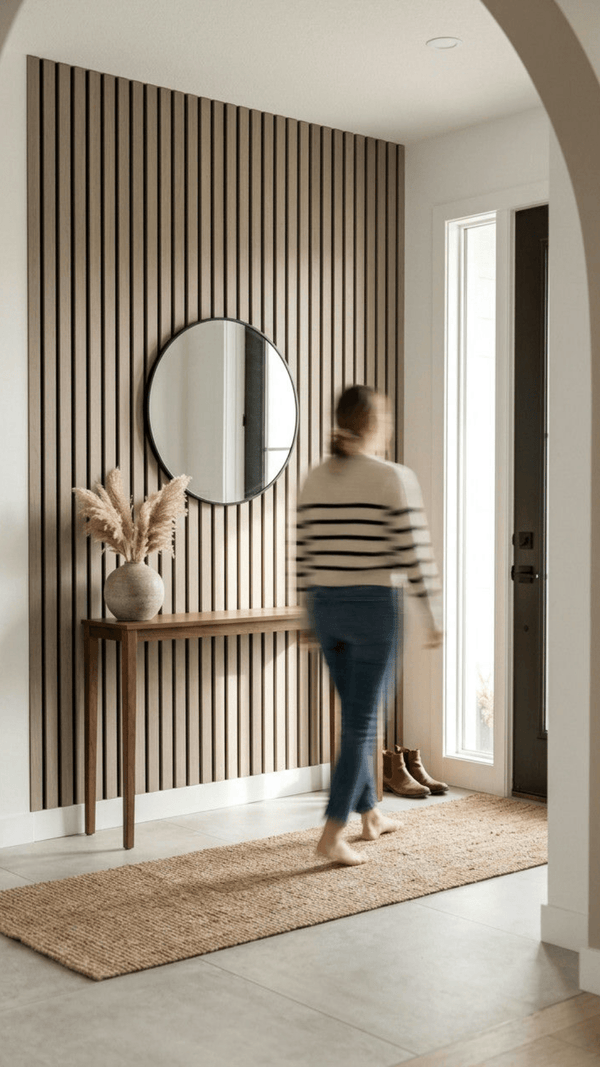
Grey oak is oak with the warmth pulled back: a soft, weathered grey that keeps the real wood grain showing through. It sits easily with white walls, concrete and cool-toned rooms, where a warm wood can look too yellow.
TrueWood Lite wraps each slat in real oak veneer, finished grey. Ultralight is real wood veneer stained to a grey oak tone.
All grey oak
Shop every grey oak panel
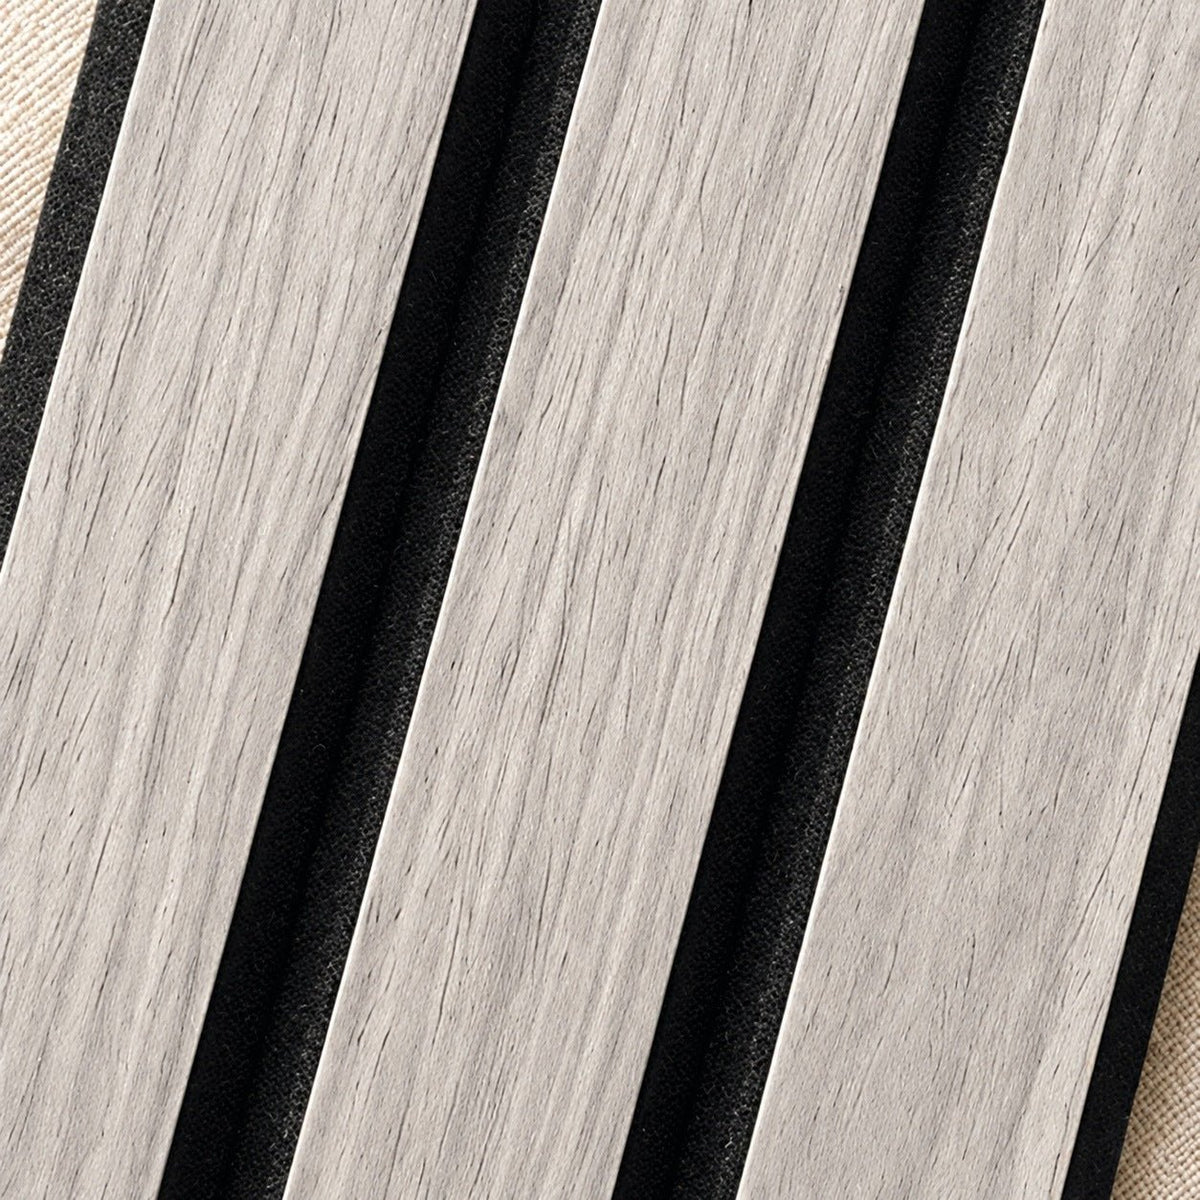


 Not sure on the color?
See it in your own light
Sample kits from $30. See the real wood and felt at home.
Shop sample kits
Not sure on the color?
See it in your own light
Sample kits from $30. See the real wood and felt at home.
Shop sample kits
Plan your wall
How many boxes do I need?
Enter your wall width and pick your ceiling height. We'll work out the boxes and price for each line.
Volume discounts available on 9, 10 and 12 ft panels.
Rounded up to whole boxes for one wall at full panel height. Add a box if you'll cut around windows or doors.
See the difference
Put them side by side, at home
Order the samples and compare them on your own wall, in your own light.
Shop all samples

Installation
How they go up
Pick your line for the steps, or download the full guide as a PDF.
Trim-head screws, adhesive or both
- Plan the wall
Measure the wall and work out how many boxes you need. Start at the most visible corner and draw a plumb line.
- Fix the first panel
Trim-head screws through the felt in the outermost groove at each edge, rows no more than 30″ apart (a bugle or pan head is too wide and sits proud). Or construction adhesive, or both.
- Butt the next panel up
Each end carries half a V-groove. Push until the 45° chamfers seat and the two halves close into one full groove that matches the rest. No lip, no overhang.
- Curves and columns
No rigid core, so Ultralight bends across the slats around curves and columns. Use adhesive and start from the tightest part of the curve.
You'll need
- Drill / driver (cordless is best)
- Trim-head screws
- Construction adhesive, instead of or as well as screws
- 4 ft level or a laser, and a pencil
- Tape measure
- Stud finder or wall anchors
- Sharp utility knife (does both cuts)
- Fine-tooth saw blade (optional)
Cutting tips
- A utility knife and a straight edge are all you need. Score along the line, and a few passes give a splinter-free edge.
- Practice on an offcut first. It's easy to drift off a straight line.
- Cutting several panels? A circular saw is faster. Put painter's tape on the cut line and use a fine-tooth blade with 60+ teeth.
- Sizing the felt only? A razor blade does it.
- Outlets and switches: a jigsaw, multi-tool or sharp utility knife all work.
Acclimate, then adhesive, screws or both
- Acclimate 48–72 hours
Unbox and lay the panels flat on the floor of the room they're going in, out of the packaging and away from direct sun and heat. Don't stand them on end.
- Lead with the lip
Each panel has a bare felt lip on one edge and an overhanging slat on the other. Face every lip the way you're working.
- Fix it
Construction adhesive, or #6 screws (1–1.5″, trim-head for the cleanest look) through the felt in the second gap in from each edge, rows no more than 24″ apart. Or both for extra hold.
- Lap the next panel
Lower each new panel so its overhanging slat drops over the last panel's felt lip. The felt butts flush and the gap at the join matches the gaps between slats.
You'll need
- Drill / driver (cordless is best)
- #6 screws, 1–1.5″ (trim-head for a cleaner look)
- Construction adhesive, instead of or as well as screws
- 4 ft level or a laser, and a pencil
- Tape measure
- Stud finder or wall anchors
- Track, circular or hand saw with a fine-tooth blade
- Utility knife, for felt cuts
Cutting tips
- Cut to length with a track, circular or hand saw and a fine-tooth blade. Cut to width by slicing the felt in a gap with a utility knife: whole slats come away, no saw needed.
- Run painter's tape across the face and down the slat sides on the cut line, since the veneer can chip.
- Slats are stapled to the felt from the back every 10–13″. Line your cut up to miss the staples, and re-staple any slat that comes loose.
- Offcut slats lift off the felt and make matching trim for corners and edges.
- Corners: at an outside corner hold the panels back 17mm on the lapped side and 12mm on the other; at an inside lap, 5mm.
- Outlets and switches: a jigsaw or multi-tool through the slats, a utility knife through the felt.