
Spoiler.. It's very easy.
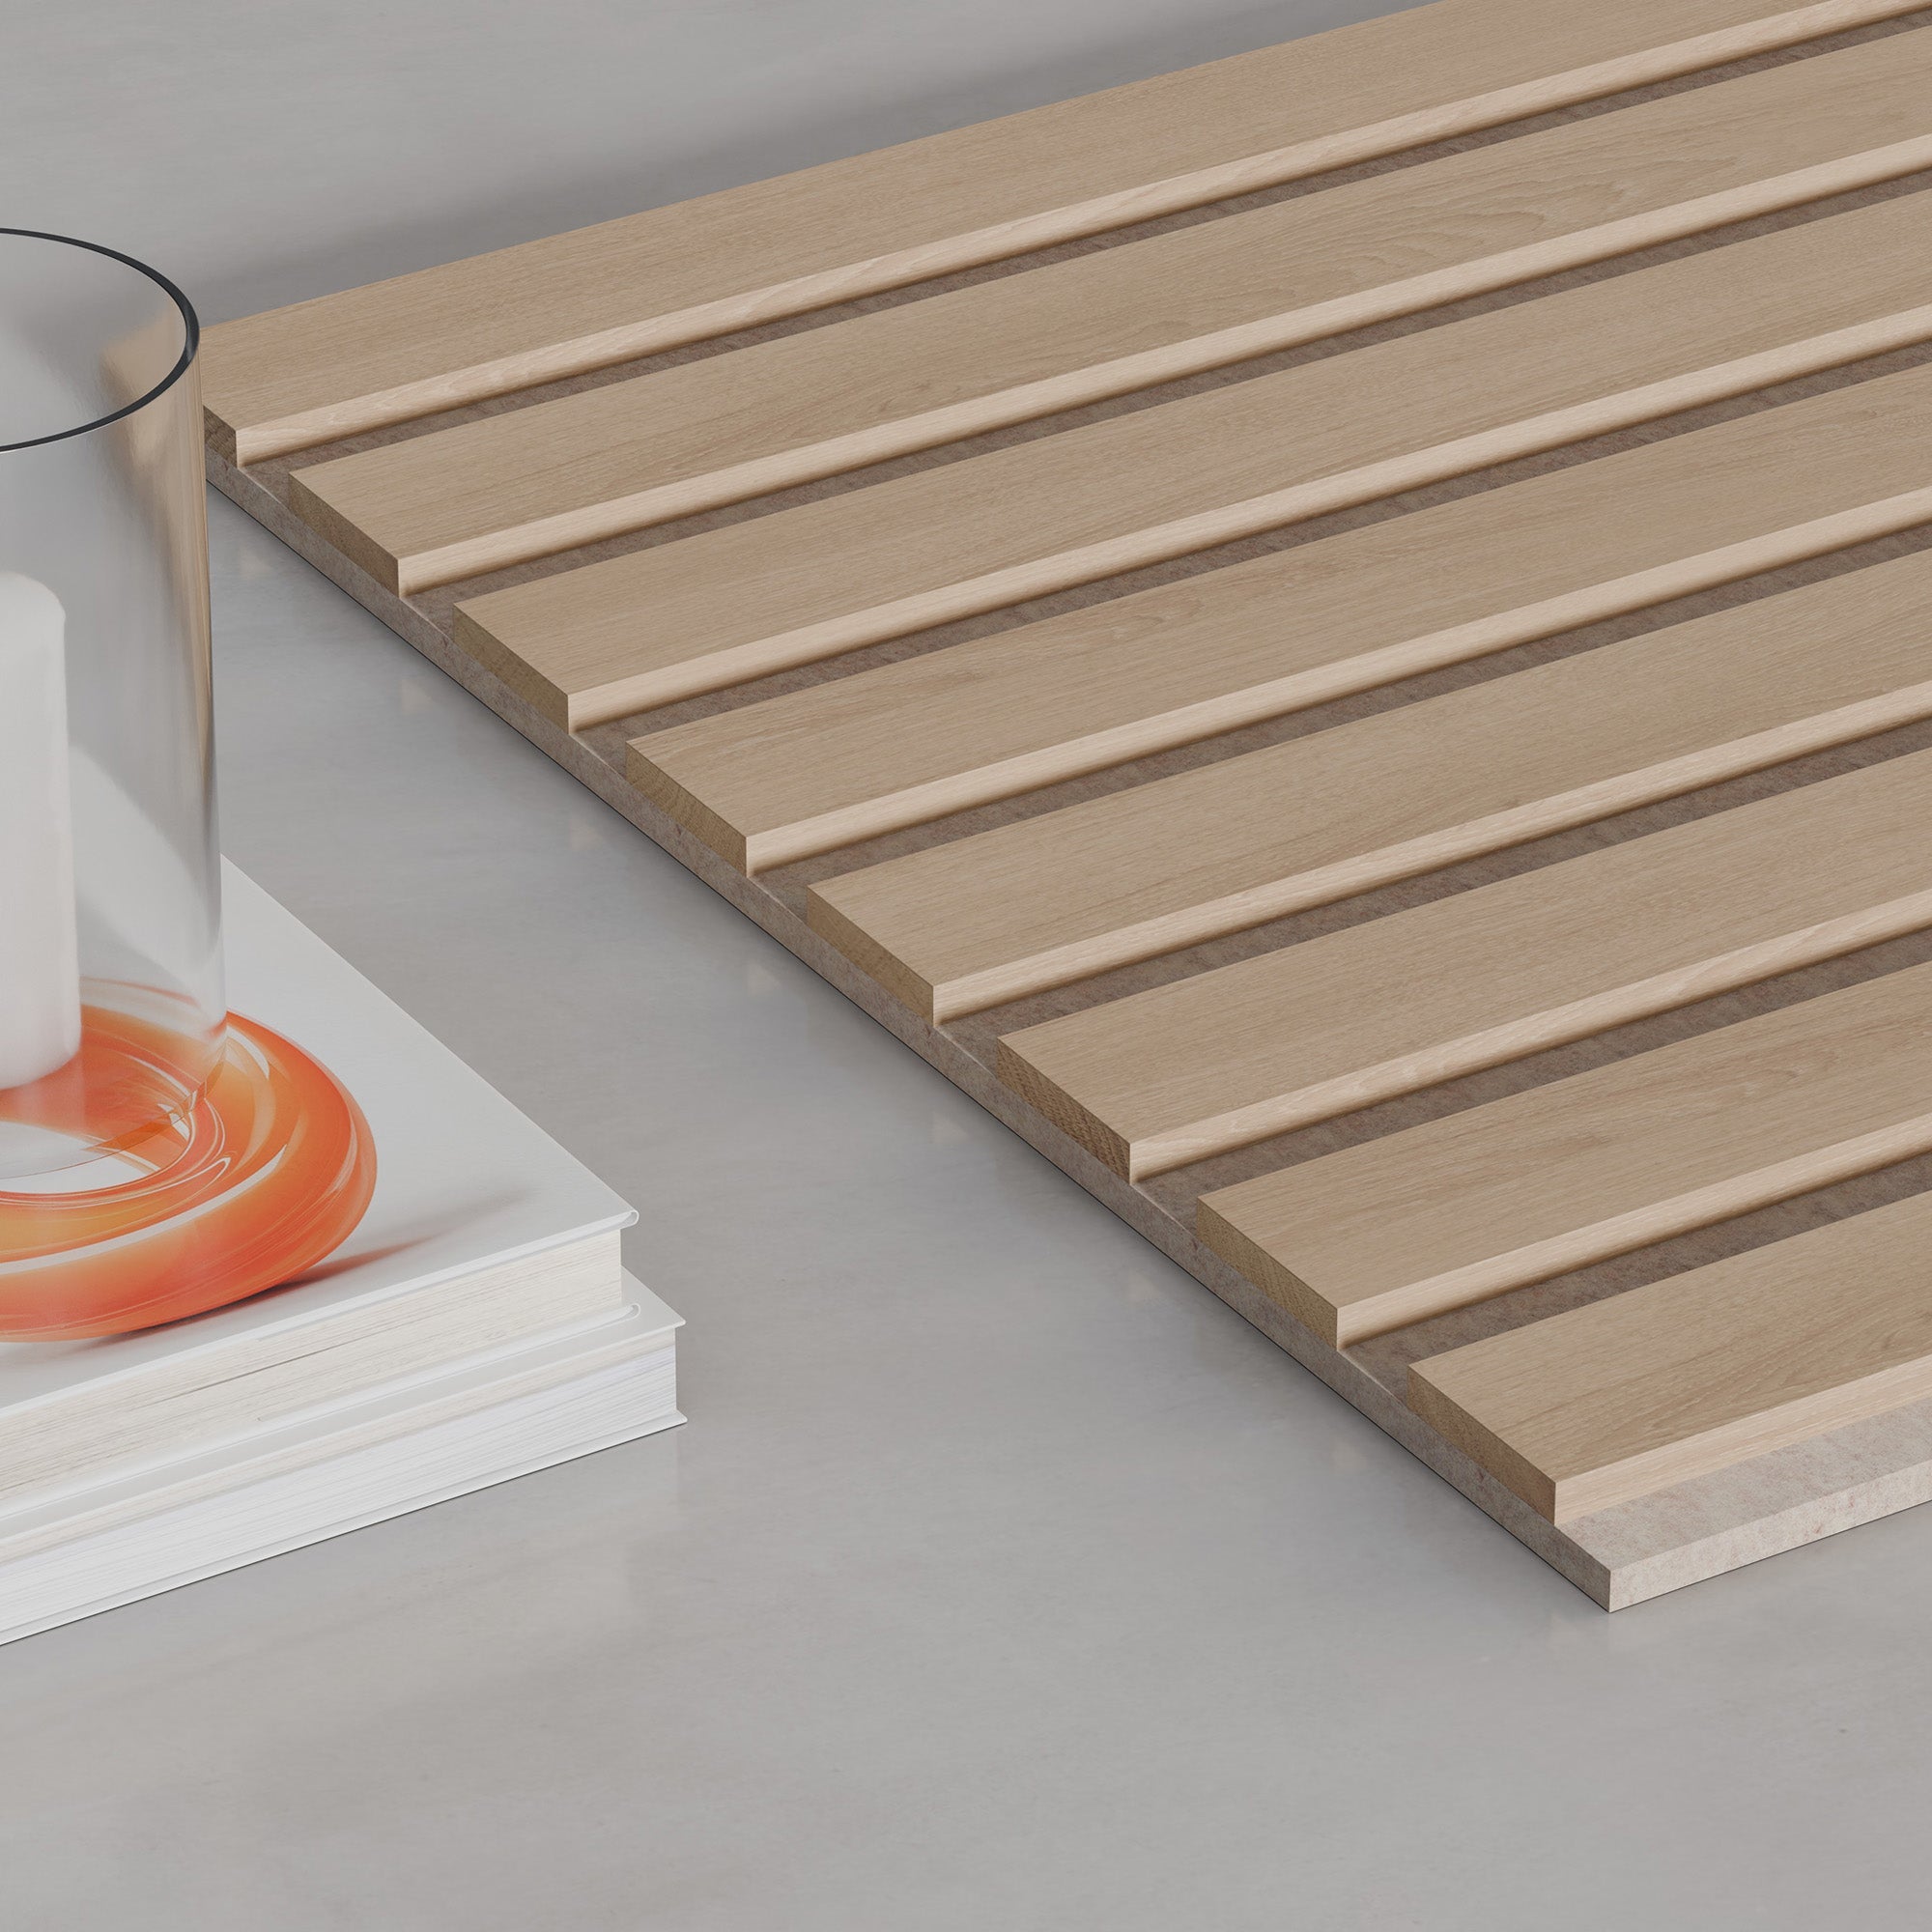
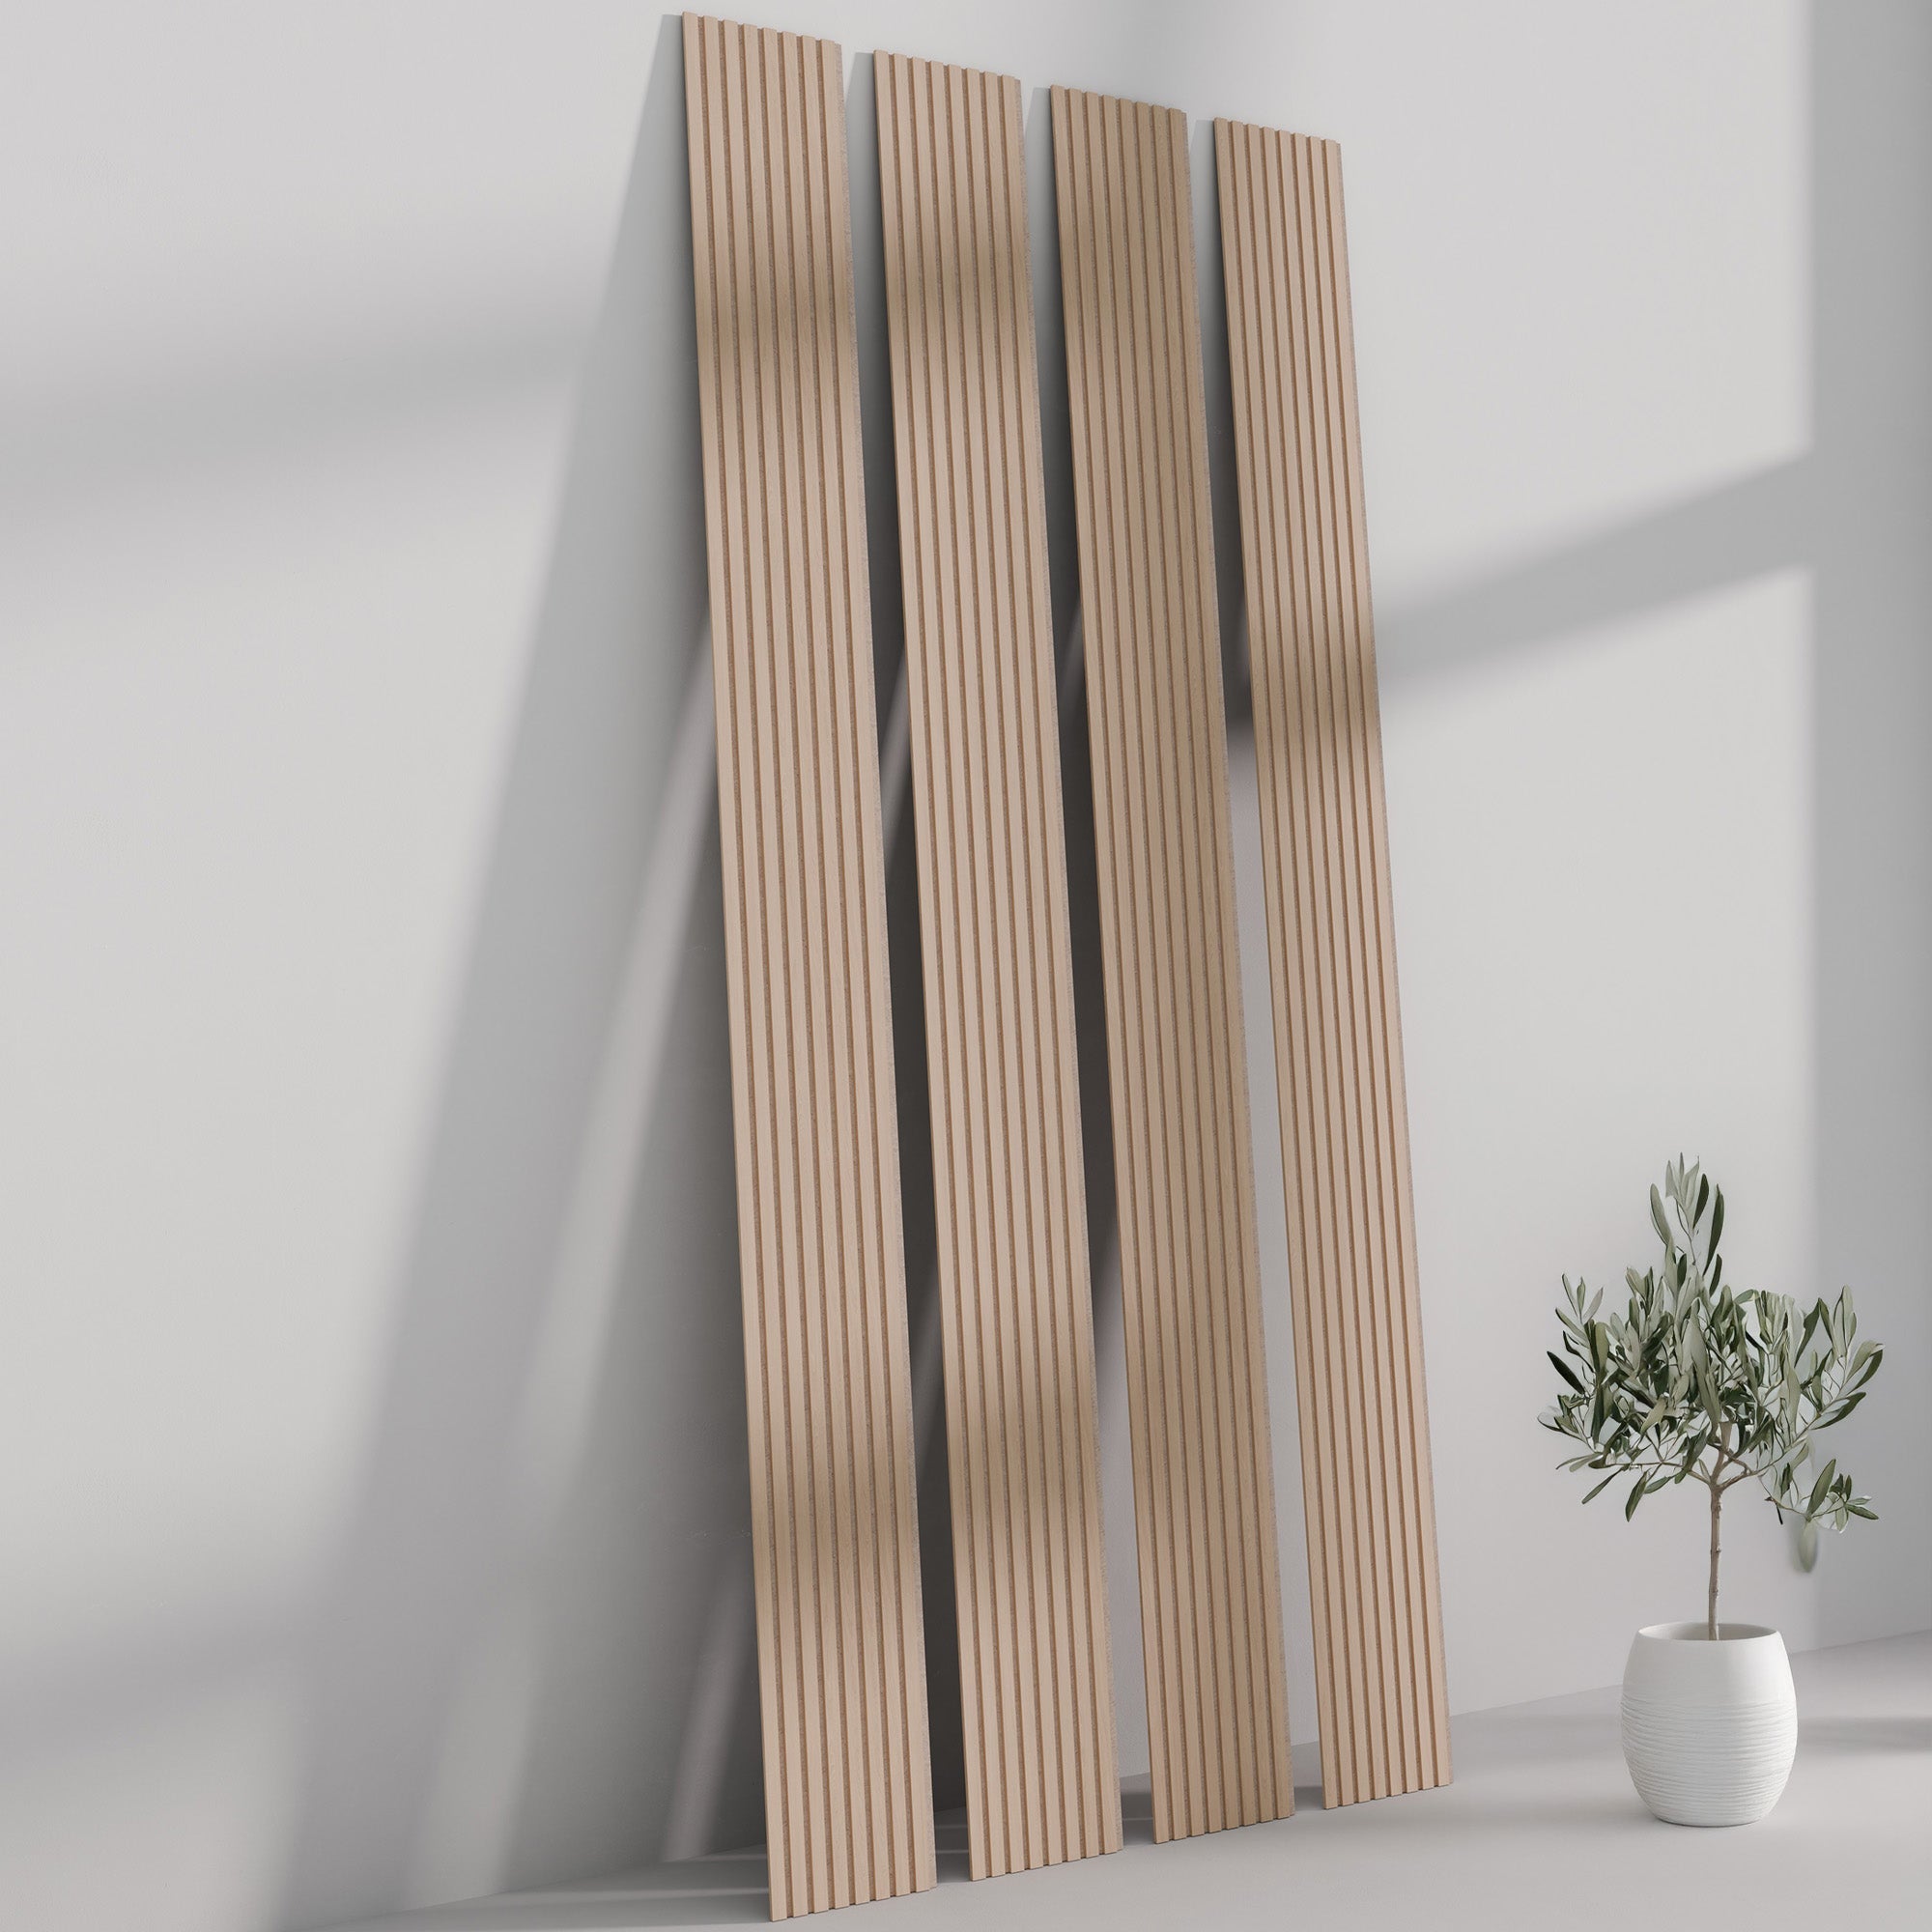
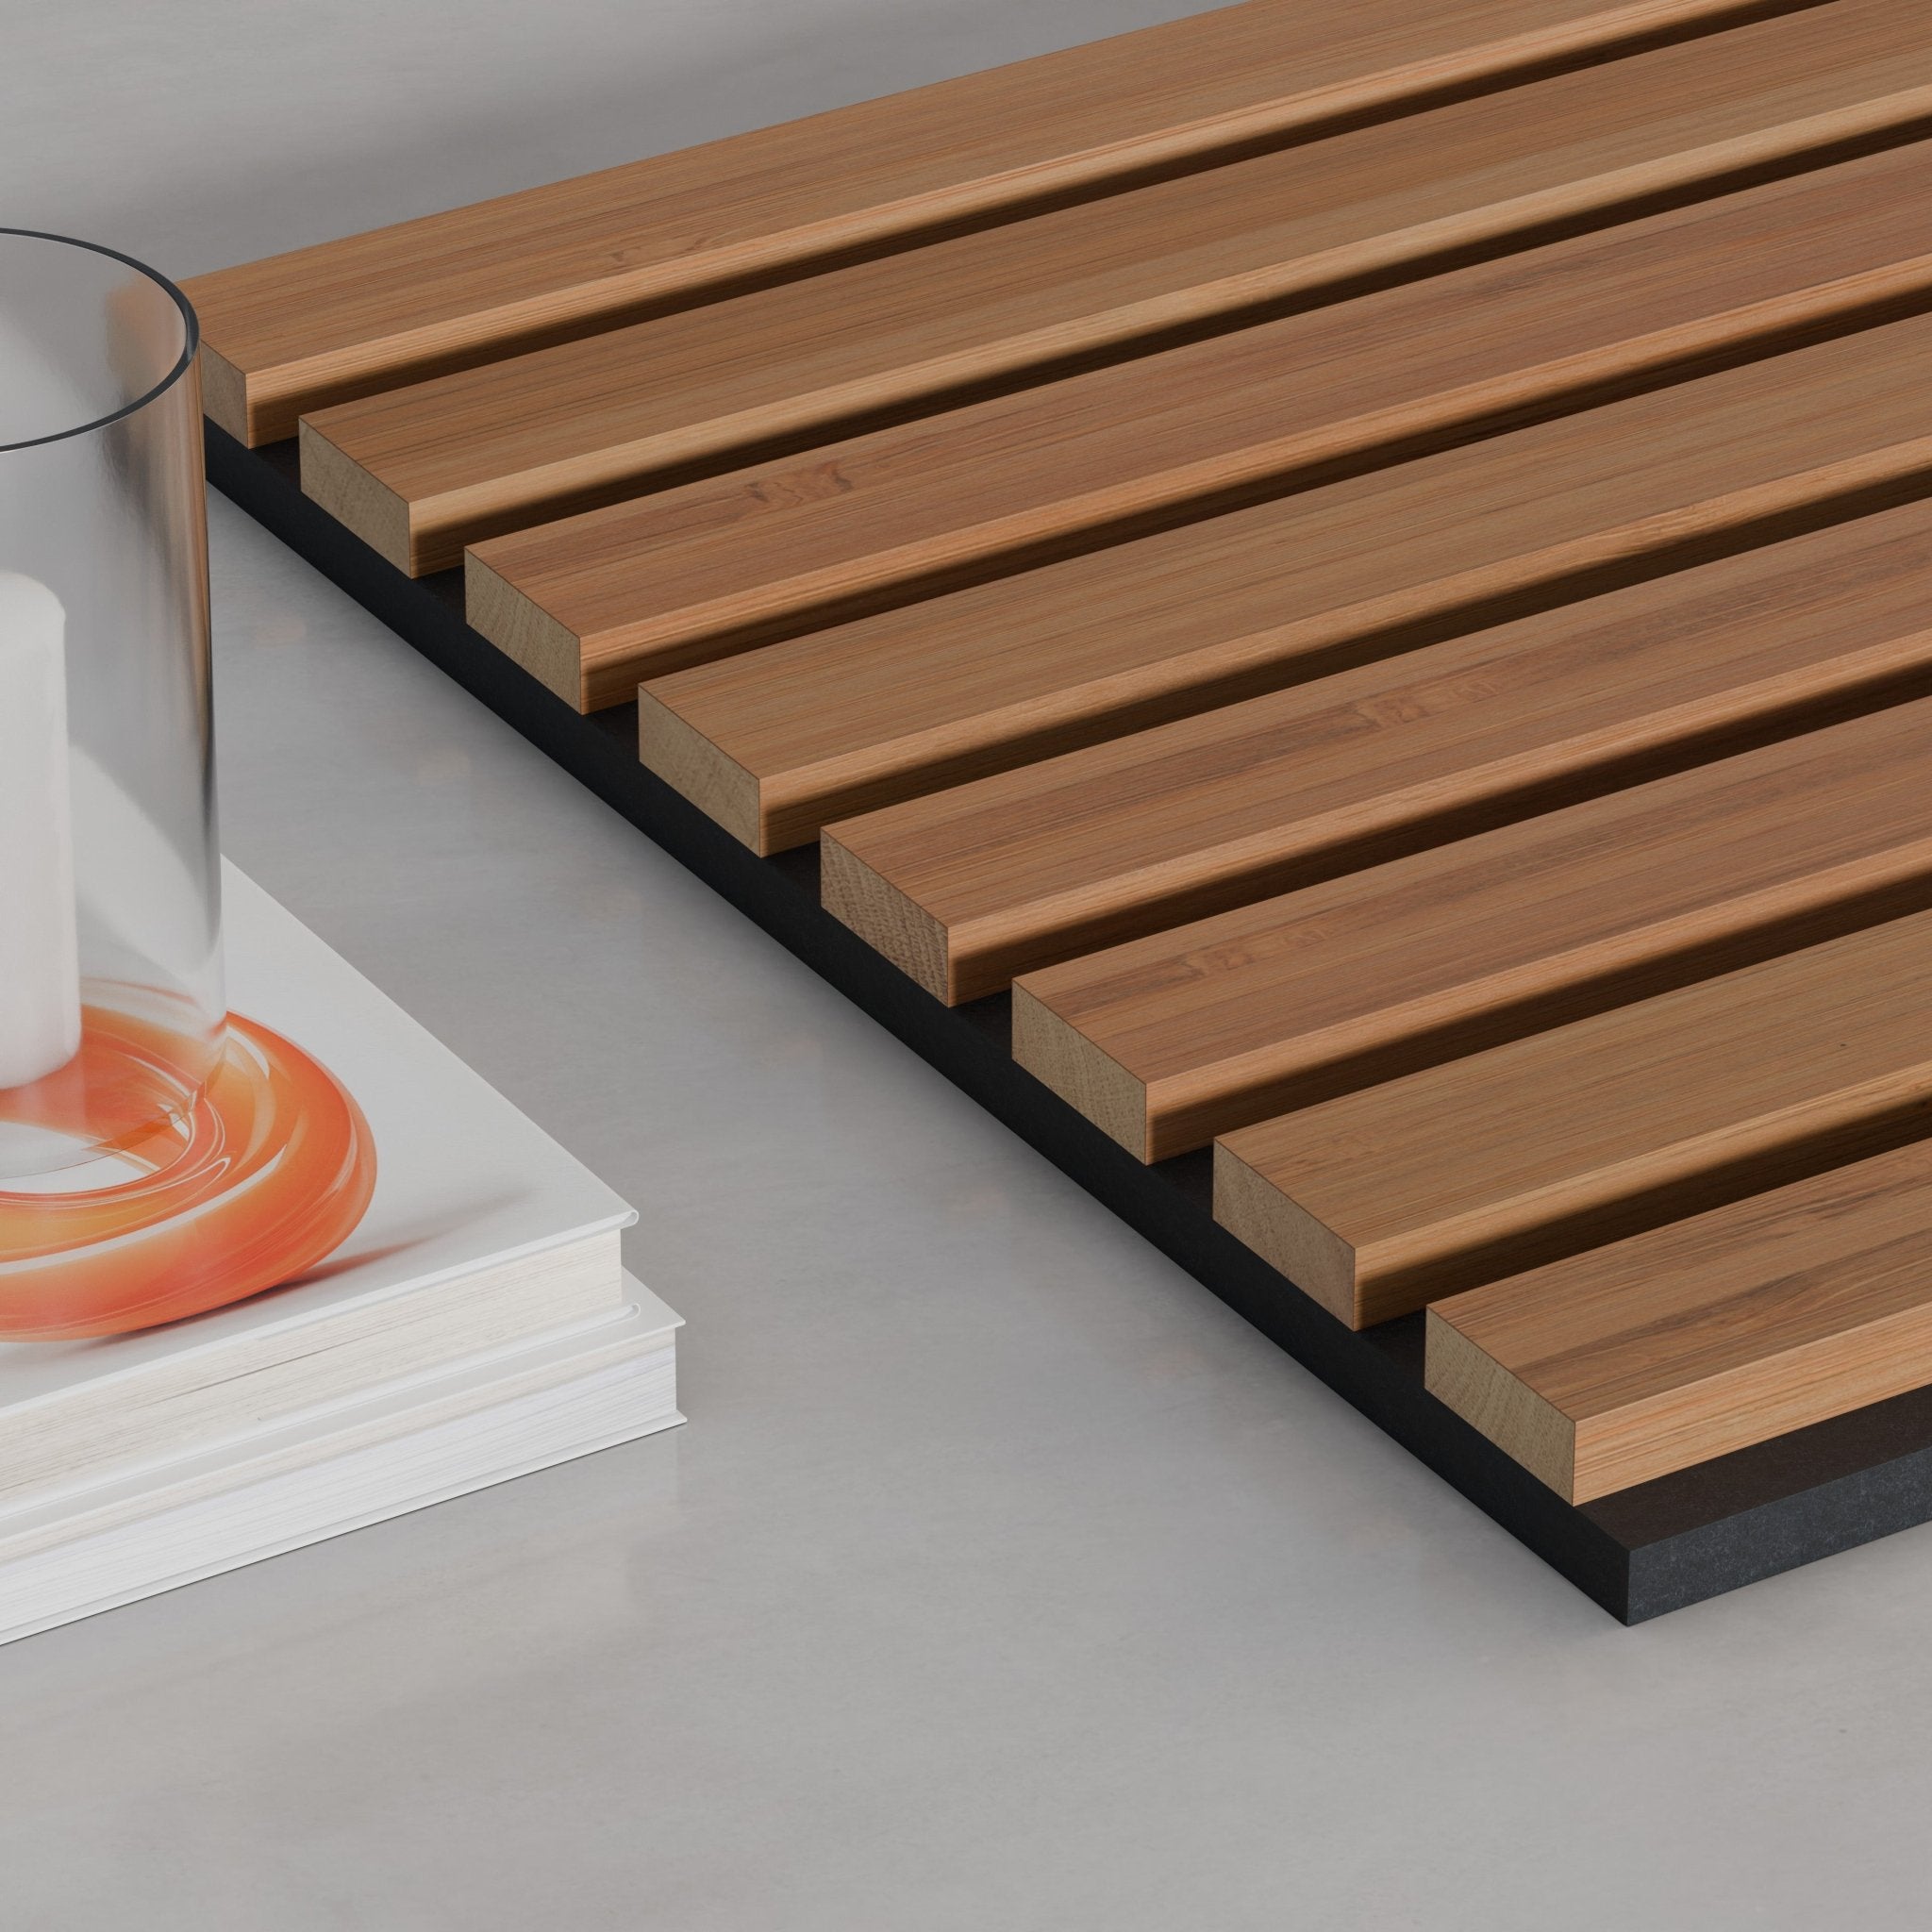
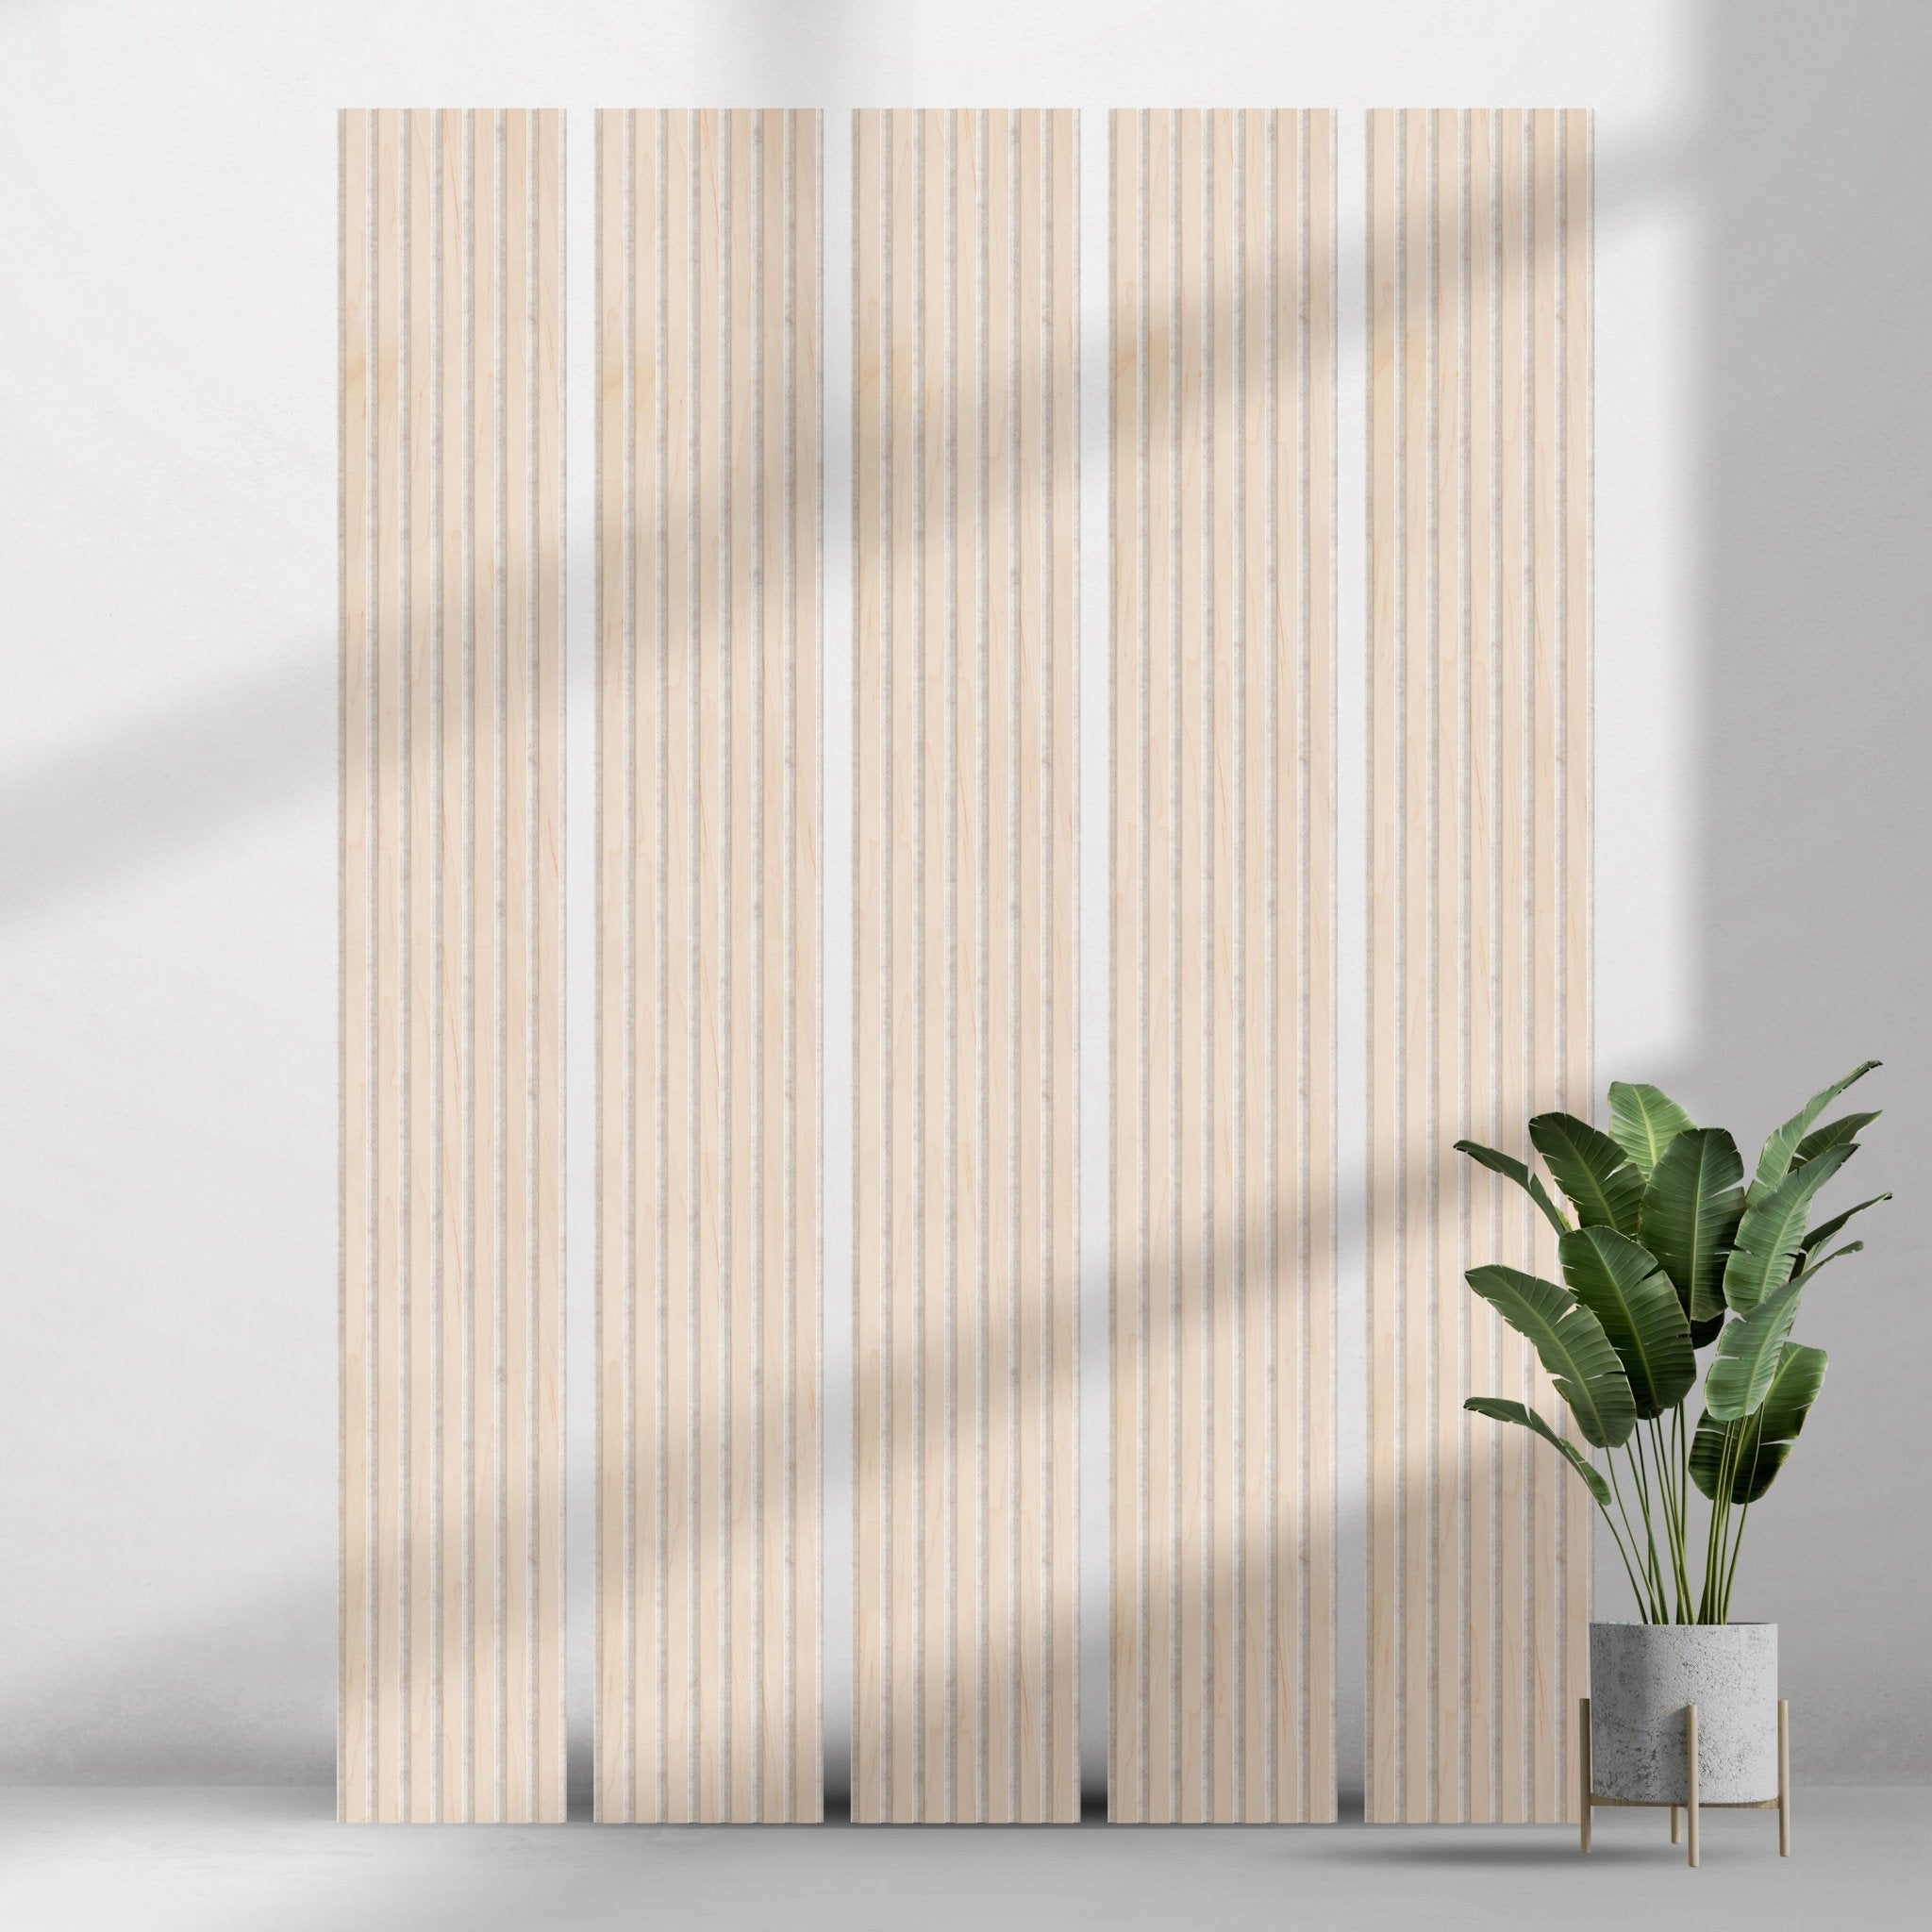
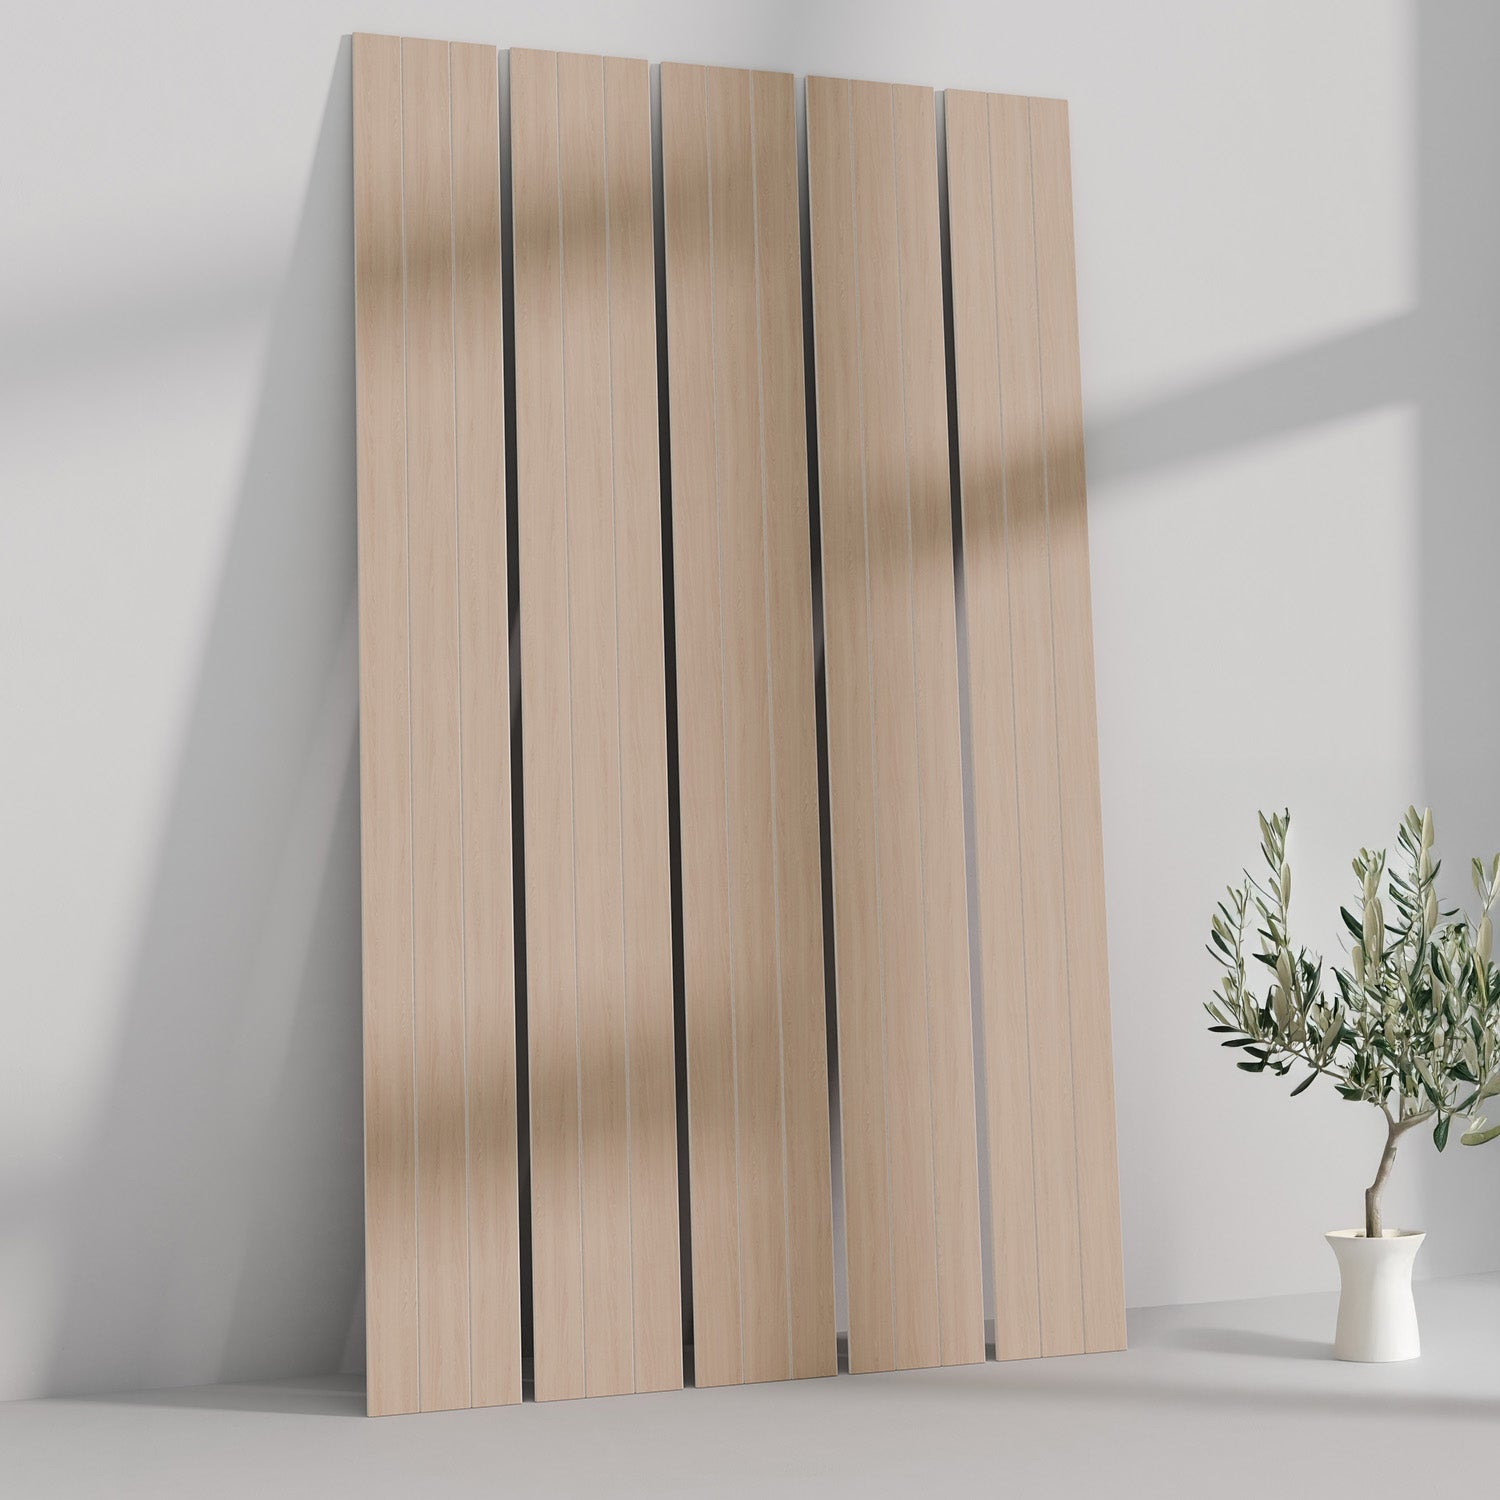
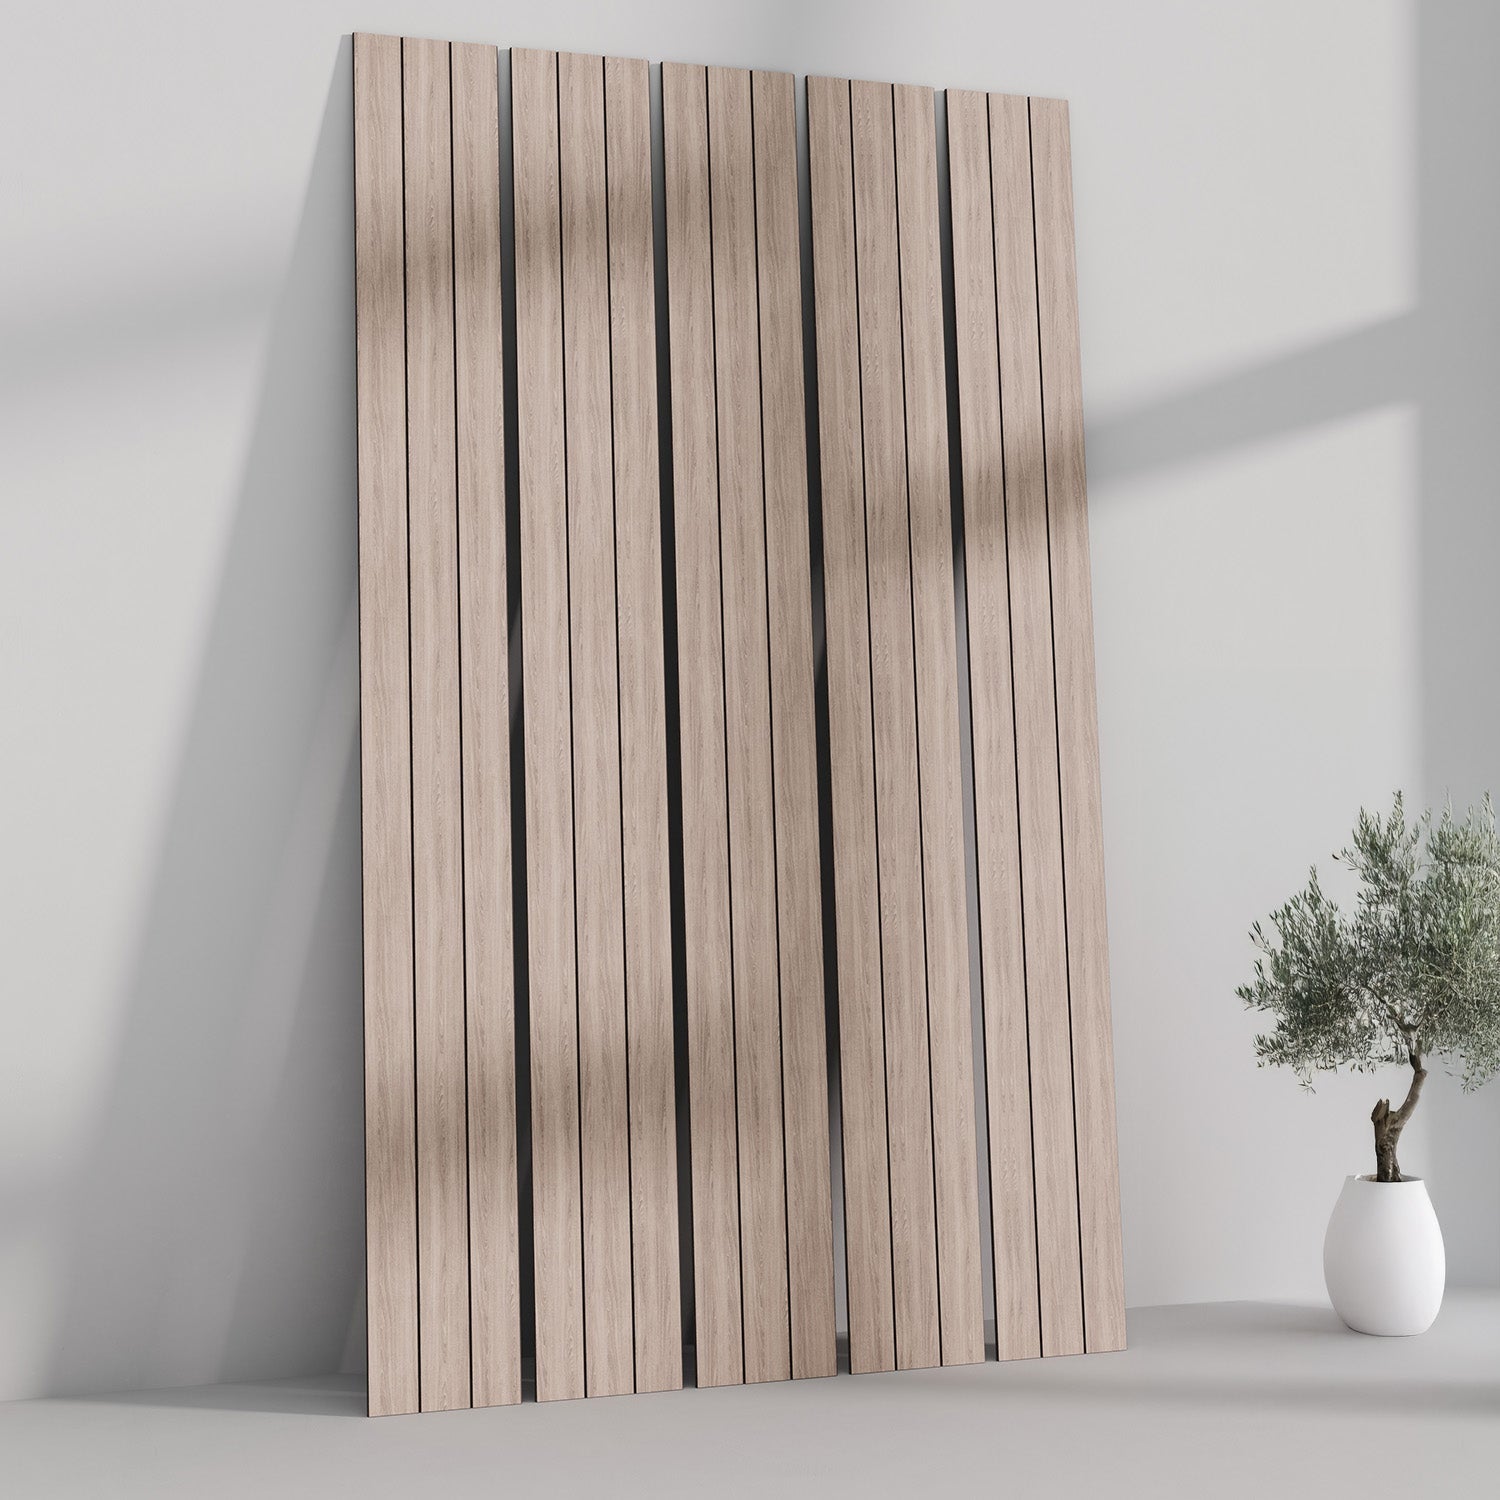
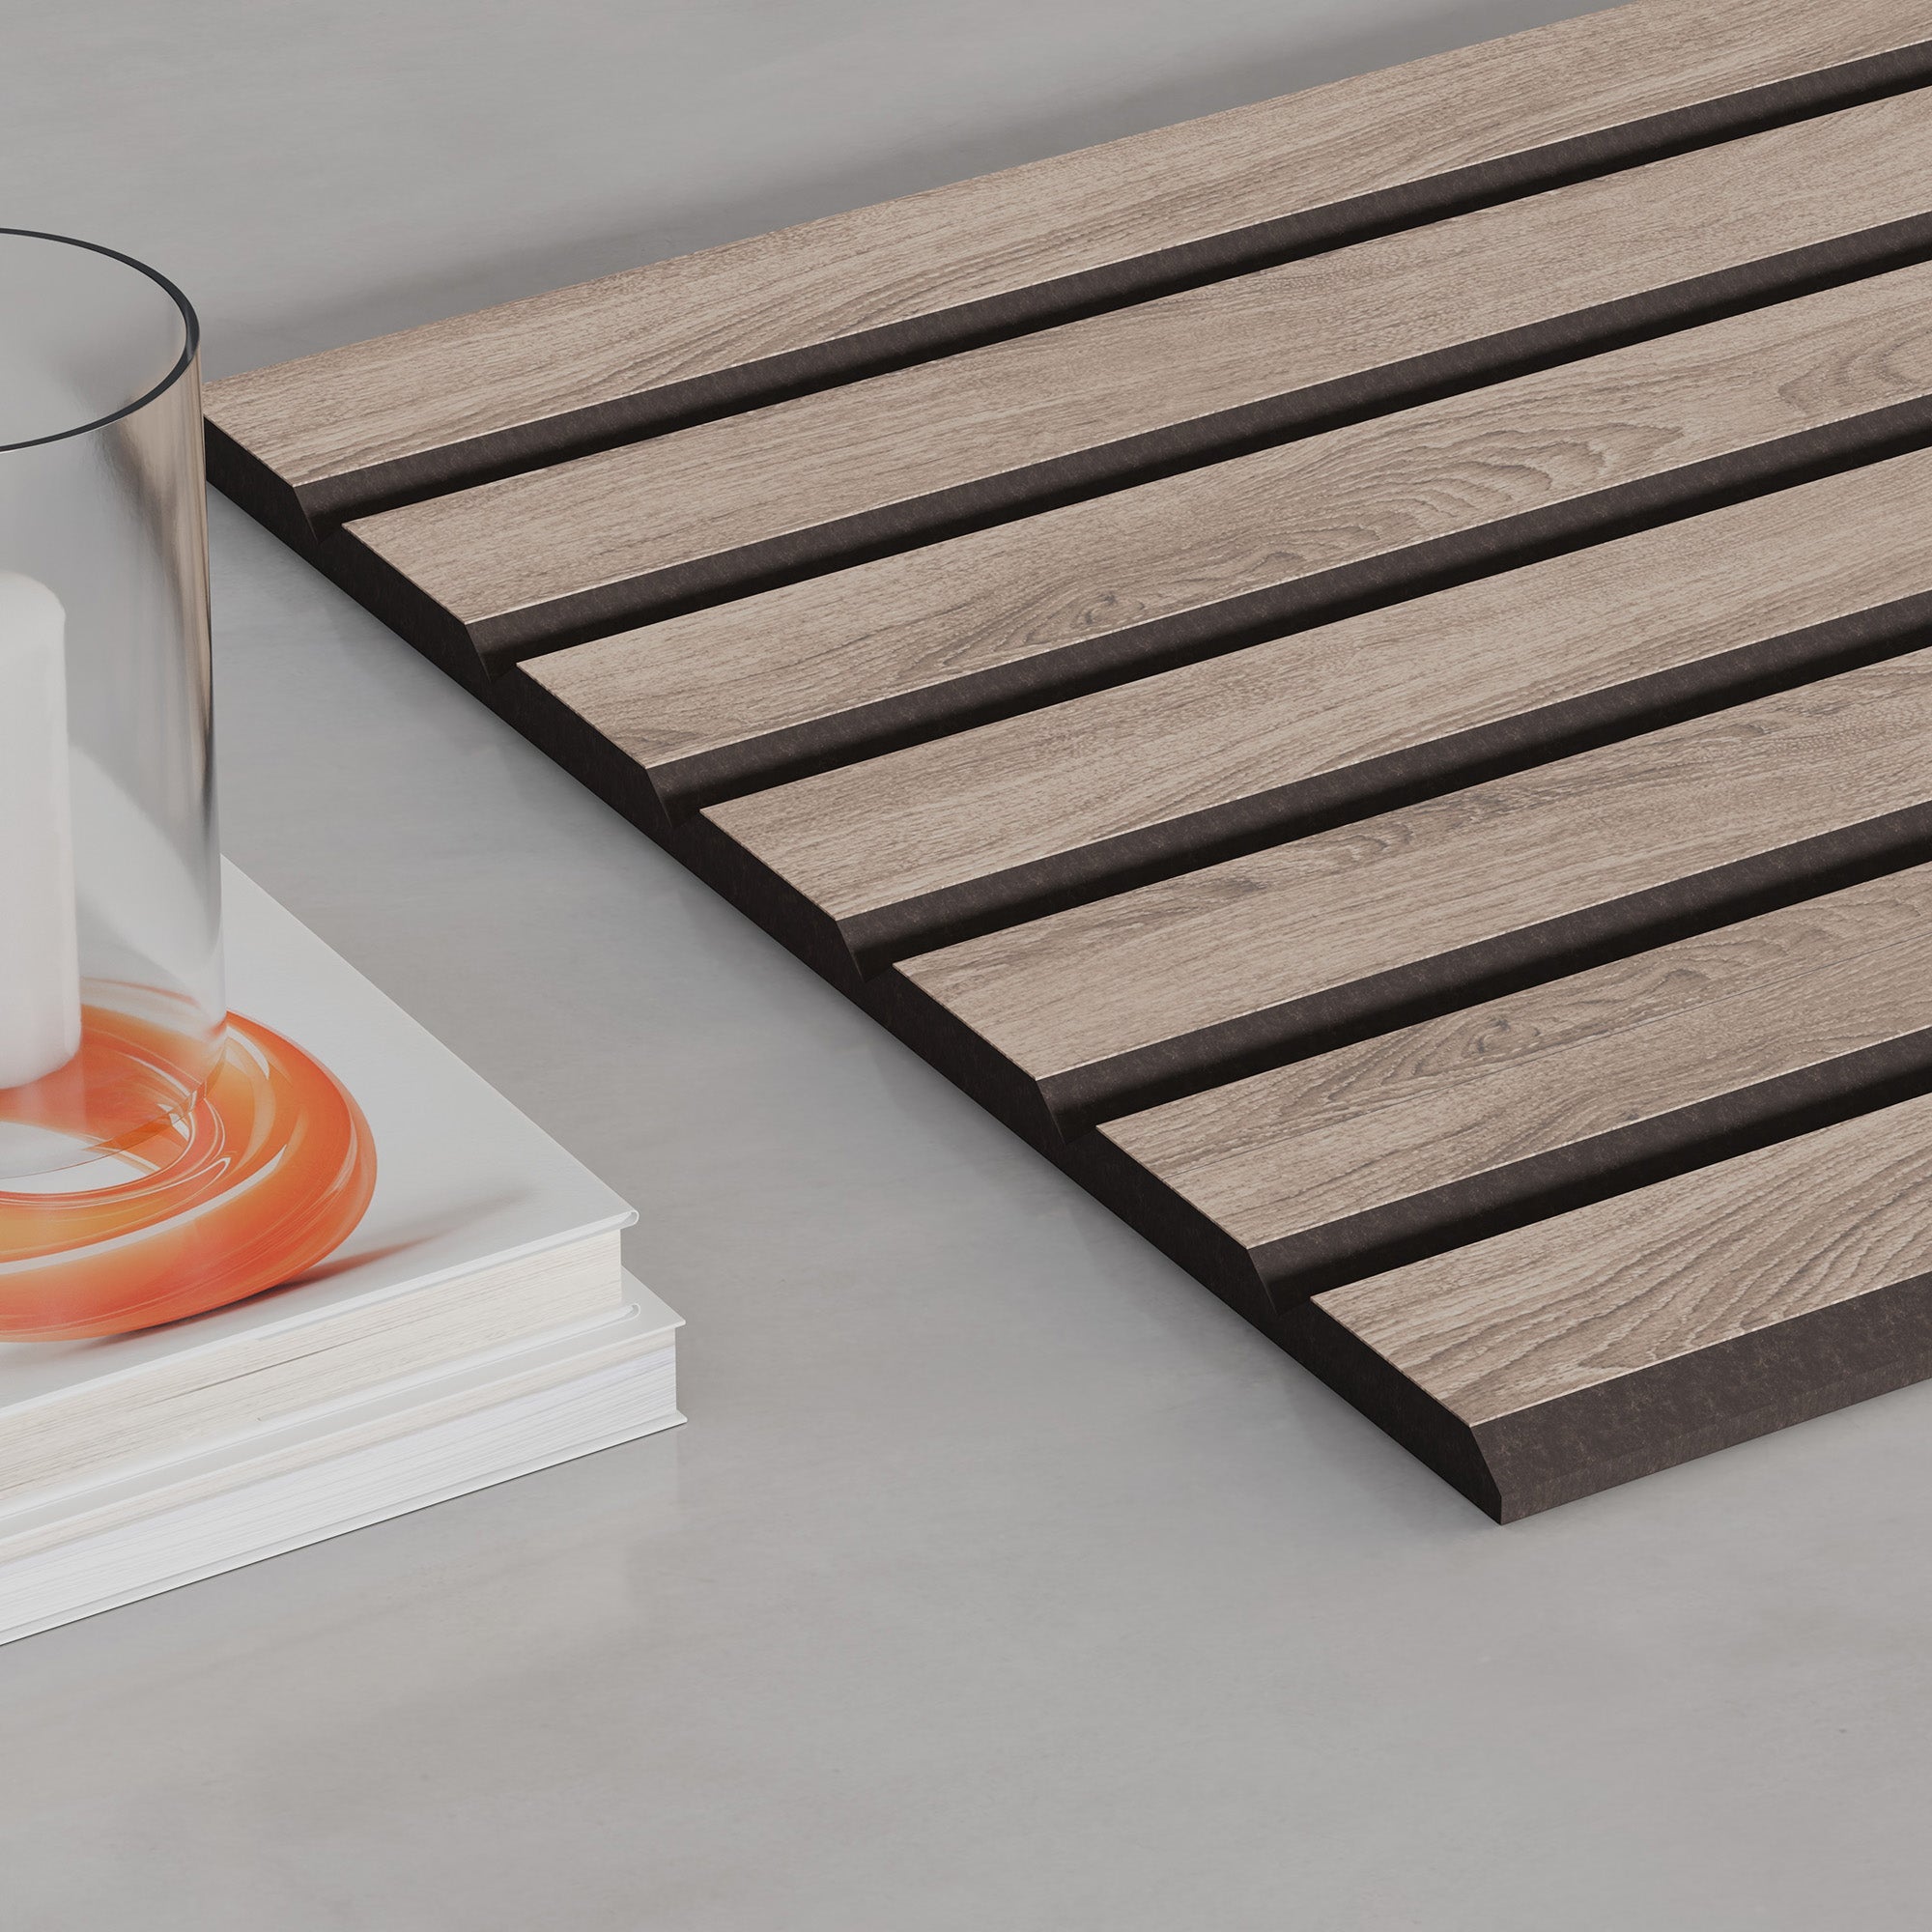
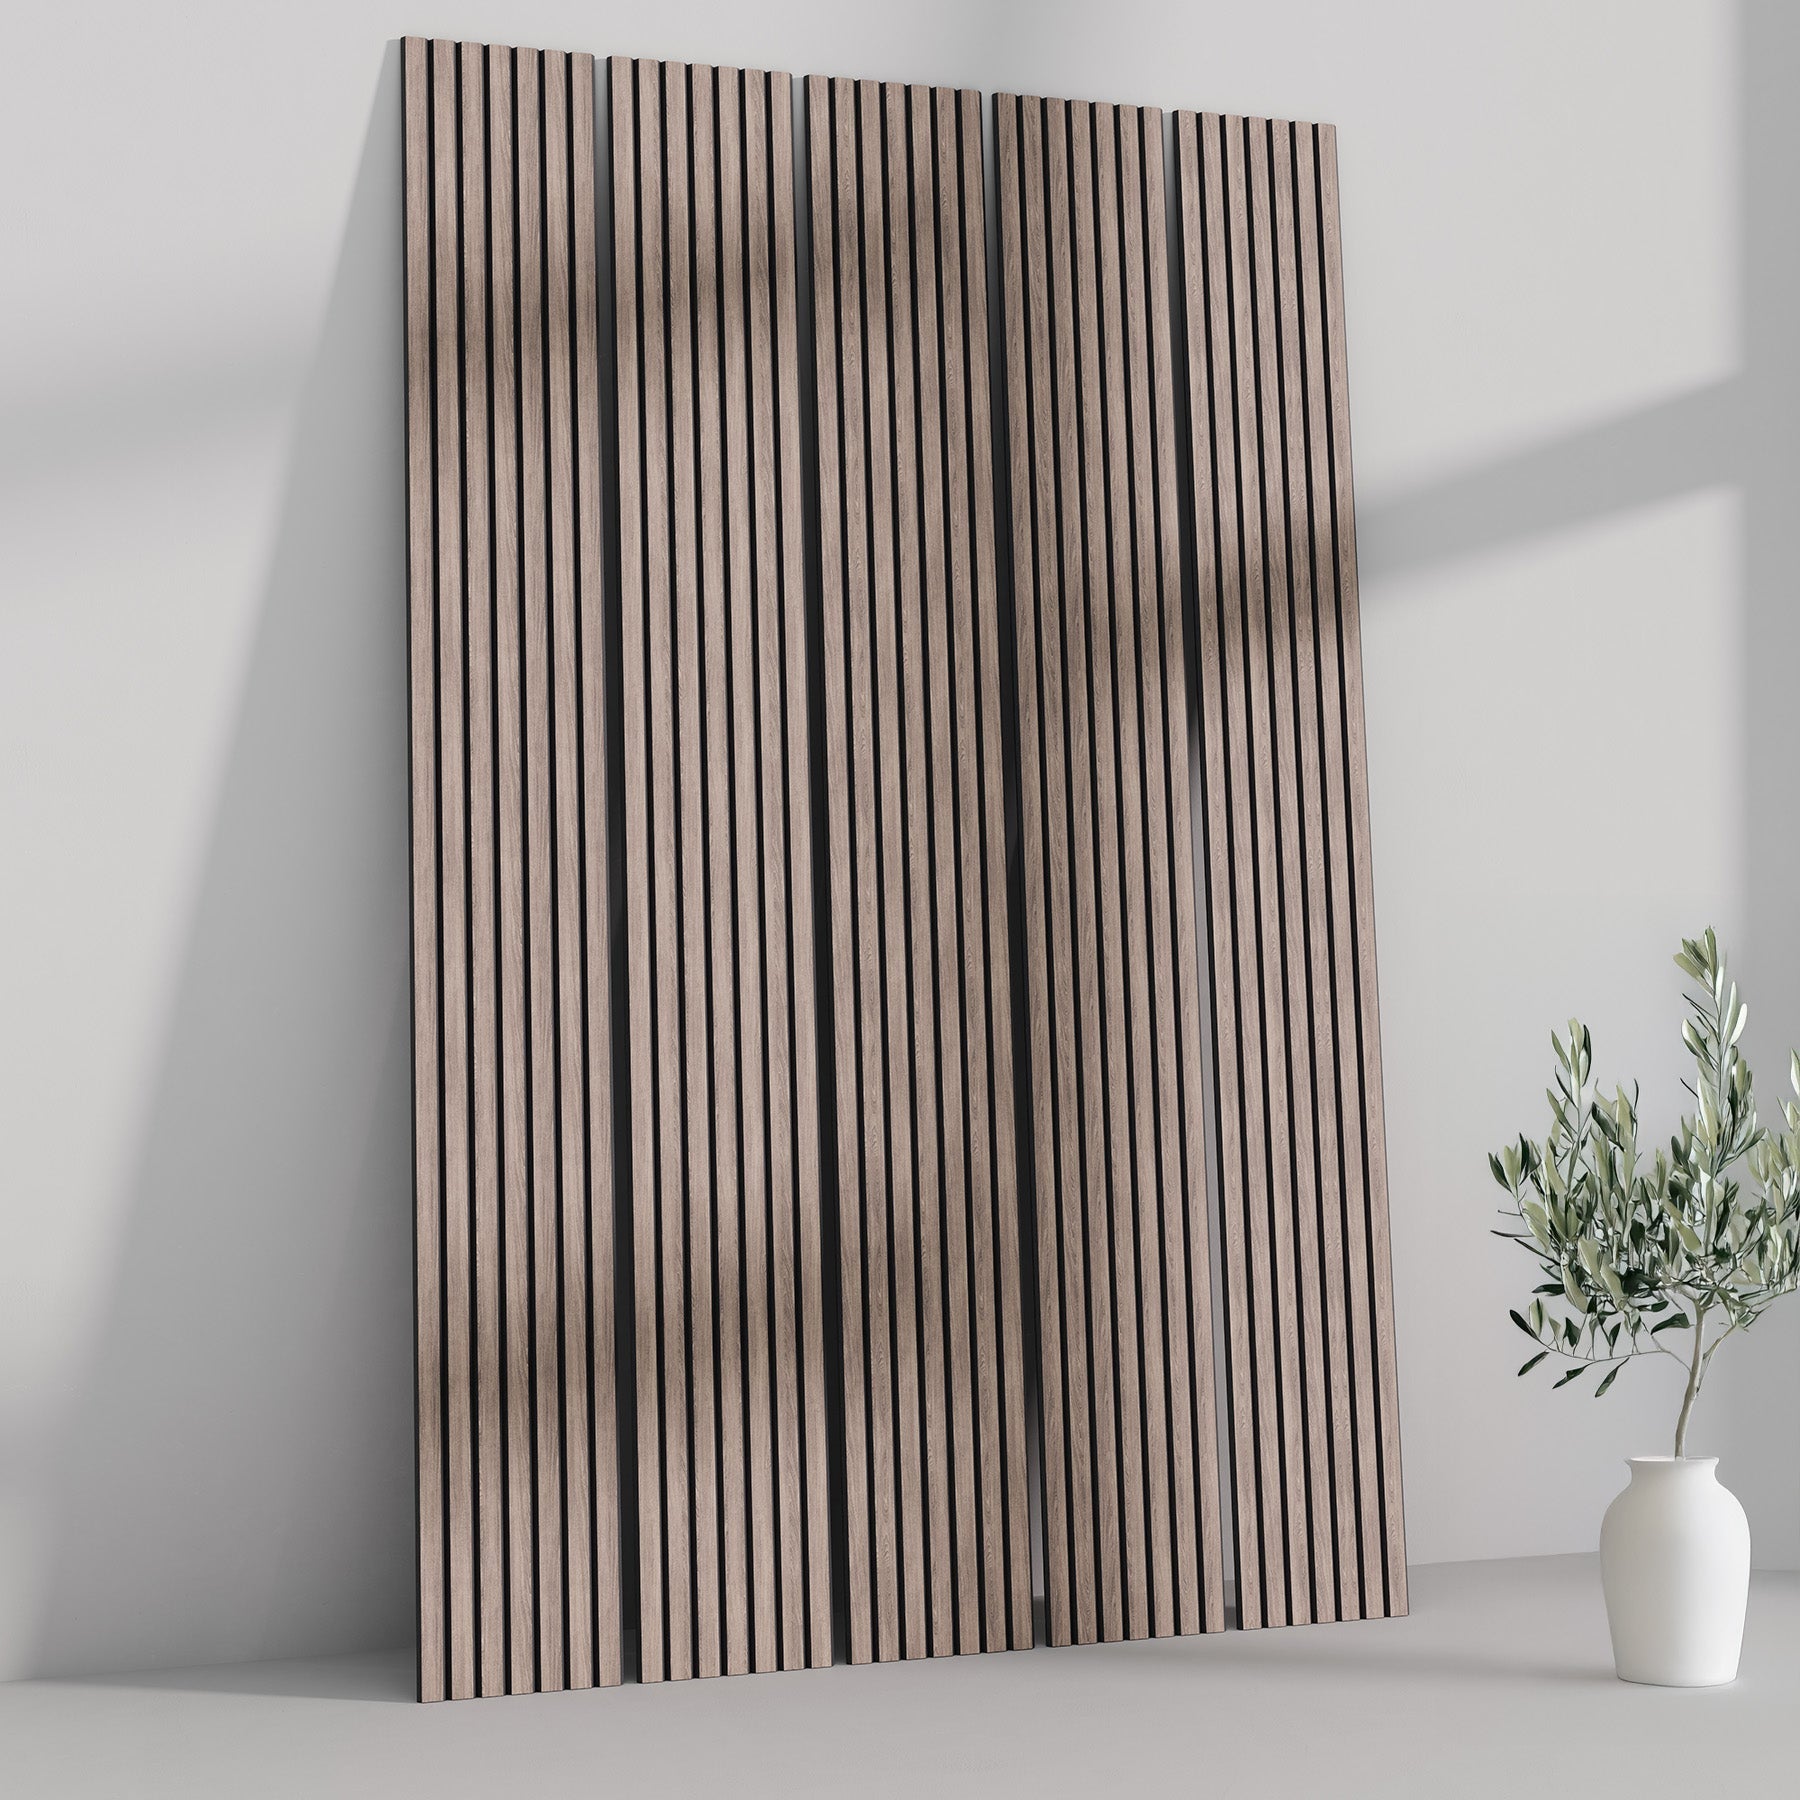
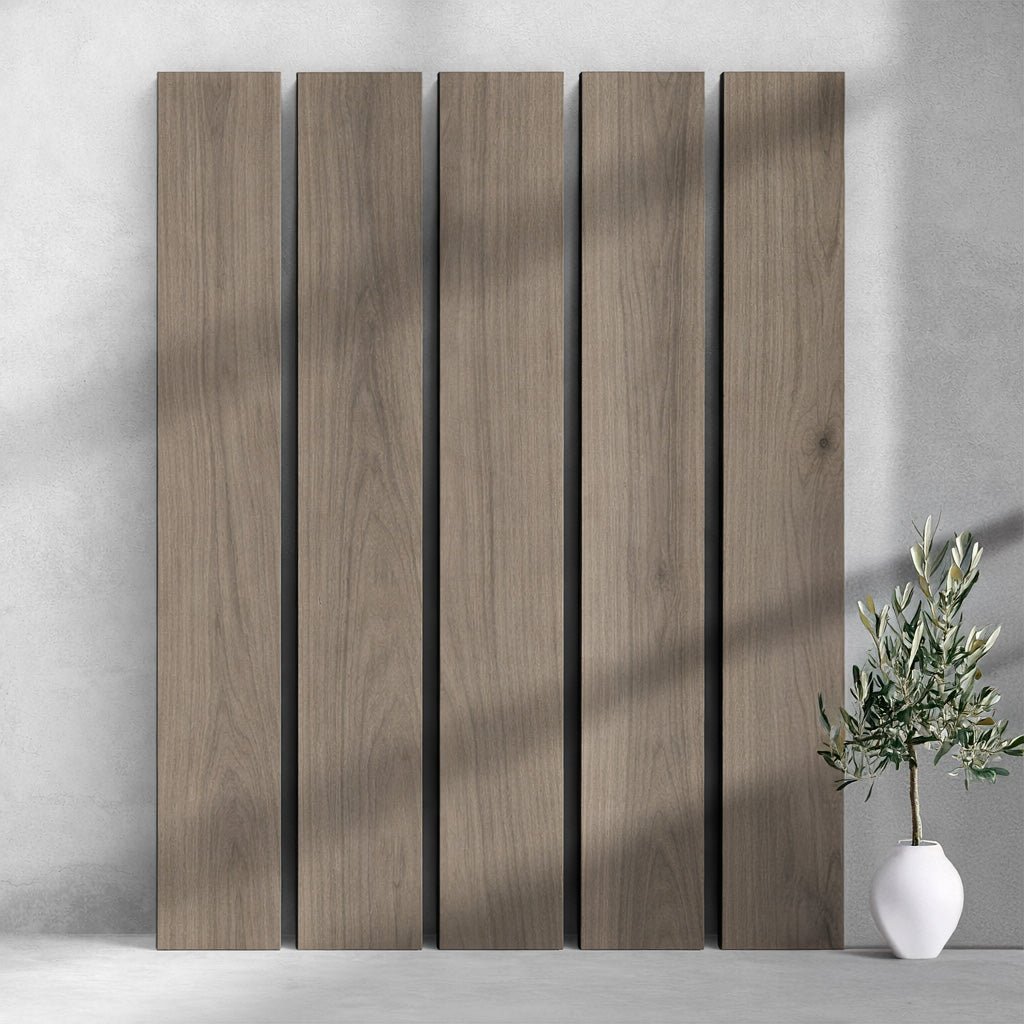
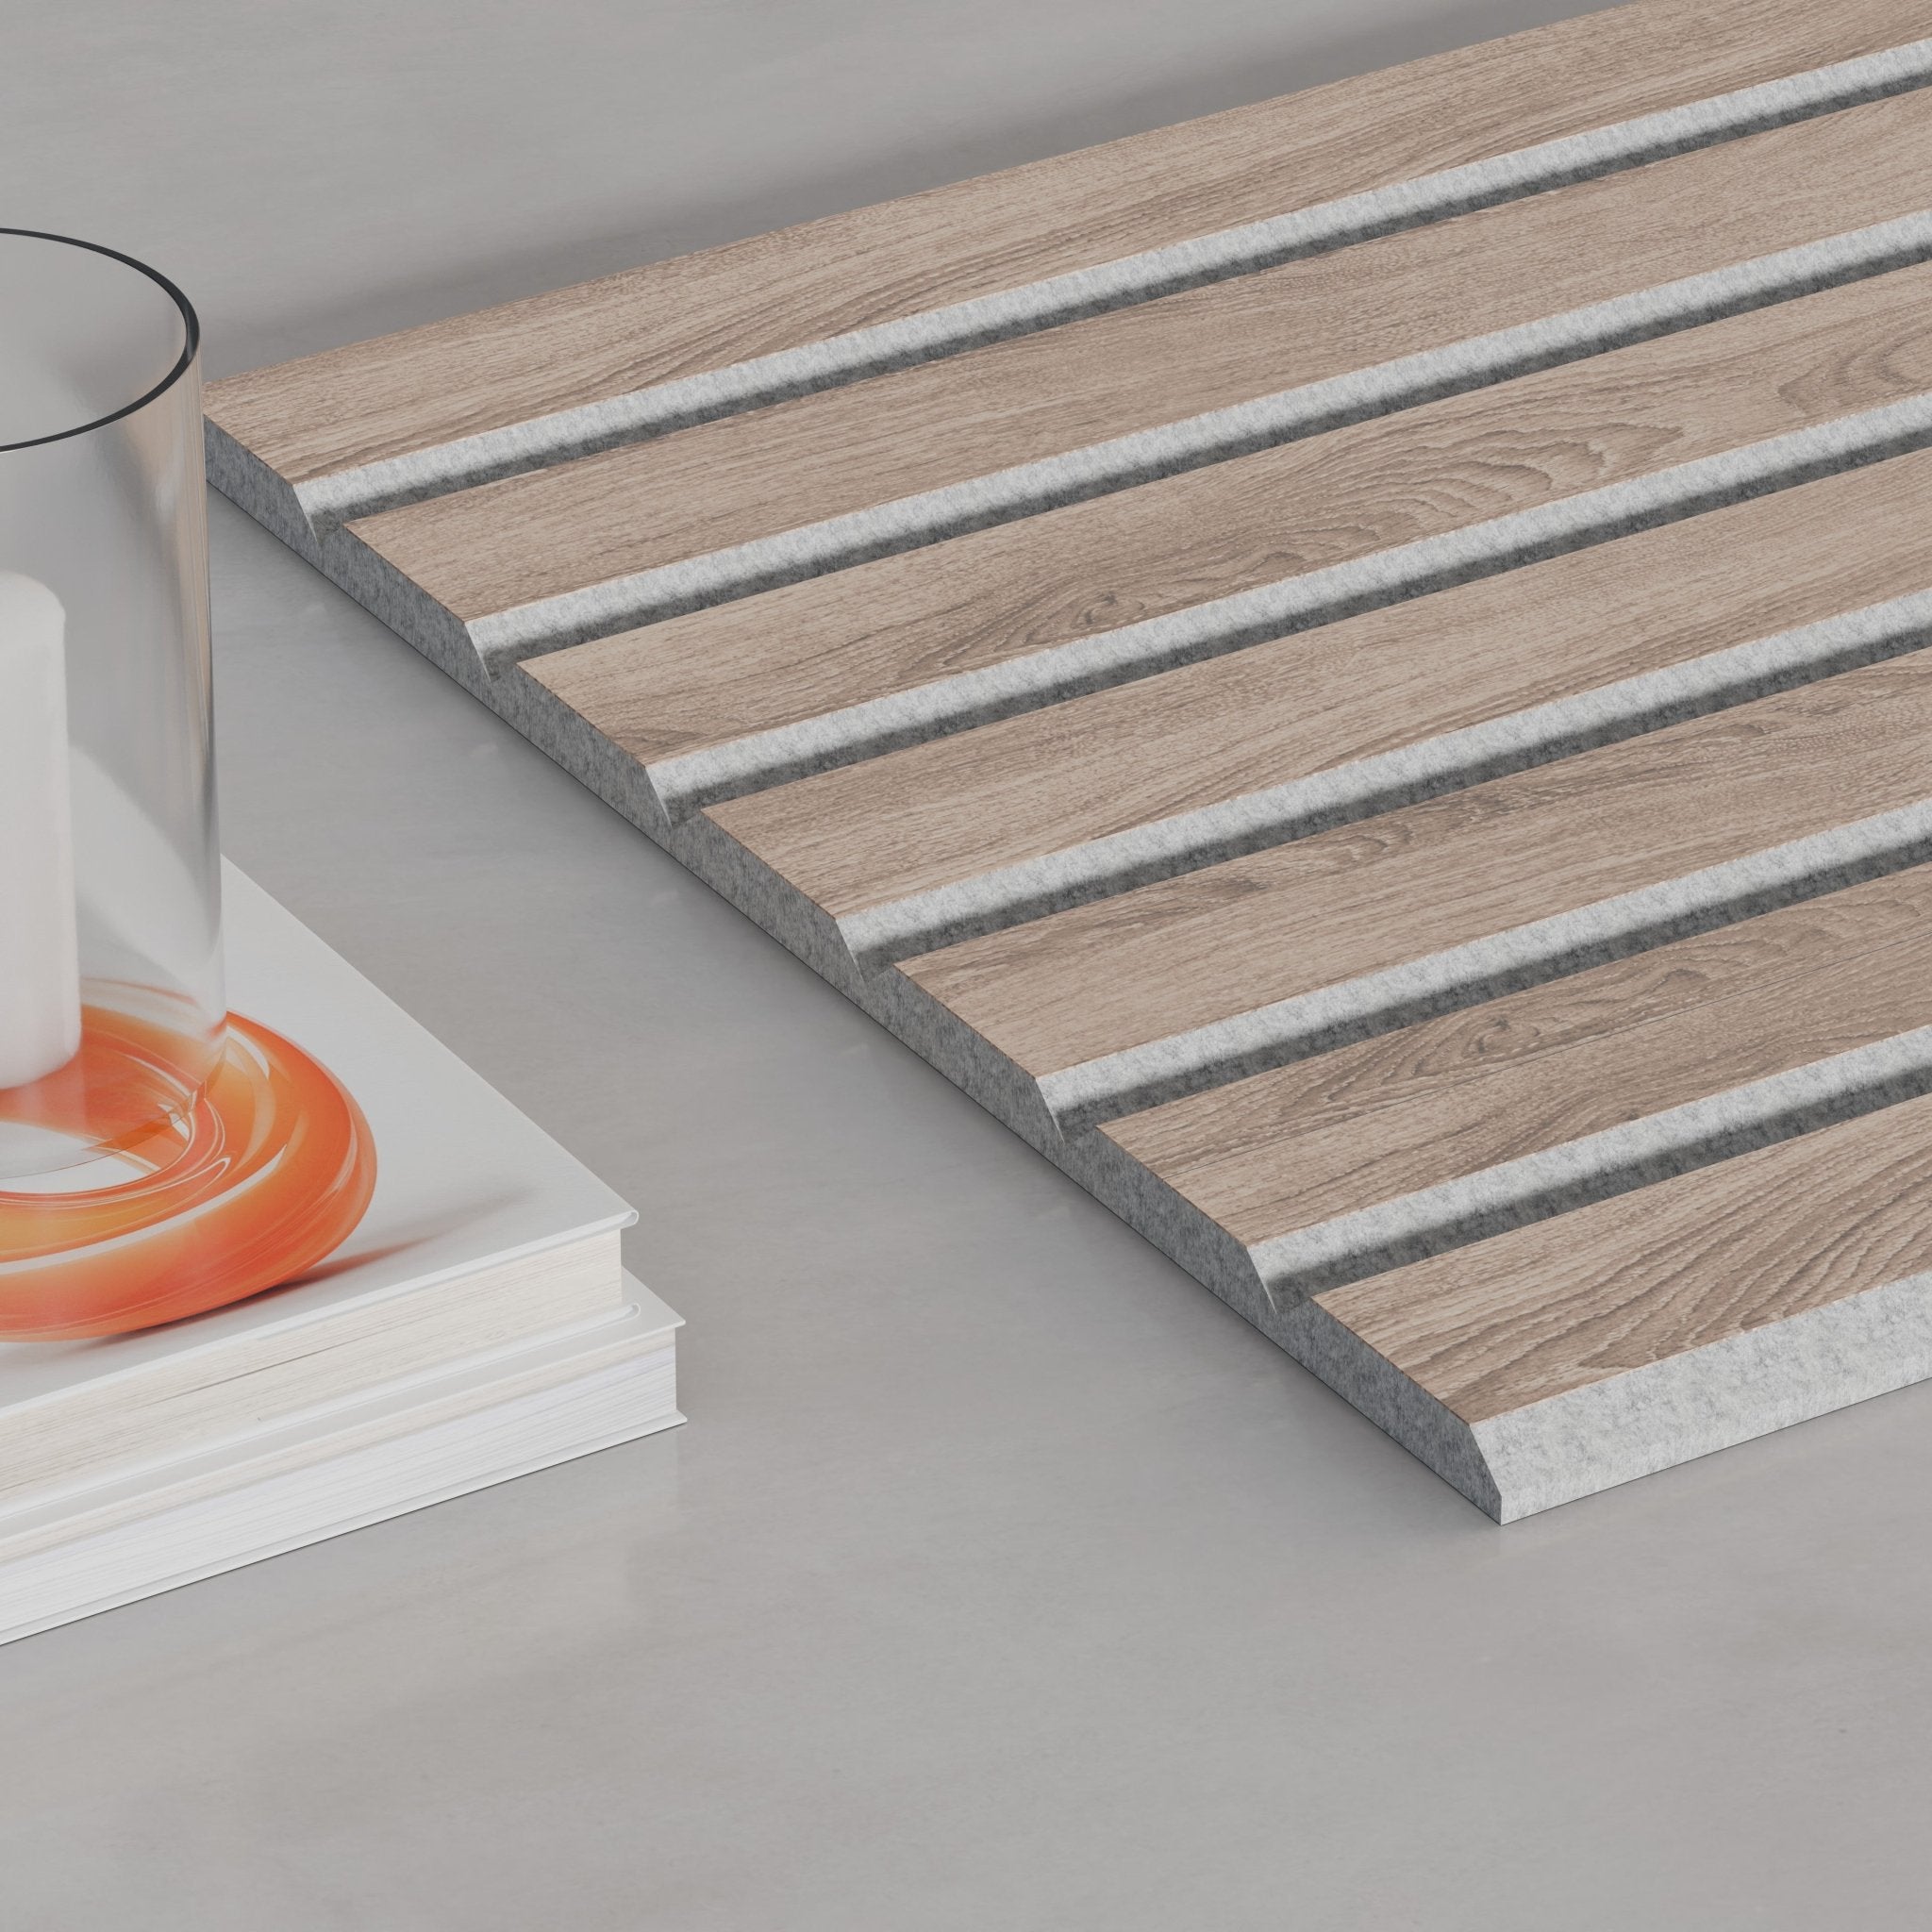
Wood slat acoustic panels have gained popularity as a versatile and visually appealing solution for improving both the aesthetics and acoustics of interior spaces. If you're considering installing wood slat acoustic panels in your home or commercial environment, this comprehensive guide will walk you through the step-by-step process. From preparation to final touches, we'll provide you with valuable insights and tips to ensure a successful installation that enhances the overall ambiance and sound quality of your space.
Step 1: Pre-Installation Preparation
Before diving into the installation process, there are a few important steps to take:
- Measure and Plan: Measure the dimensions of the wall or ceiling where you intend to install the wood slat acoustic panels. Plan the layout and consider any design considerations, such as panel arrangement, spacing, and alignment.
- Surface Preparation: Ensure that the installation surface is clean, dry, and free of any debris or imperfections. Repair or patch any noticeable cracks or damages to create a smooth and even surface.
Step 2: Gather the Necessary Tools and Materials
To streamline the installation process, gather the following tools and materials:
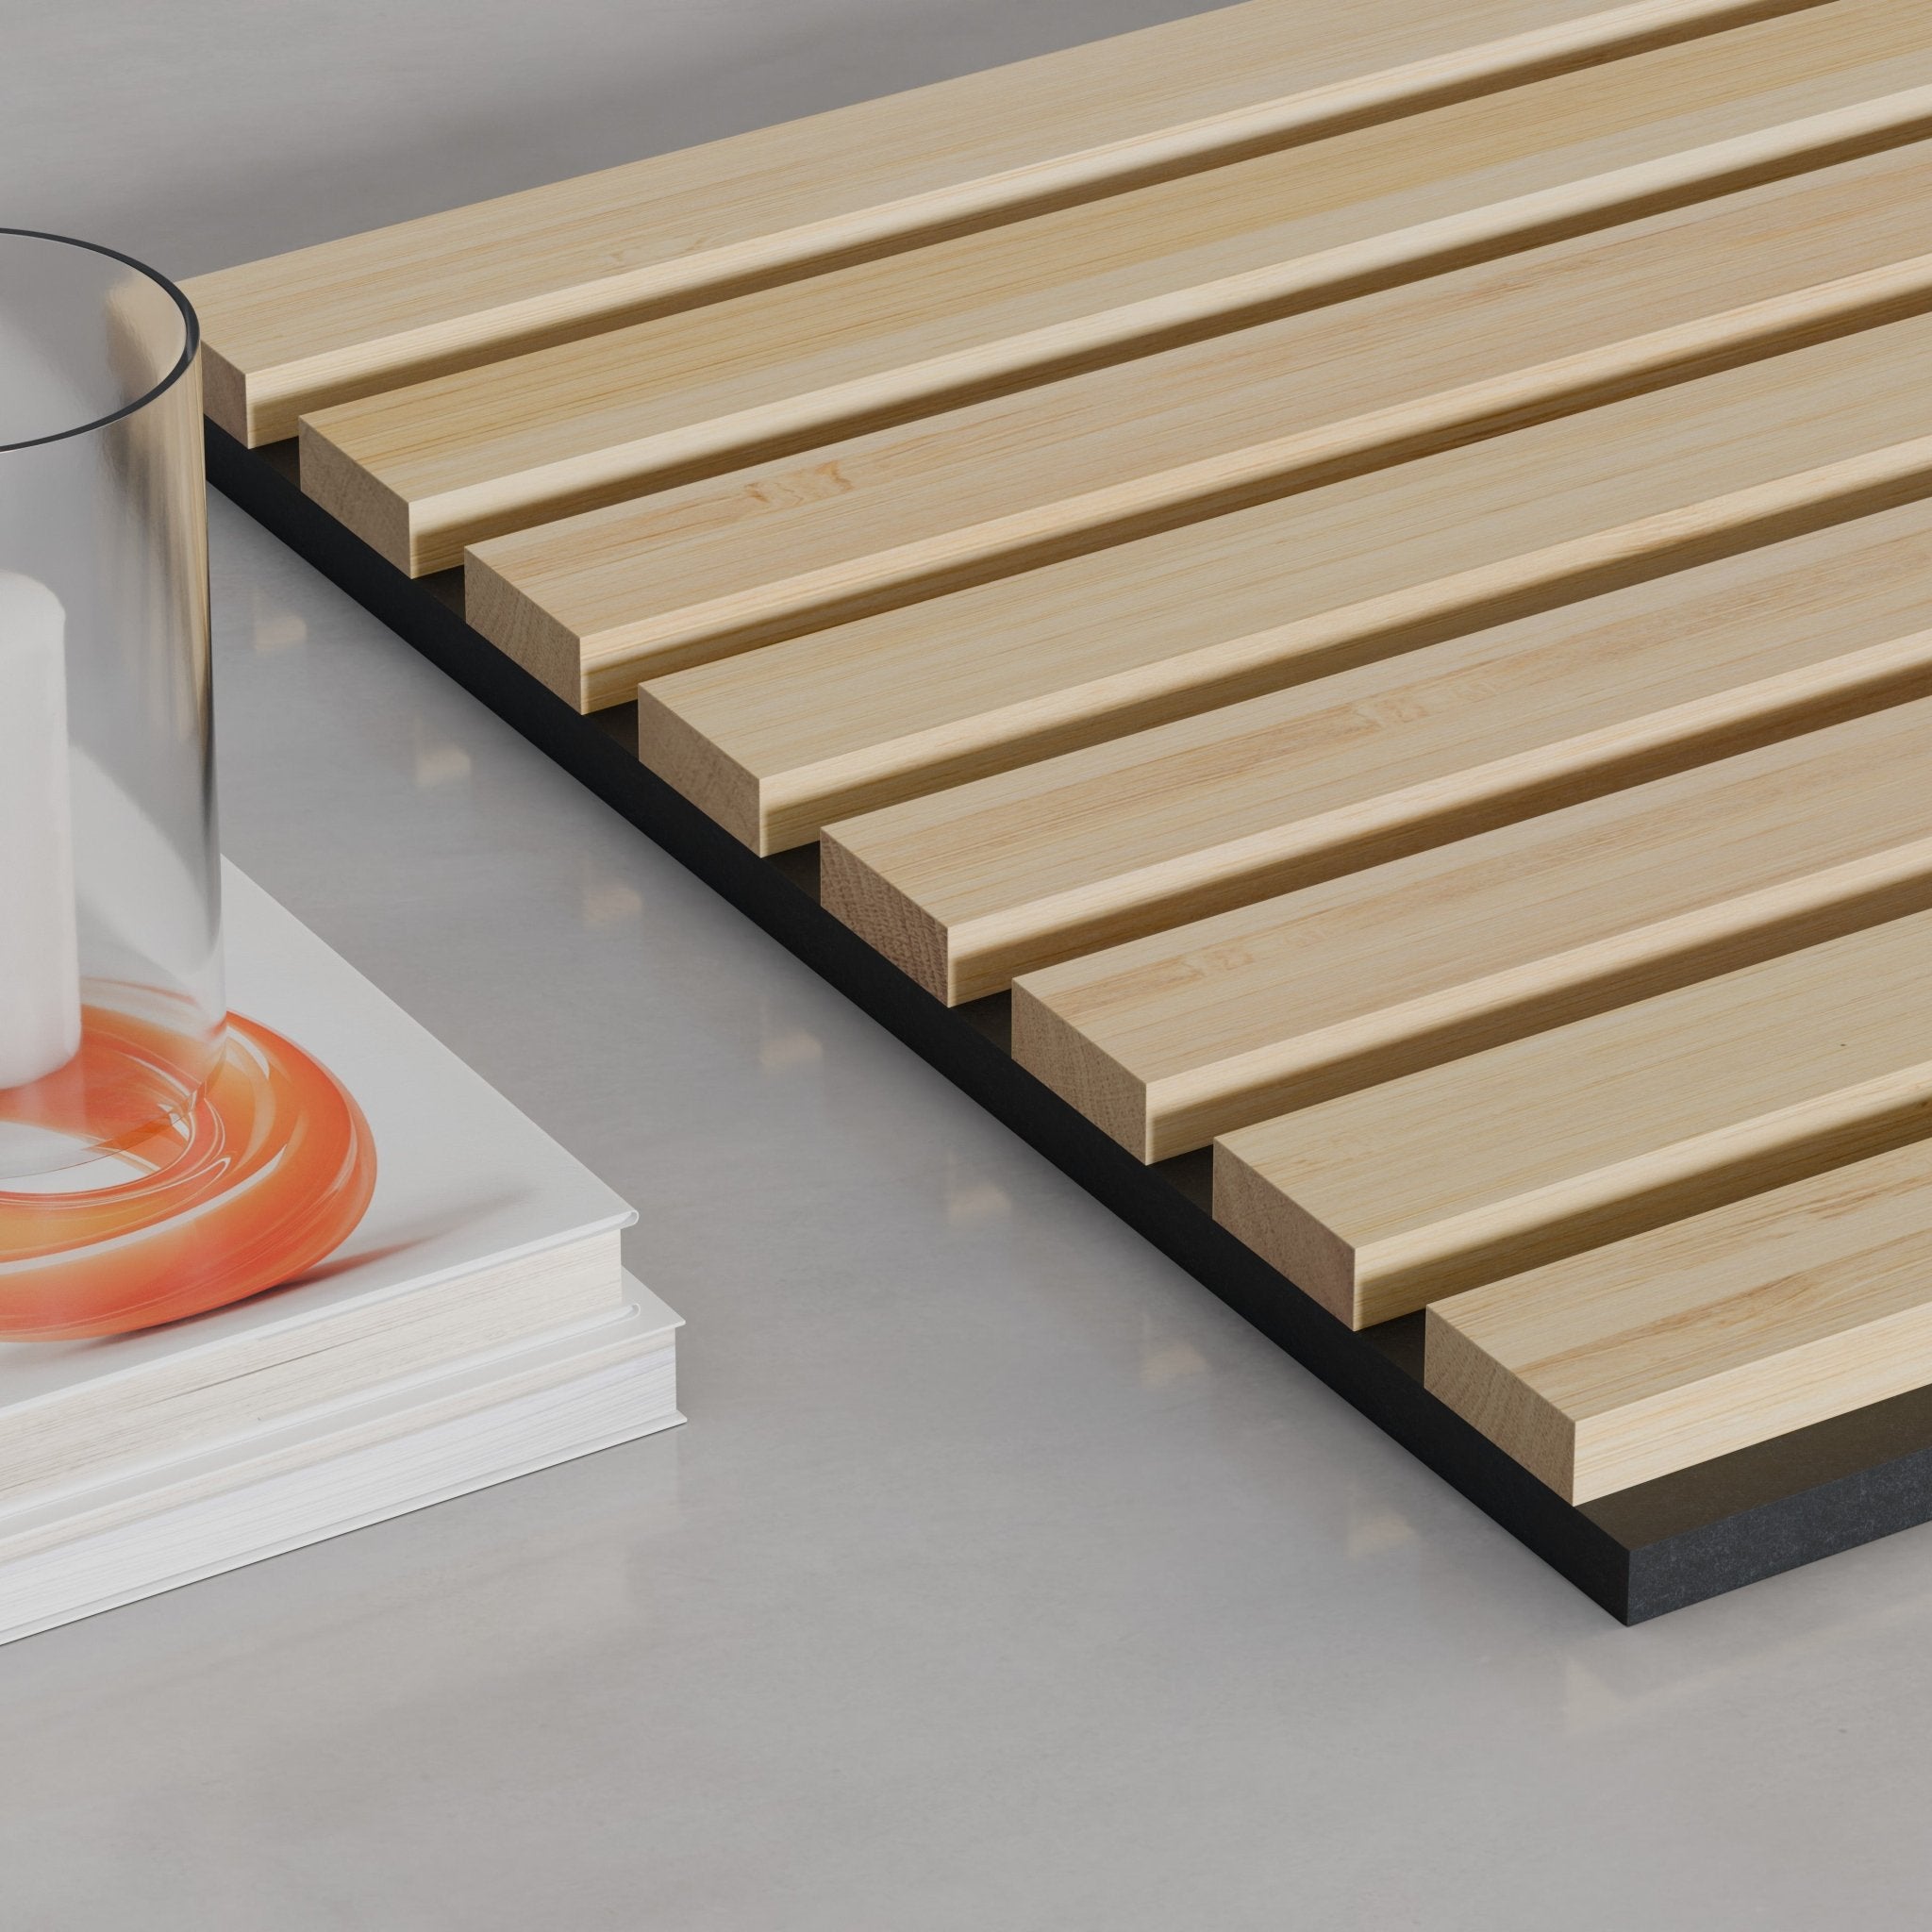
- Wood slat acoustic panels
- Screws or construction adhesive (differences explained below)
- Level
- Measuring tape
- Power drill or screwdriver
- Pencil or marking tool
- Safety goggles and gloves (for personal protection)
Step 3: Choose the Installation Method
Wood slat acoustic panels can be installed using various methods, including direct mounting, using brackets, or using clips. Choose the method that aligns with your design vision and the structural requirements of your space.
- Screws: The most effective and messy-free way to get your panels up in no time. The panels are approximately 30 lbs each and does not require mounting to a stud.
- Construction Adhesives: A great option and is renter friendly. It does not damage the walls and if applied thoroughly can be secured safely. The best part is, you can remove the panels without damaging the wall or the panel itself, so if you plan to use them short term or you're renting a space that does not allow you to drill holes, this is the recommended option.
Step 4: Installation Process
With the chosen method in mind, follow these general installation steps:
- Mark the Placement: Use a pencil or marking tool to indicate the desired placement of the wood slat acoustic panels on the surface. Double-check the alignment and spacing for a visually pleasing result.
- Mounting or Attaching: Depending on the chosen installation method, proceed to mount the panels onto the surface. Use a level to ensure the panels are straight and even.
- Secure the Panels: Once the panels are in position, secure them using screws or adhesive as per the installation method. Be mindful of any weight limitations and follow the manufacturer's guidelines for optimal results.
- Finishing Touches: Inspect the installed panels for any adjustments or alignment issues. Make any necessary tweaks to ensure a uniform and visually appealing installation.
Step 5: Enjoy the Benefits of Wood Slat Acoustic Panels
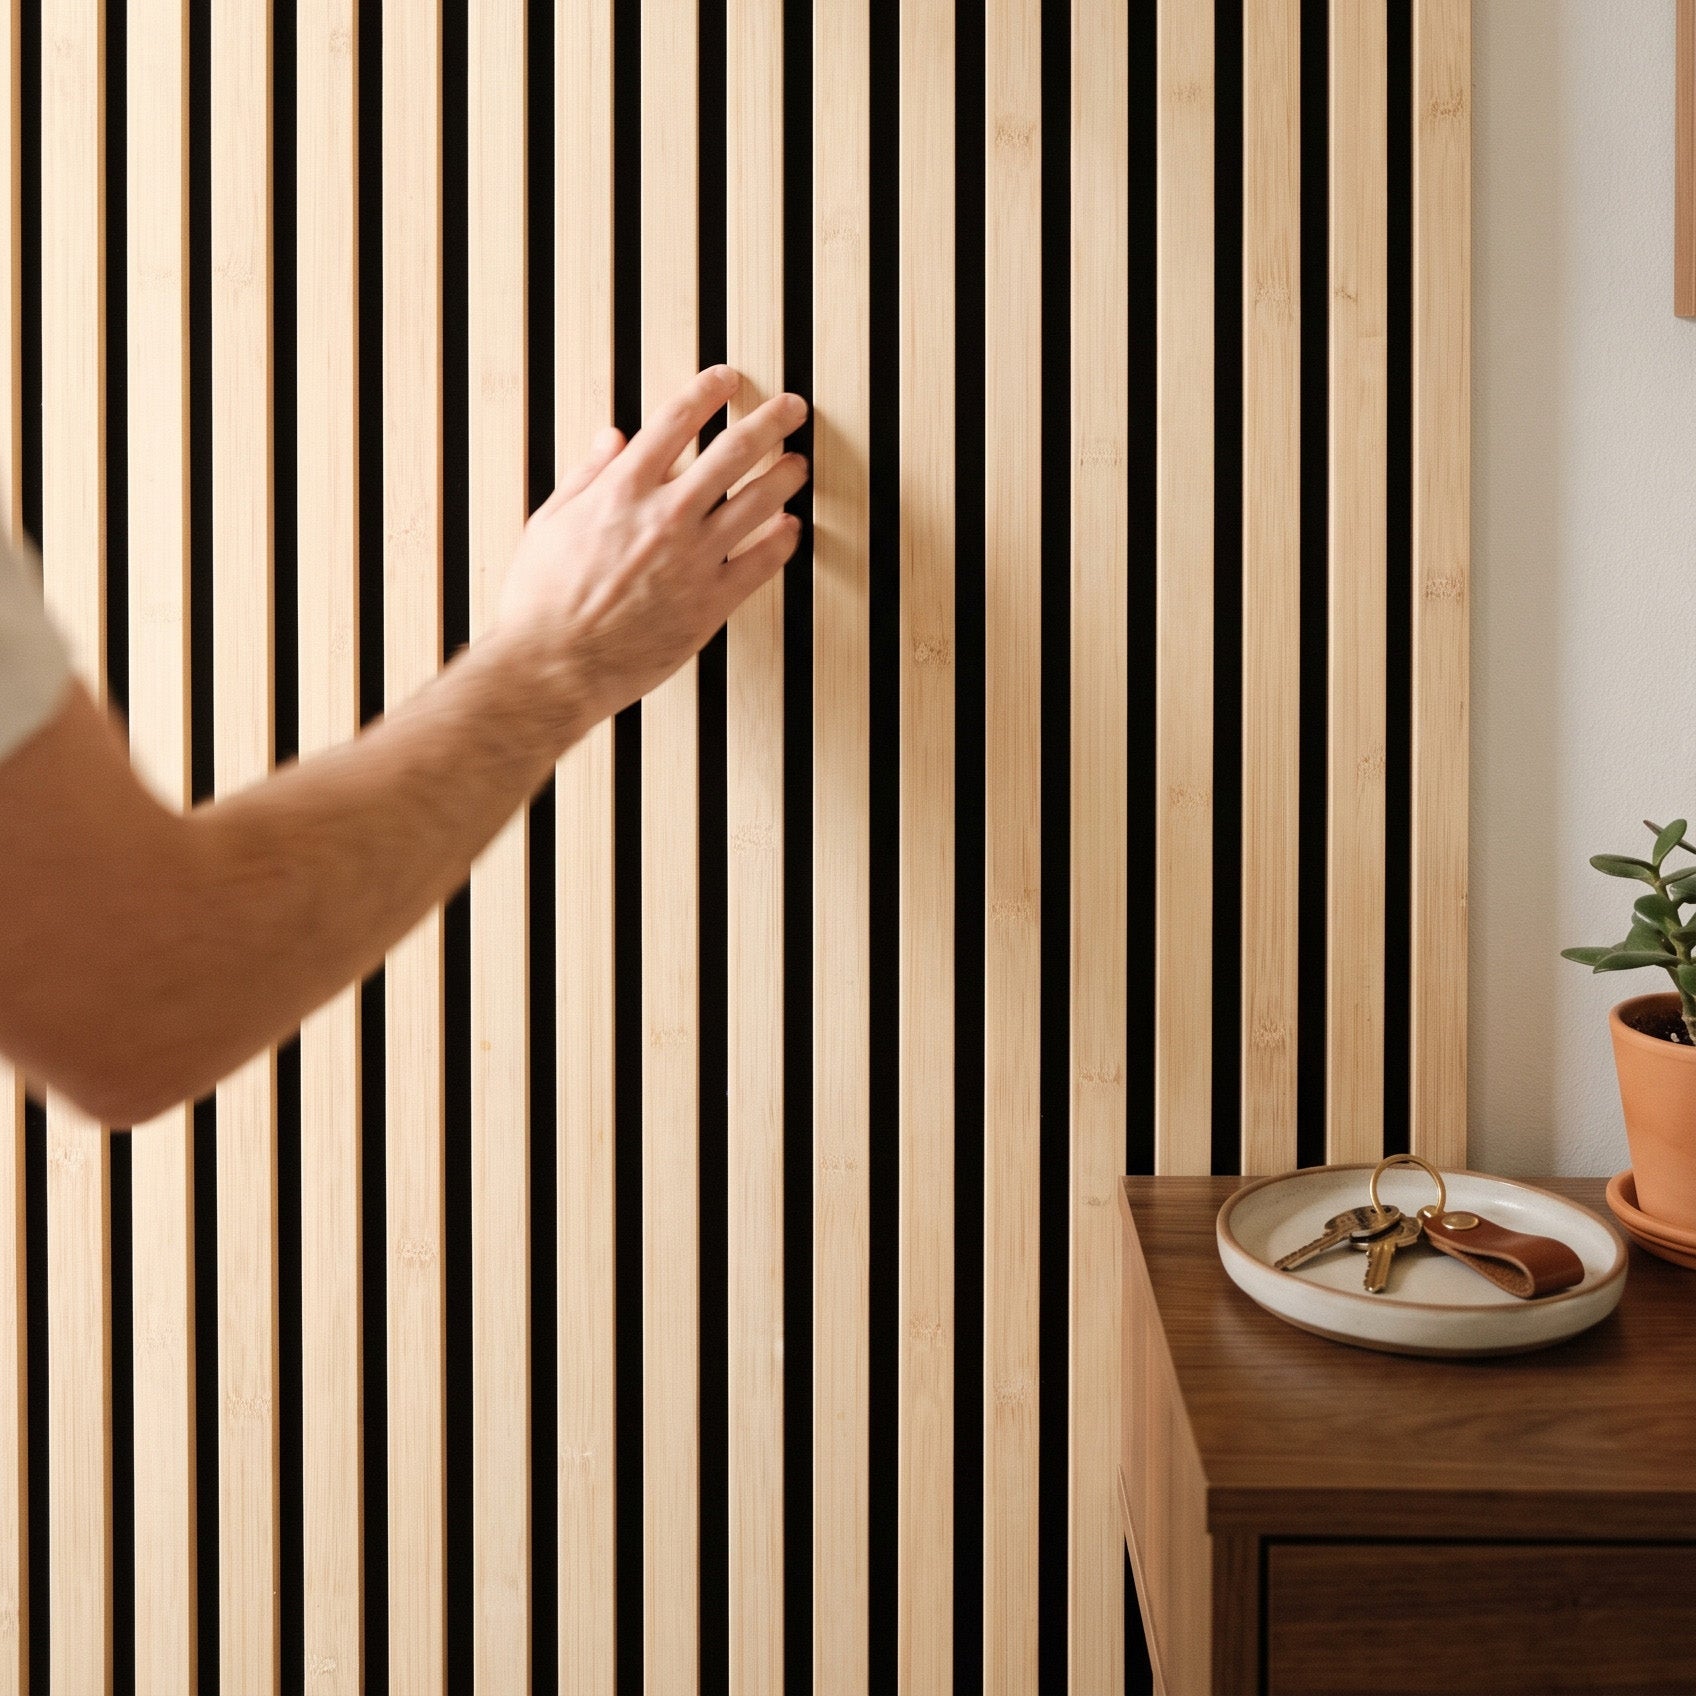
Once the installation is complete, take a step back and admire the transformative impact of the wood slat acoustic panels on your space. Experience the improved acoustics, reduced echo, and enhanced visual appeal that these panels provide. Bask in the newfound ambiance and enjoy the optimal sound quality they offer.
Conclusion:
Installing wood slat acoustic panels is an easy and rewarding DIY friendly process that enhances both the aesthetics and acoustics of your space. By following these step-by-step guidelines, you can confidently embark on a successful installation journey. Remember to plan, measure, gather the necessary tools and materials, choose the appropriate installation method, and execute the installation with precision. With your newly installed wood slat acoustic panels, you'll enjoy a visually stunning environment with improved sound quality, creating a more pleasant and immersive experience for everyone who enters the space.


