







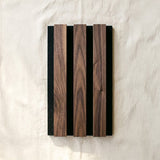

 Ultralight
 TrueWood Lite
 Solid Oak & Walnut
 Solid Bamboo
 Paint-Ready

Shop by line
Ultralight Slat Panels
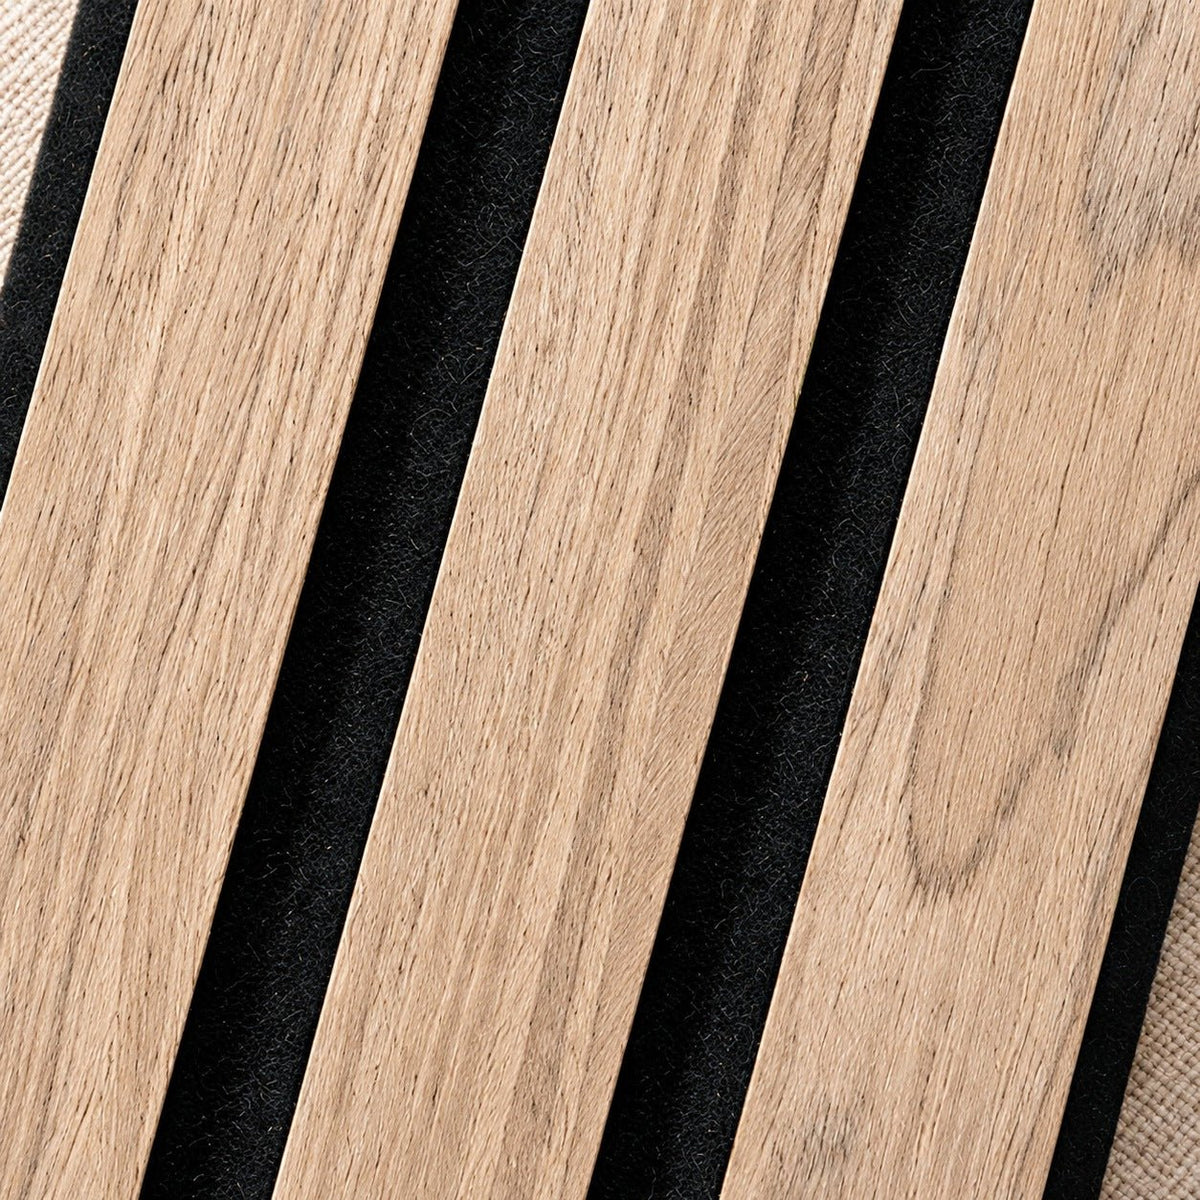
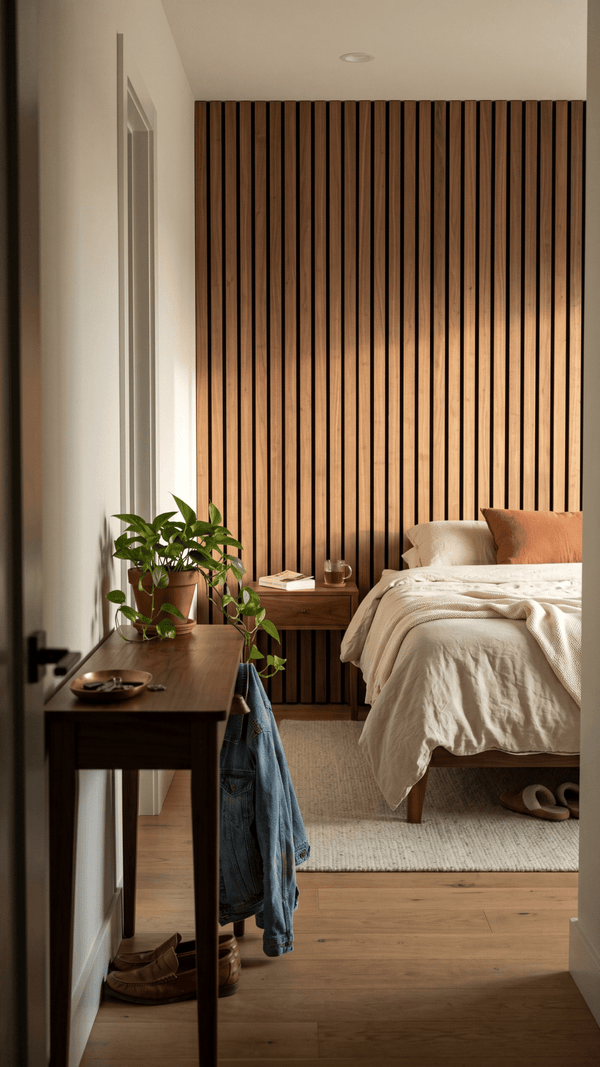
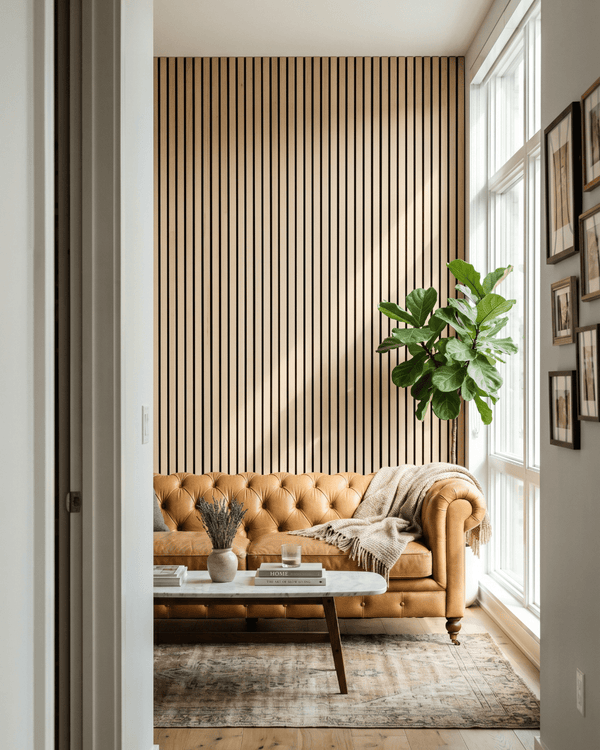
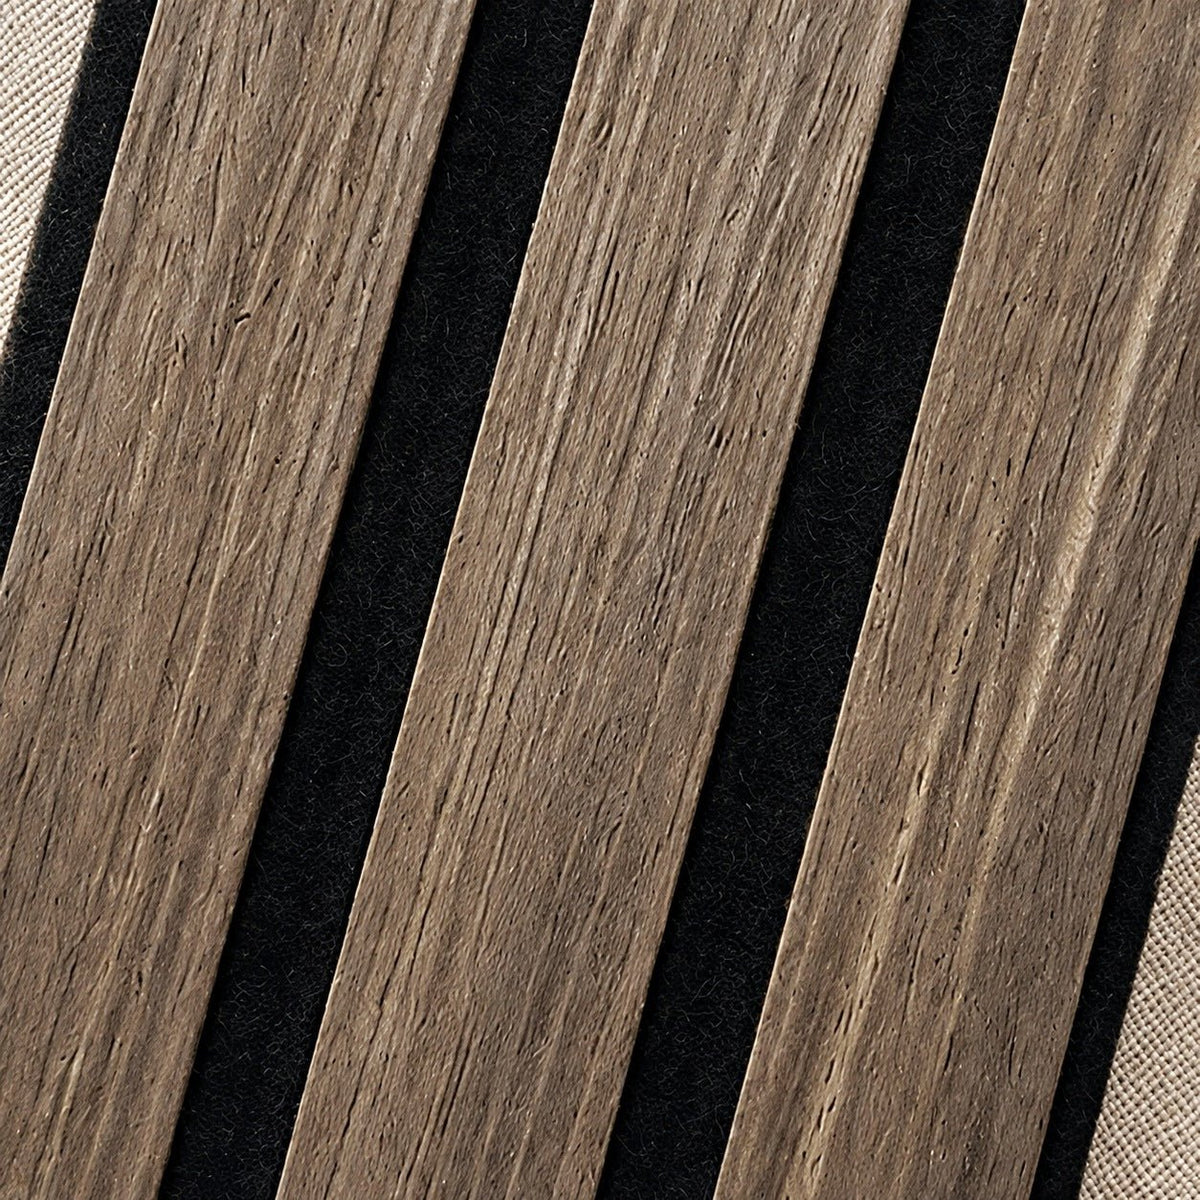
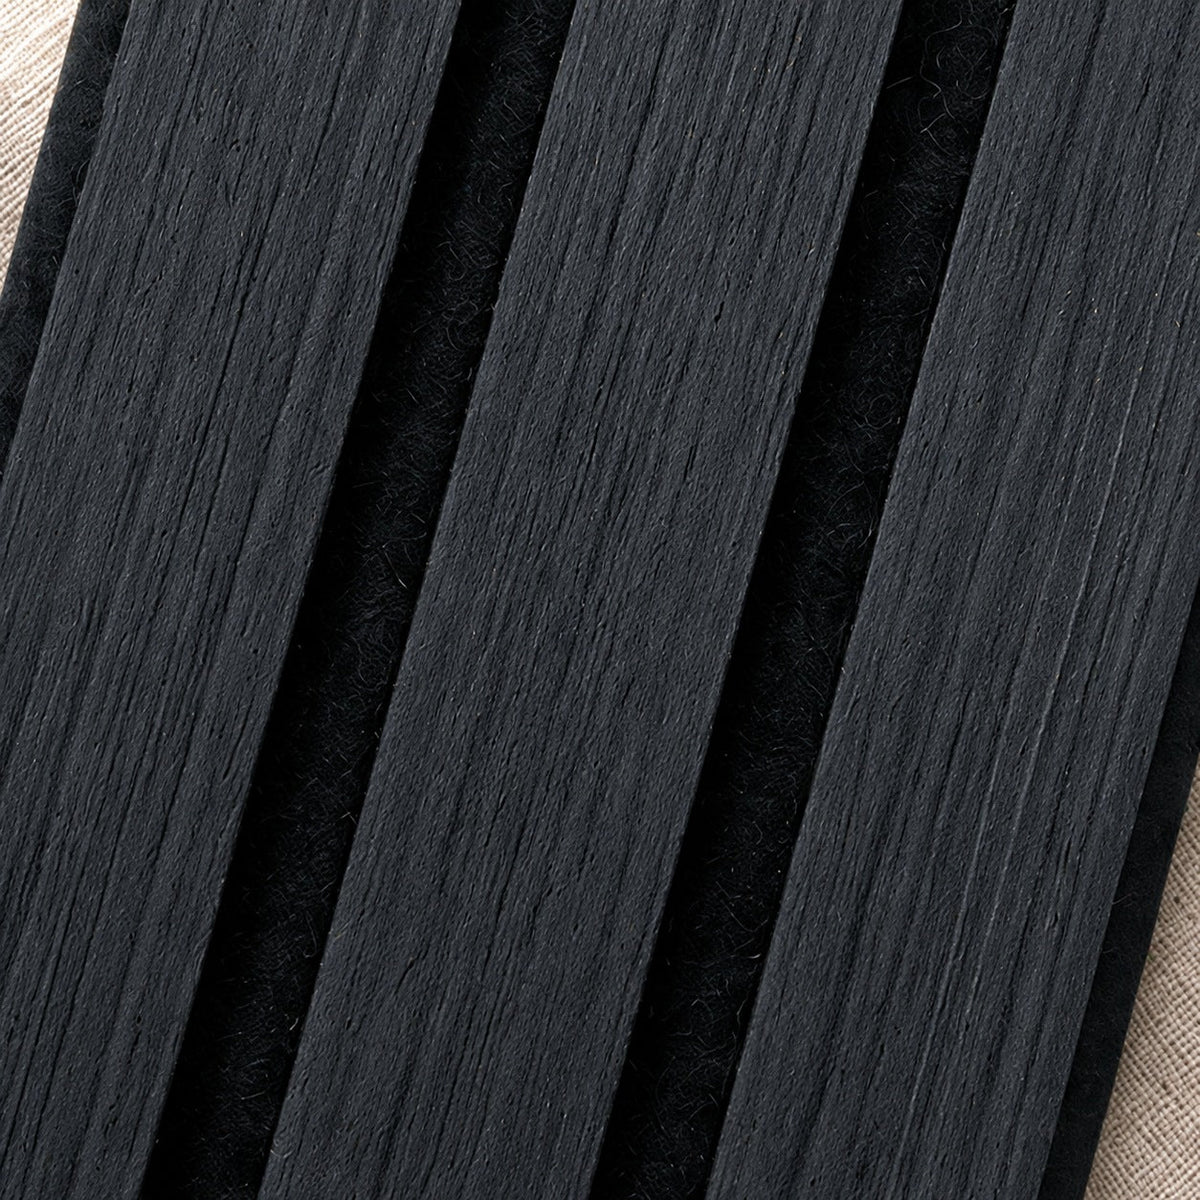
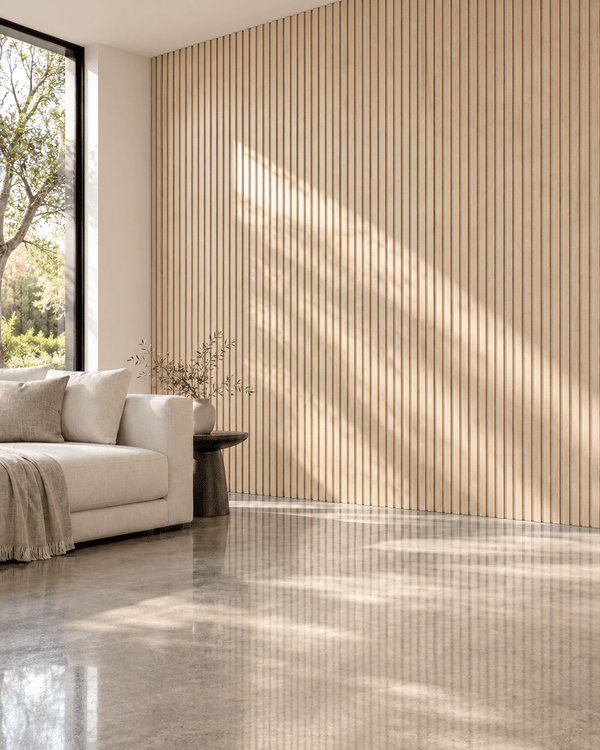
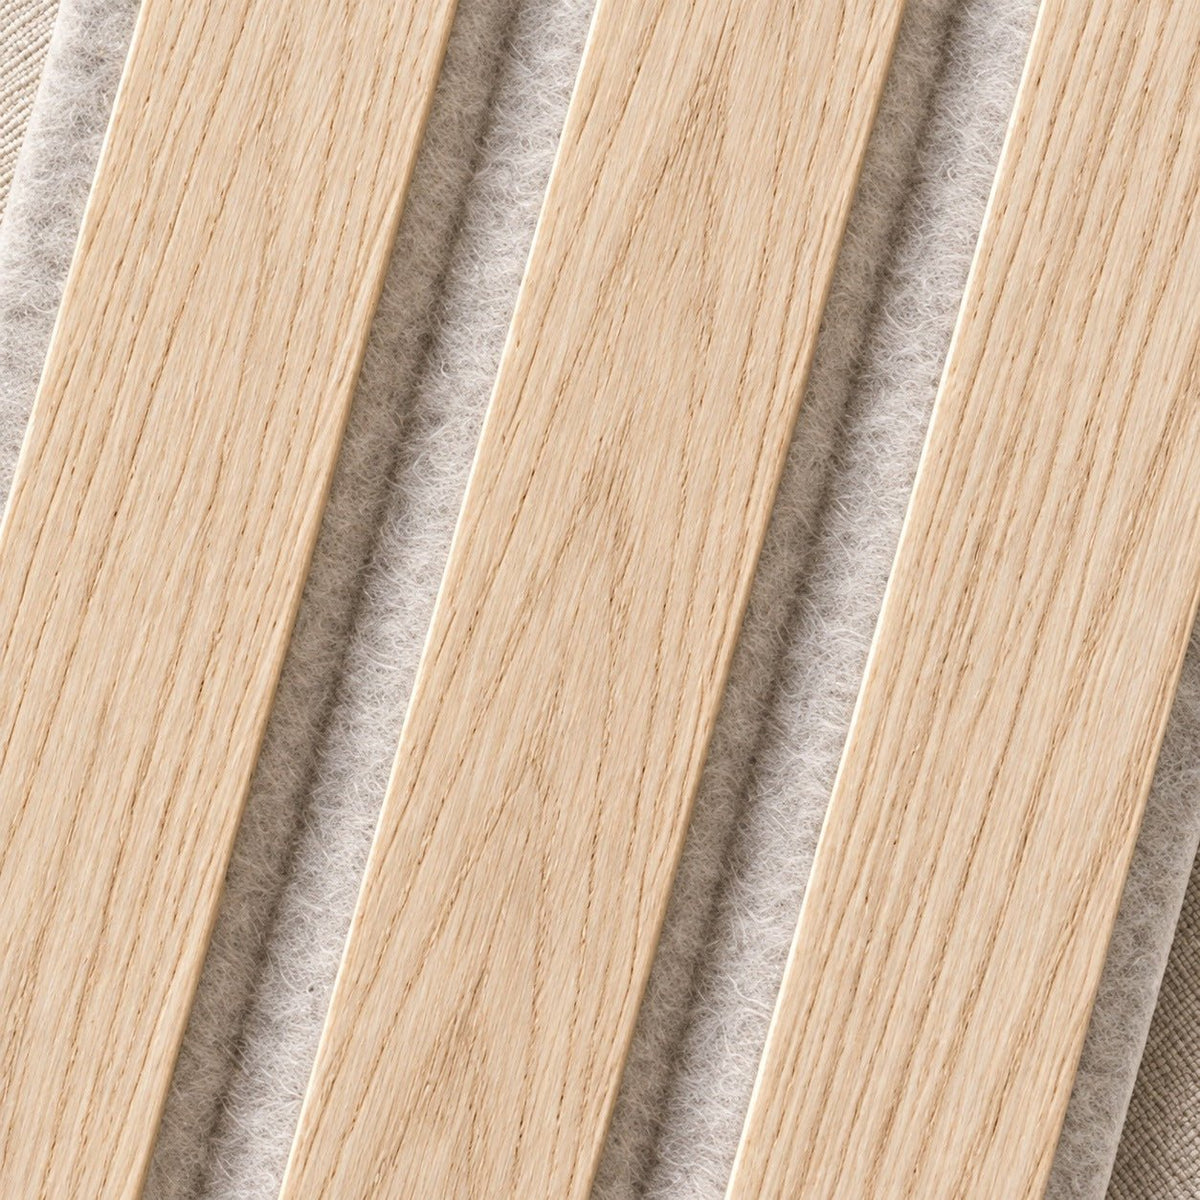
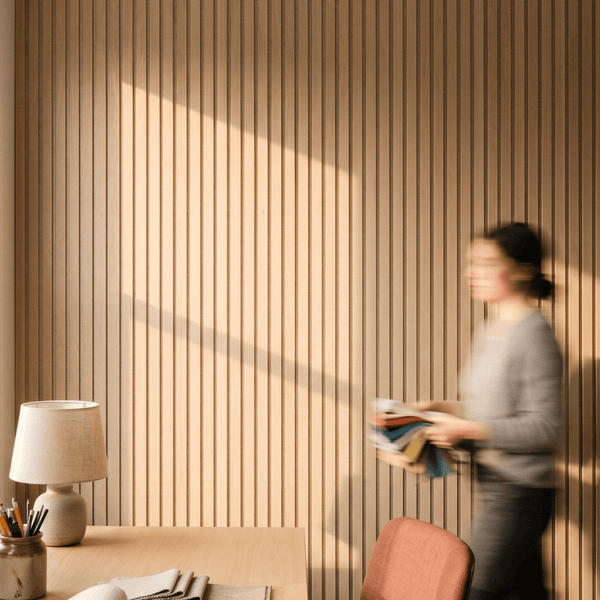
Real wood veneer on 9mm recycled felt, light enough to hang on your own and flexible enough to bend around a curve. Three profiles: Slat, Wide and Accent.


Flexible Real wood veneer on 9mm recycled felt, so the panel bends to follow curved walls.
3 Ultralight profiles
Compare Ultralight Slat, Wide and Accent
The same light, flexible build in three faces. Pick the profile, then the finish.
Ultralight Slat
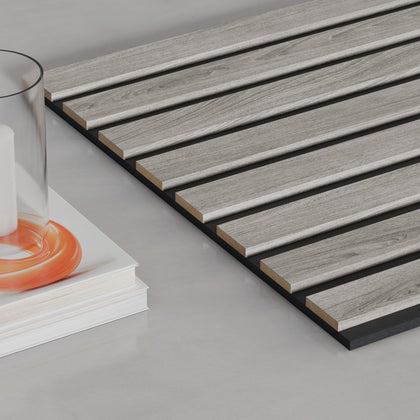
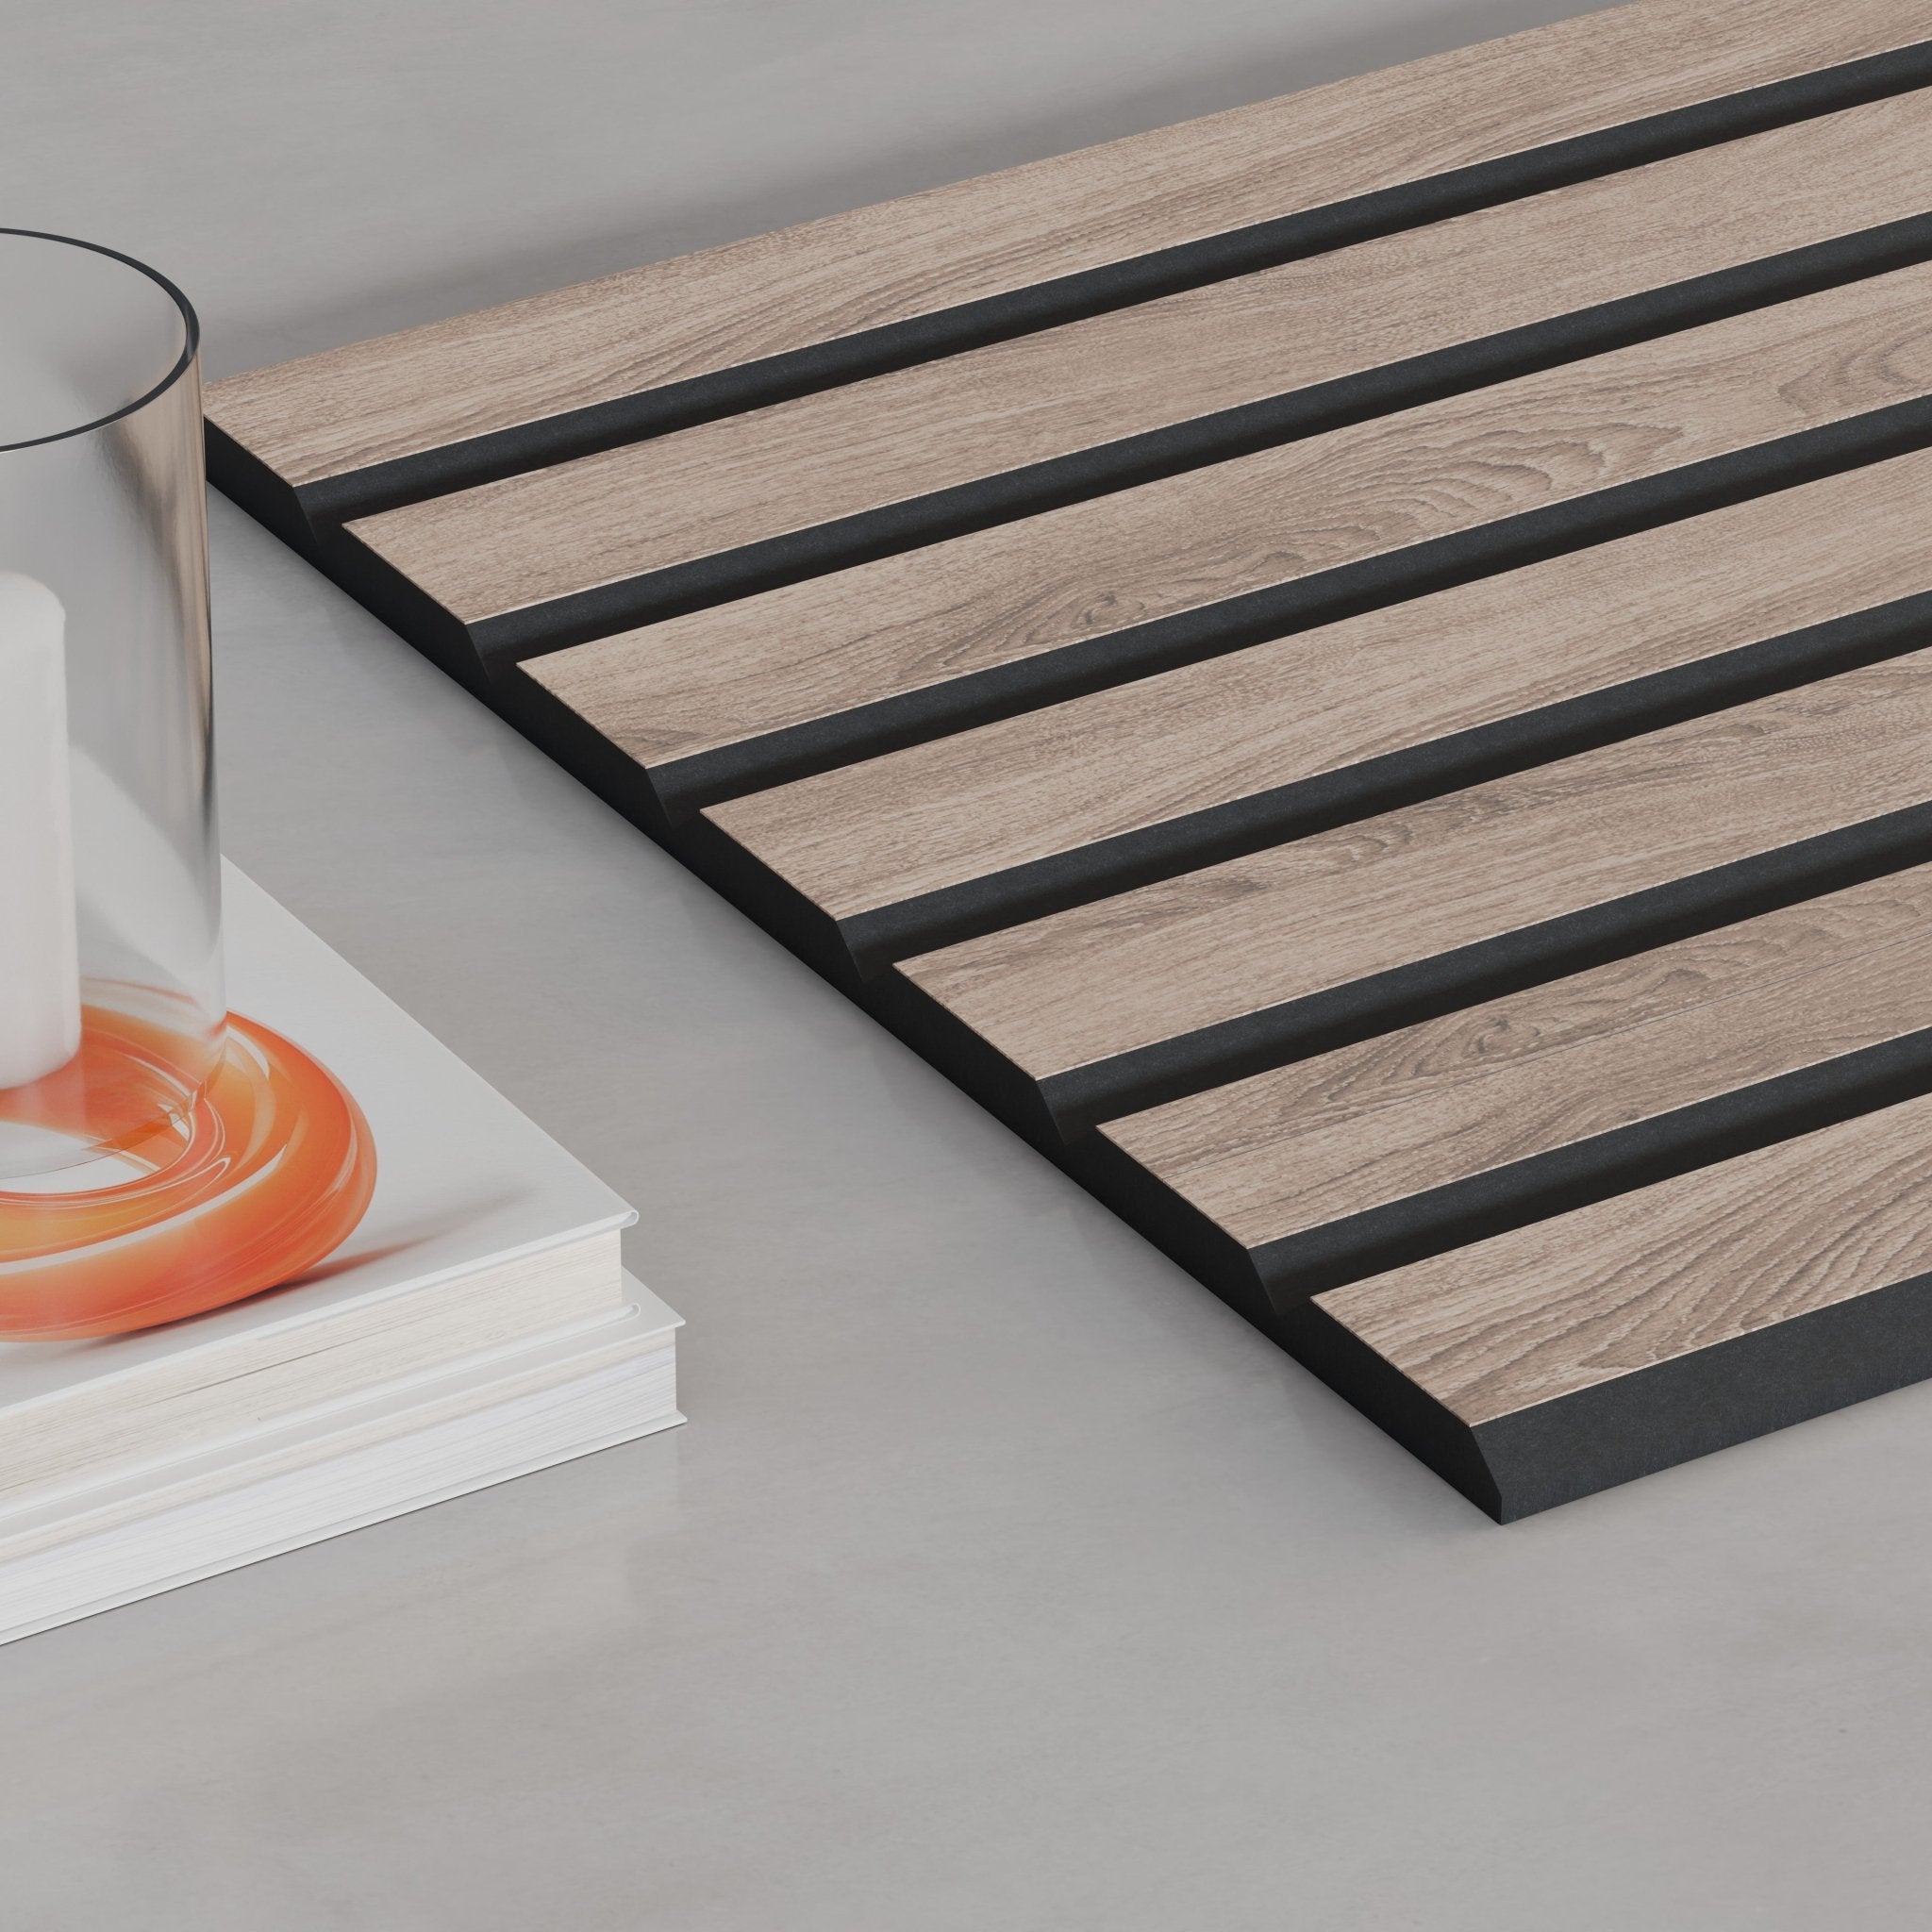
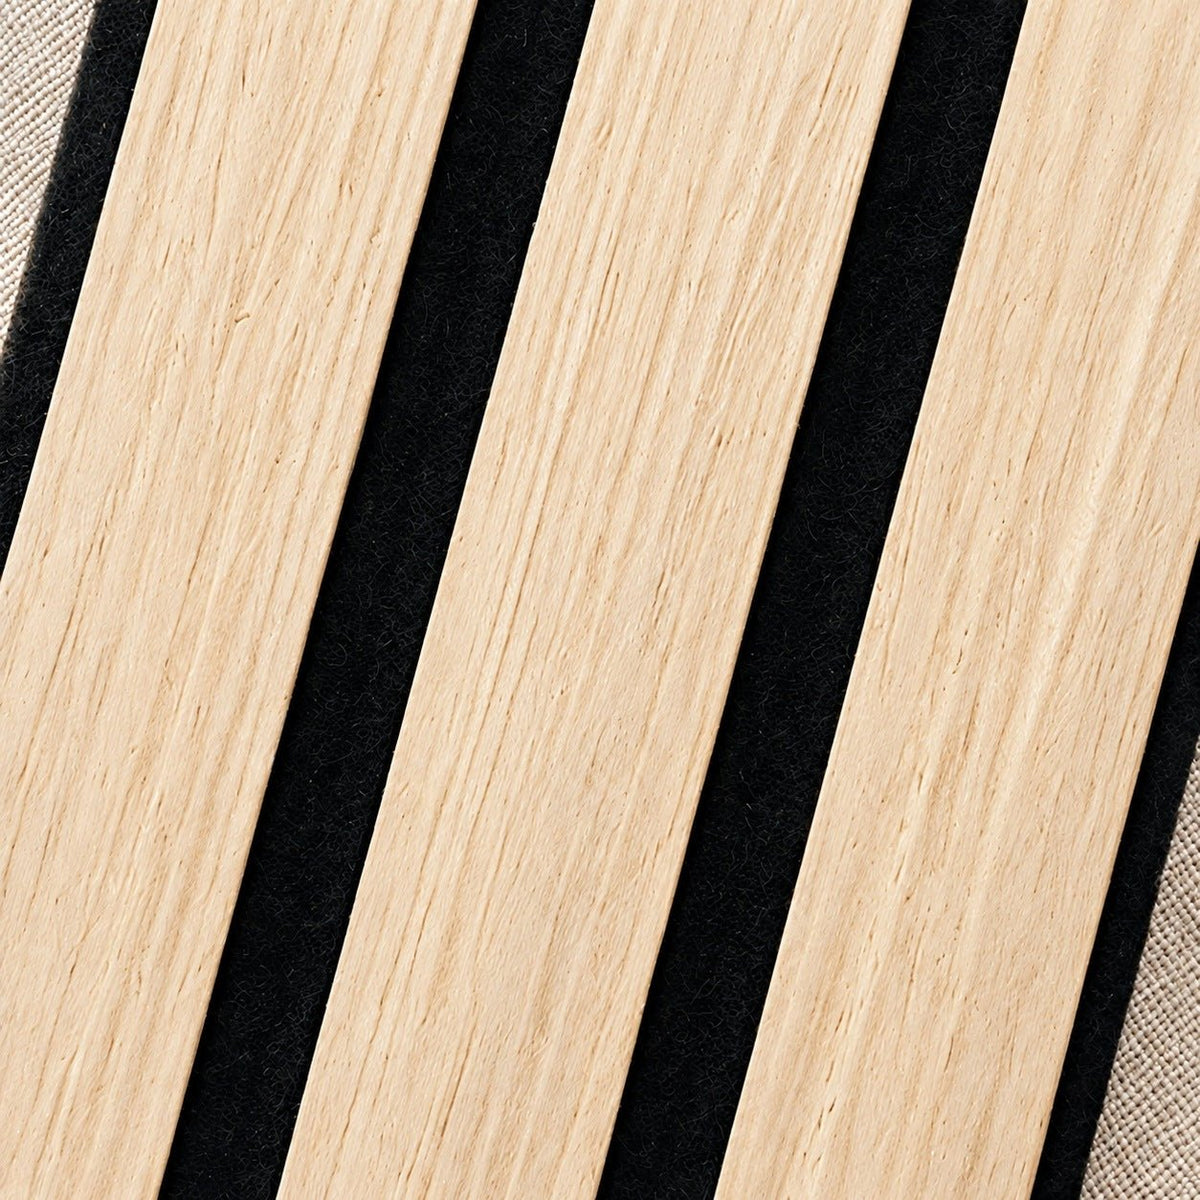
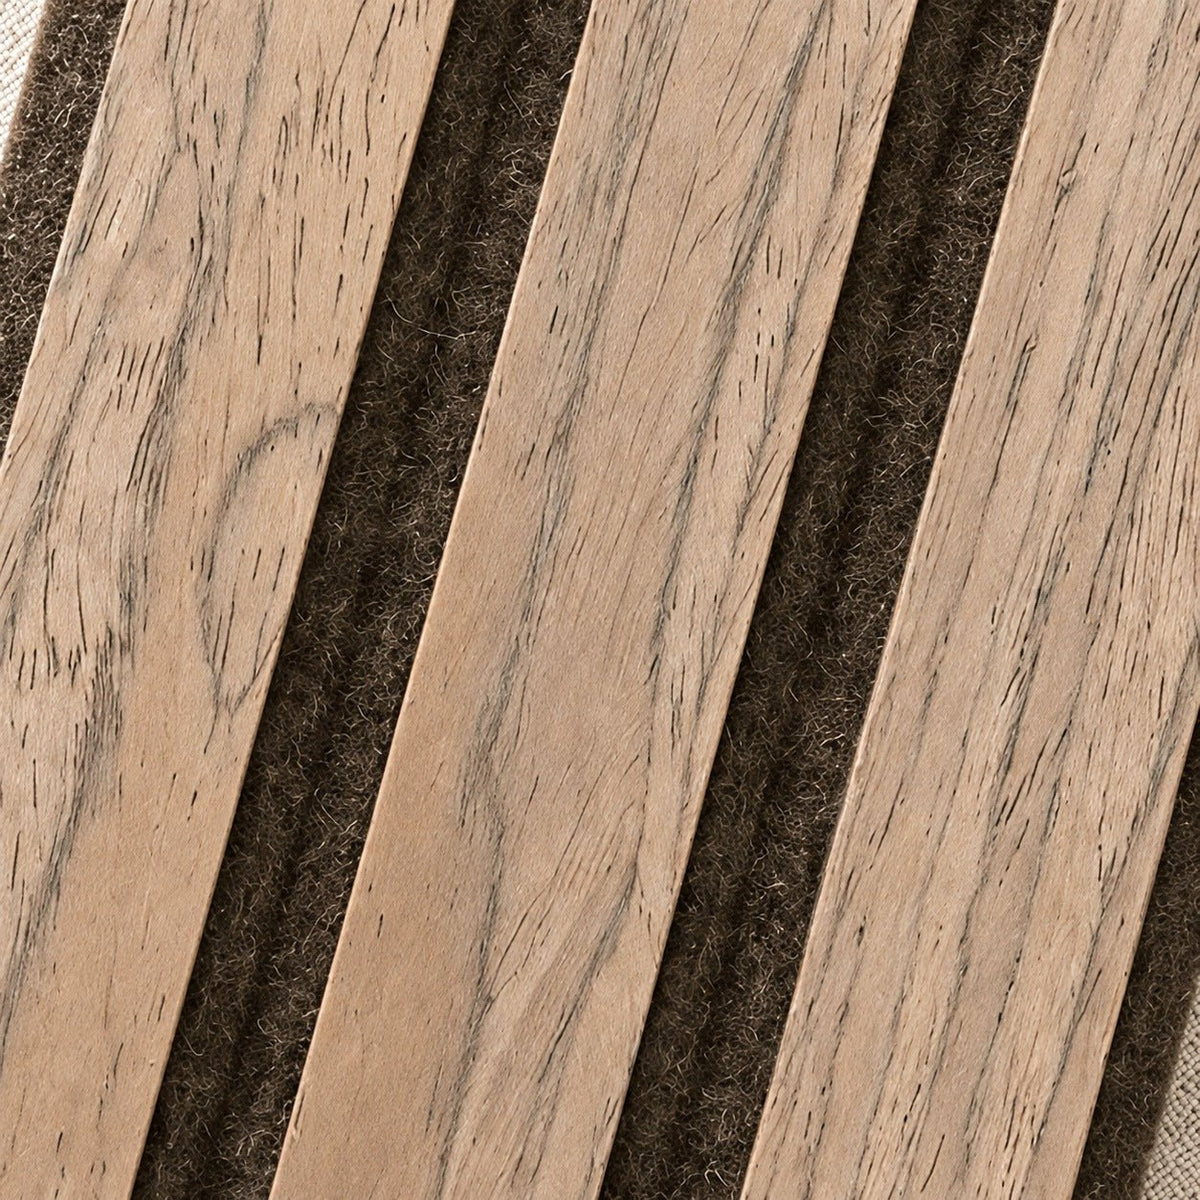
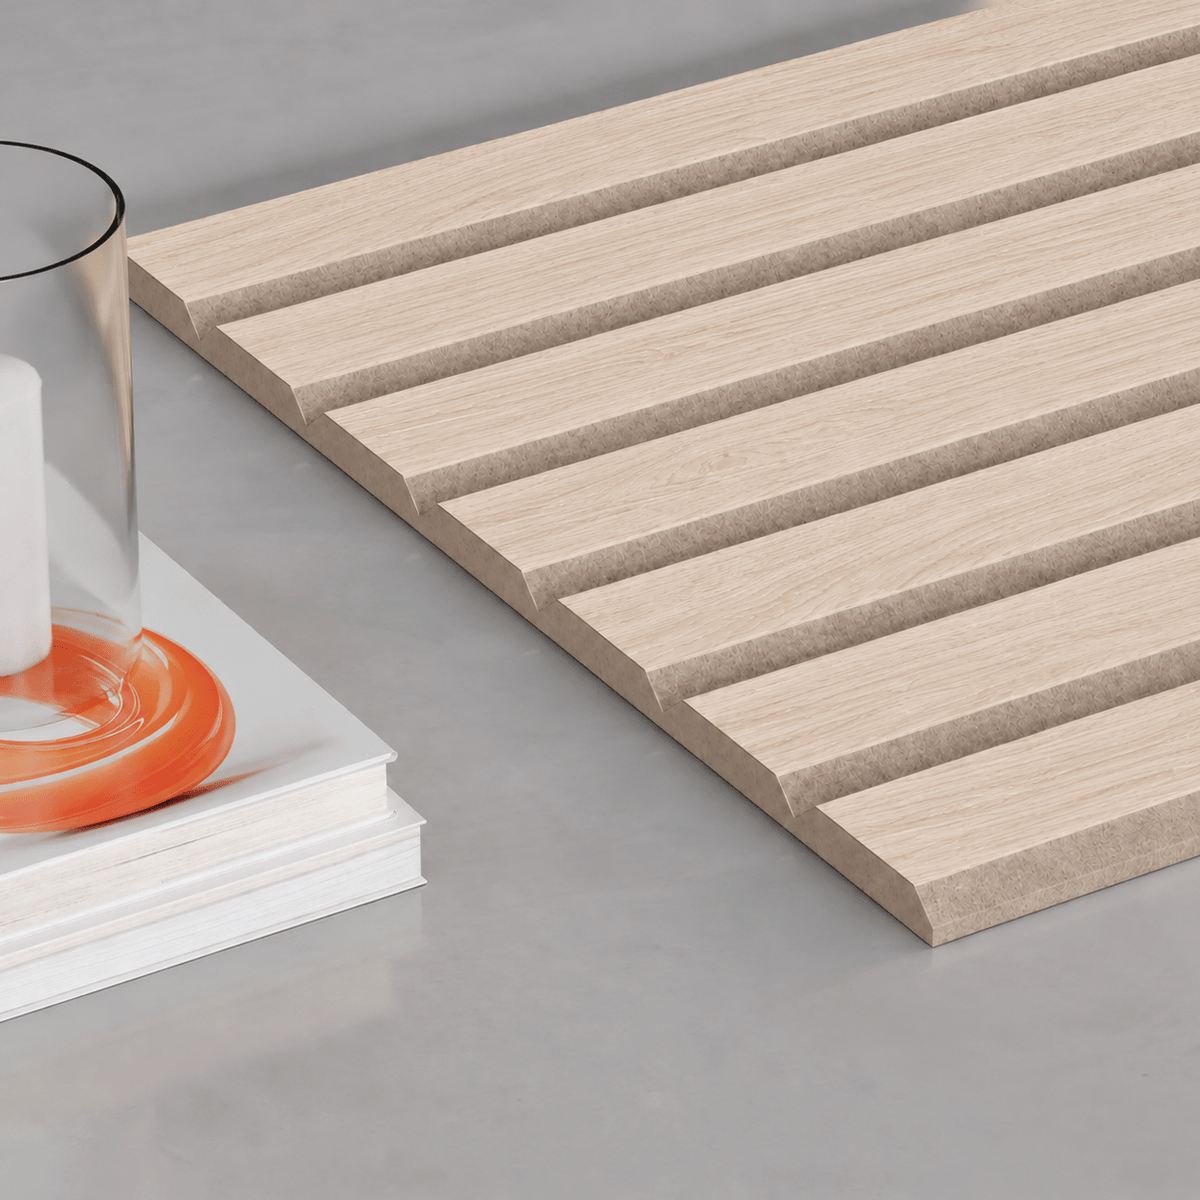
The original: real wood veneer on 9mm felt, cut into 1.2″ slats. It bends.
Shop Ultralight Slat
Ultralight Wide
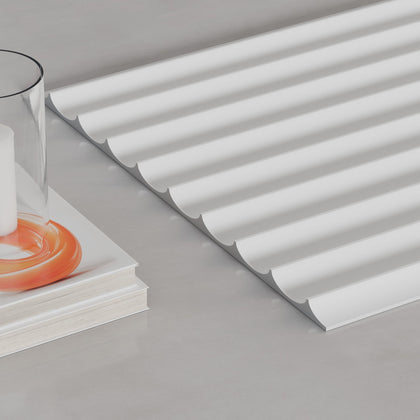
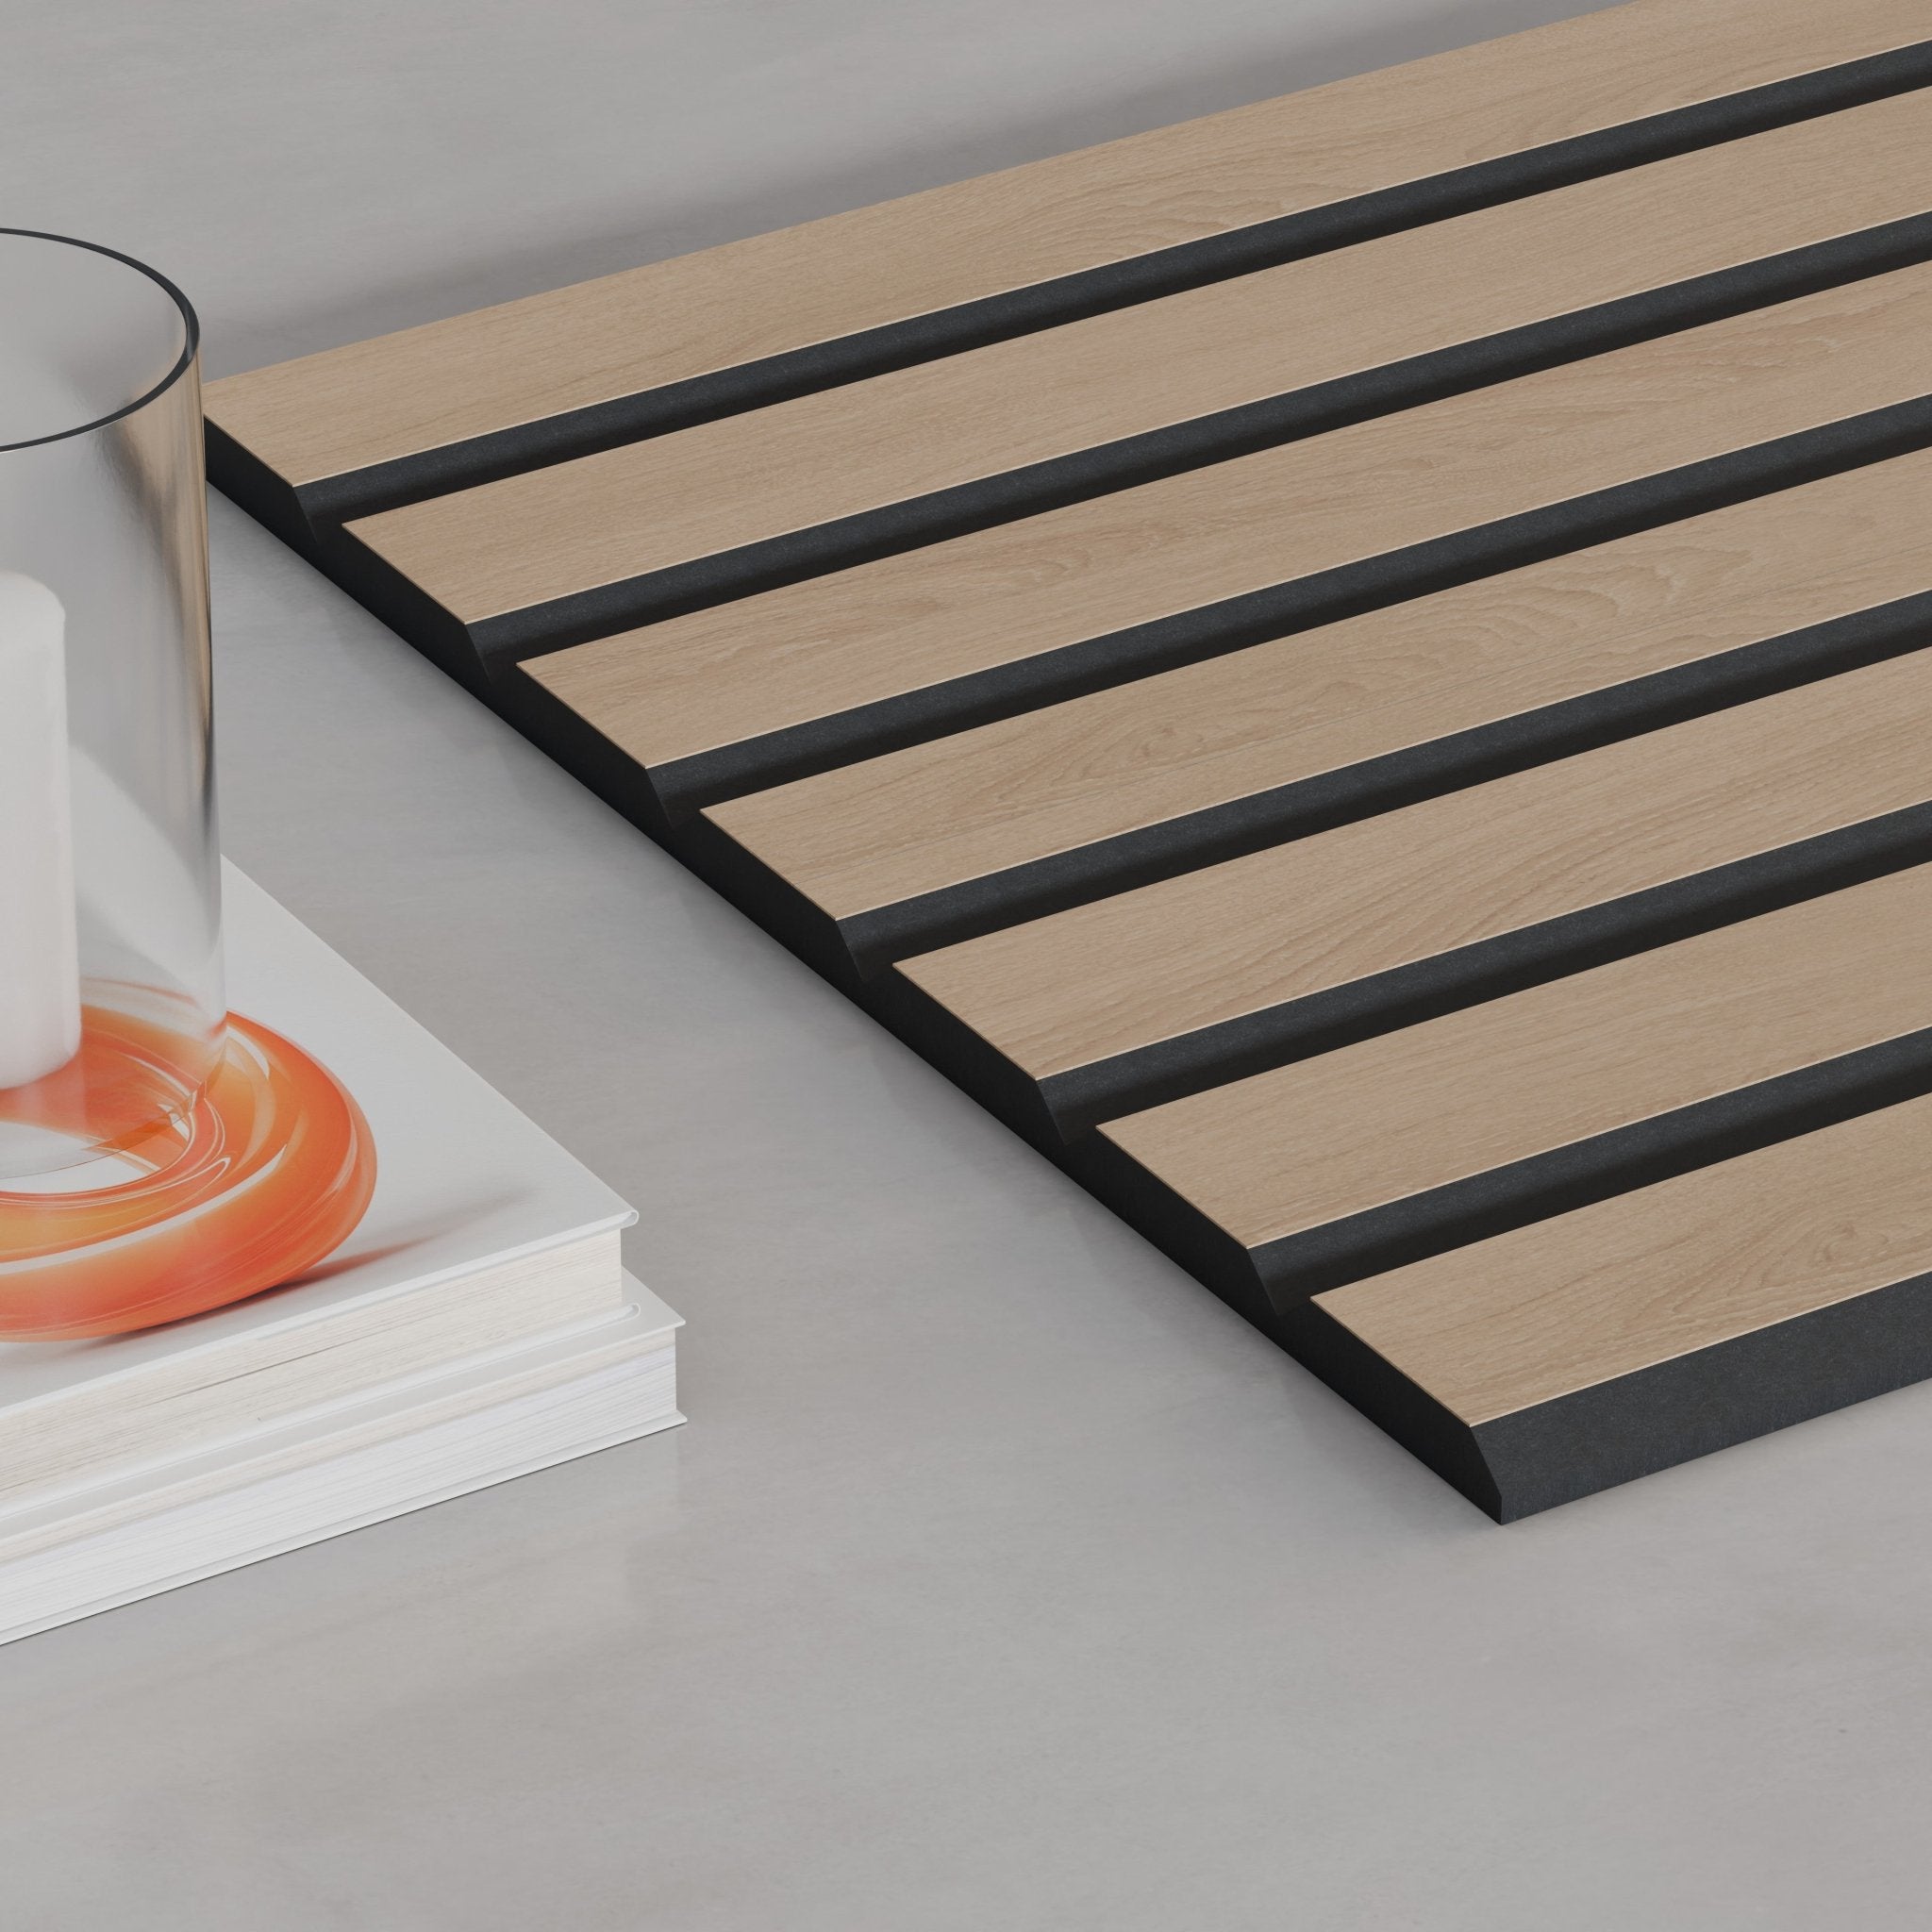
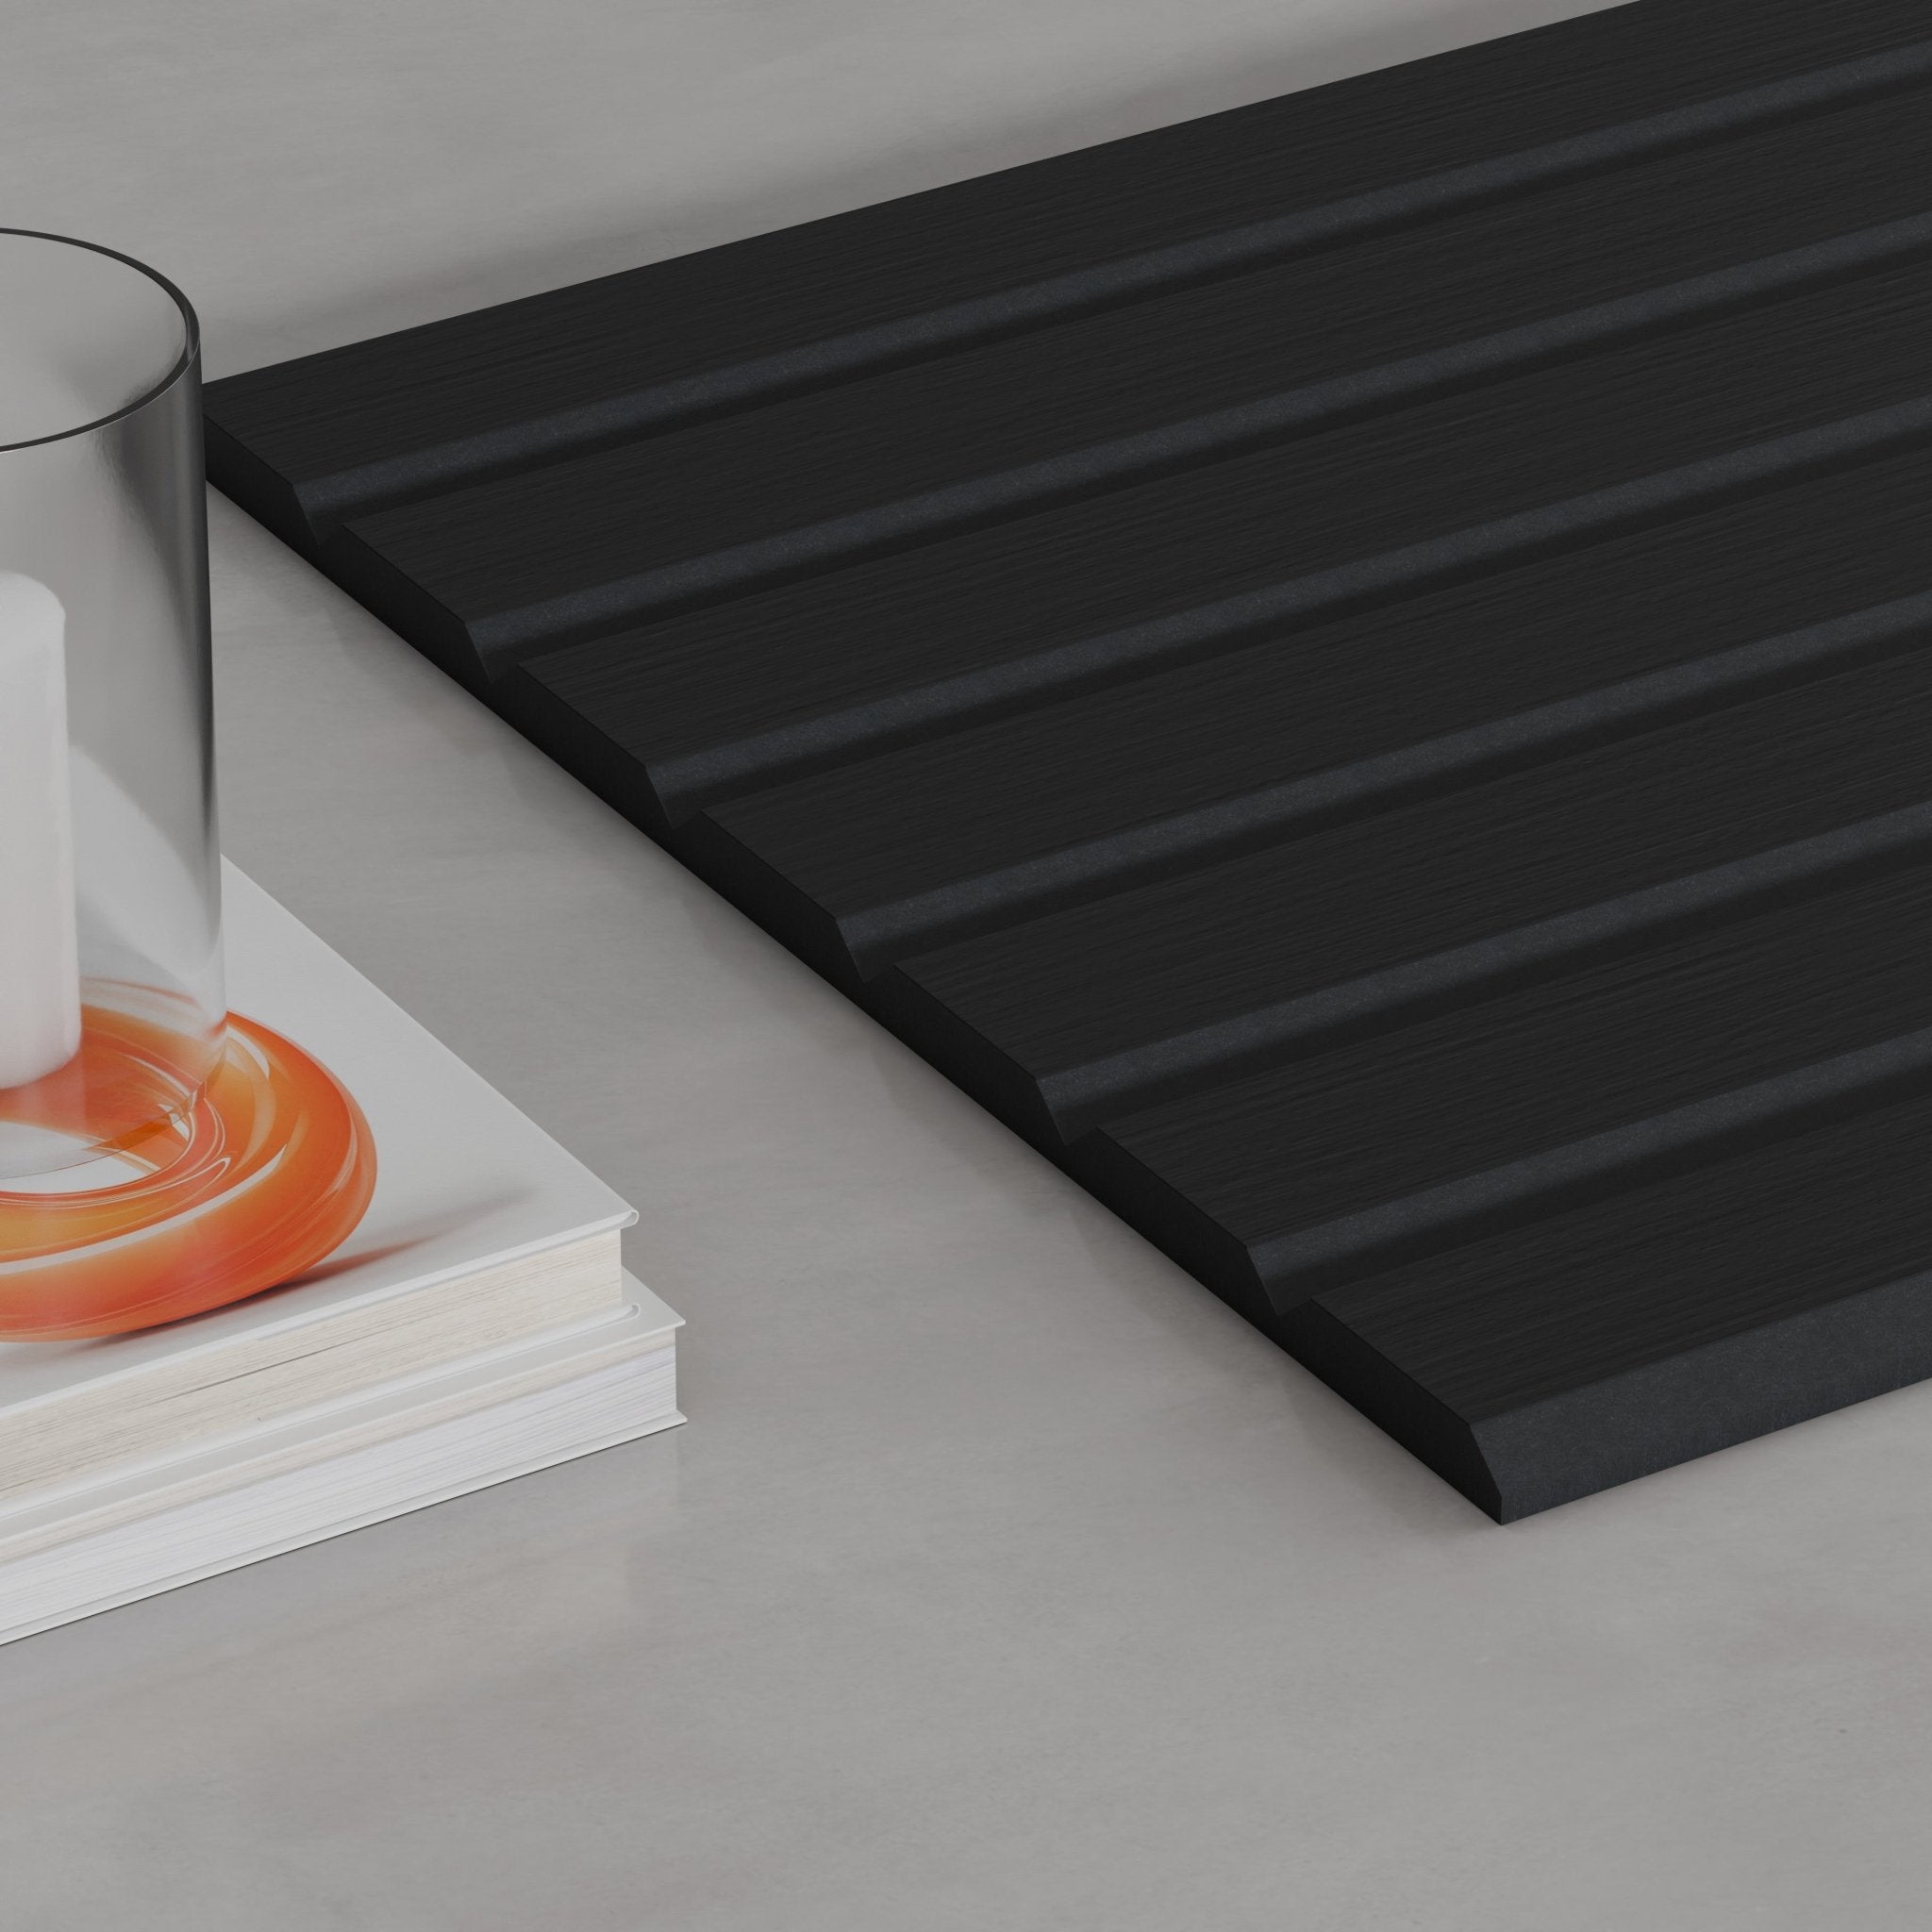
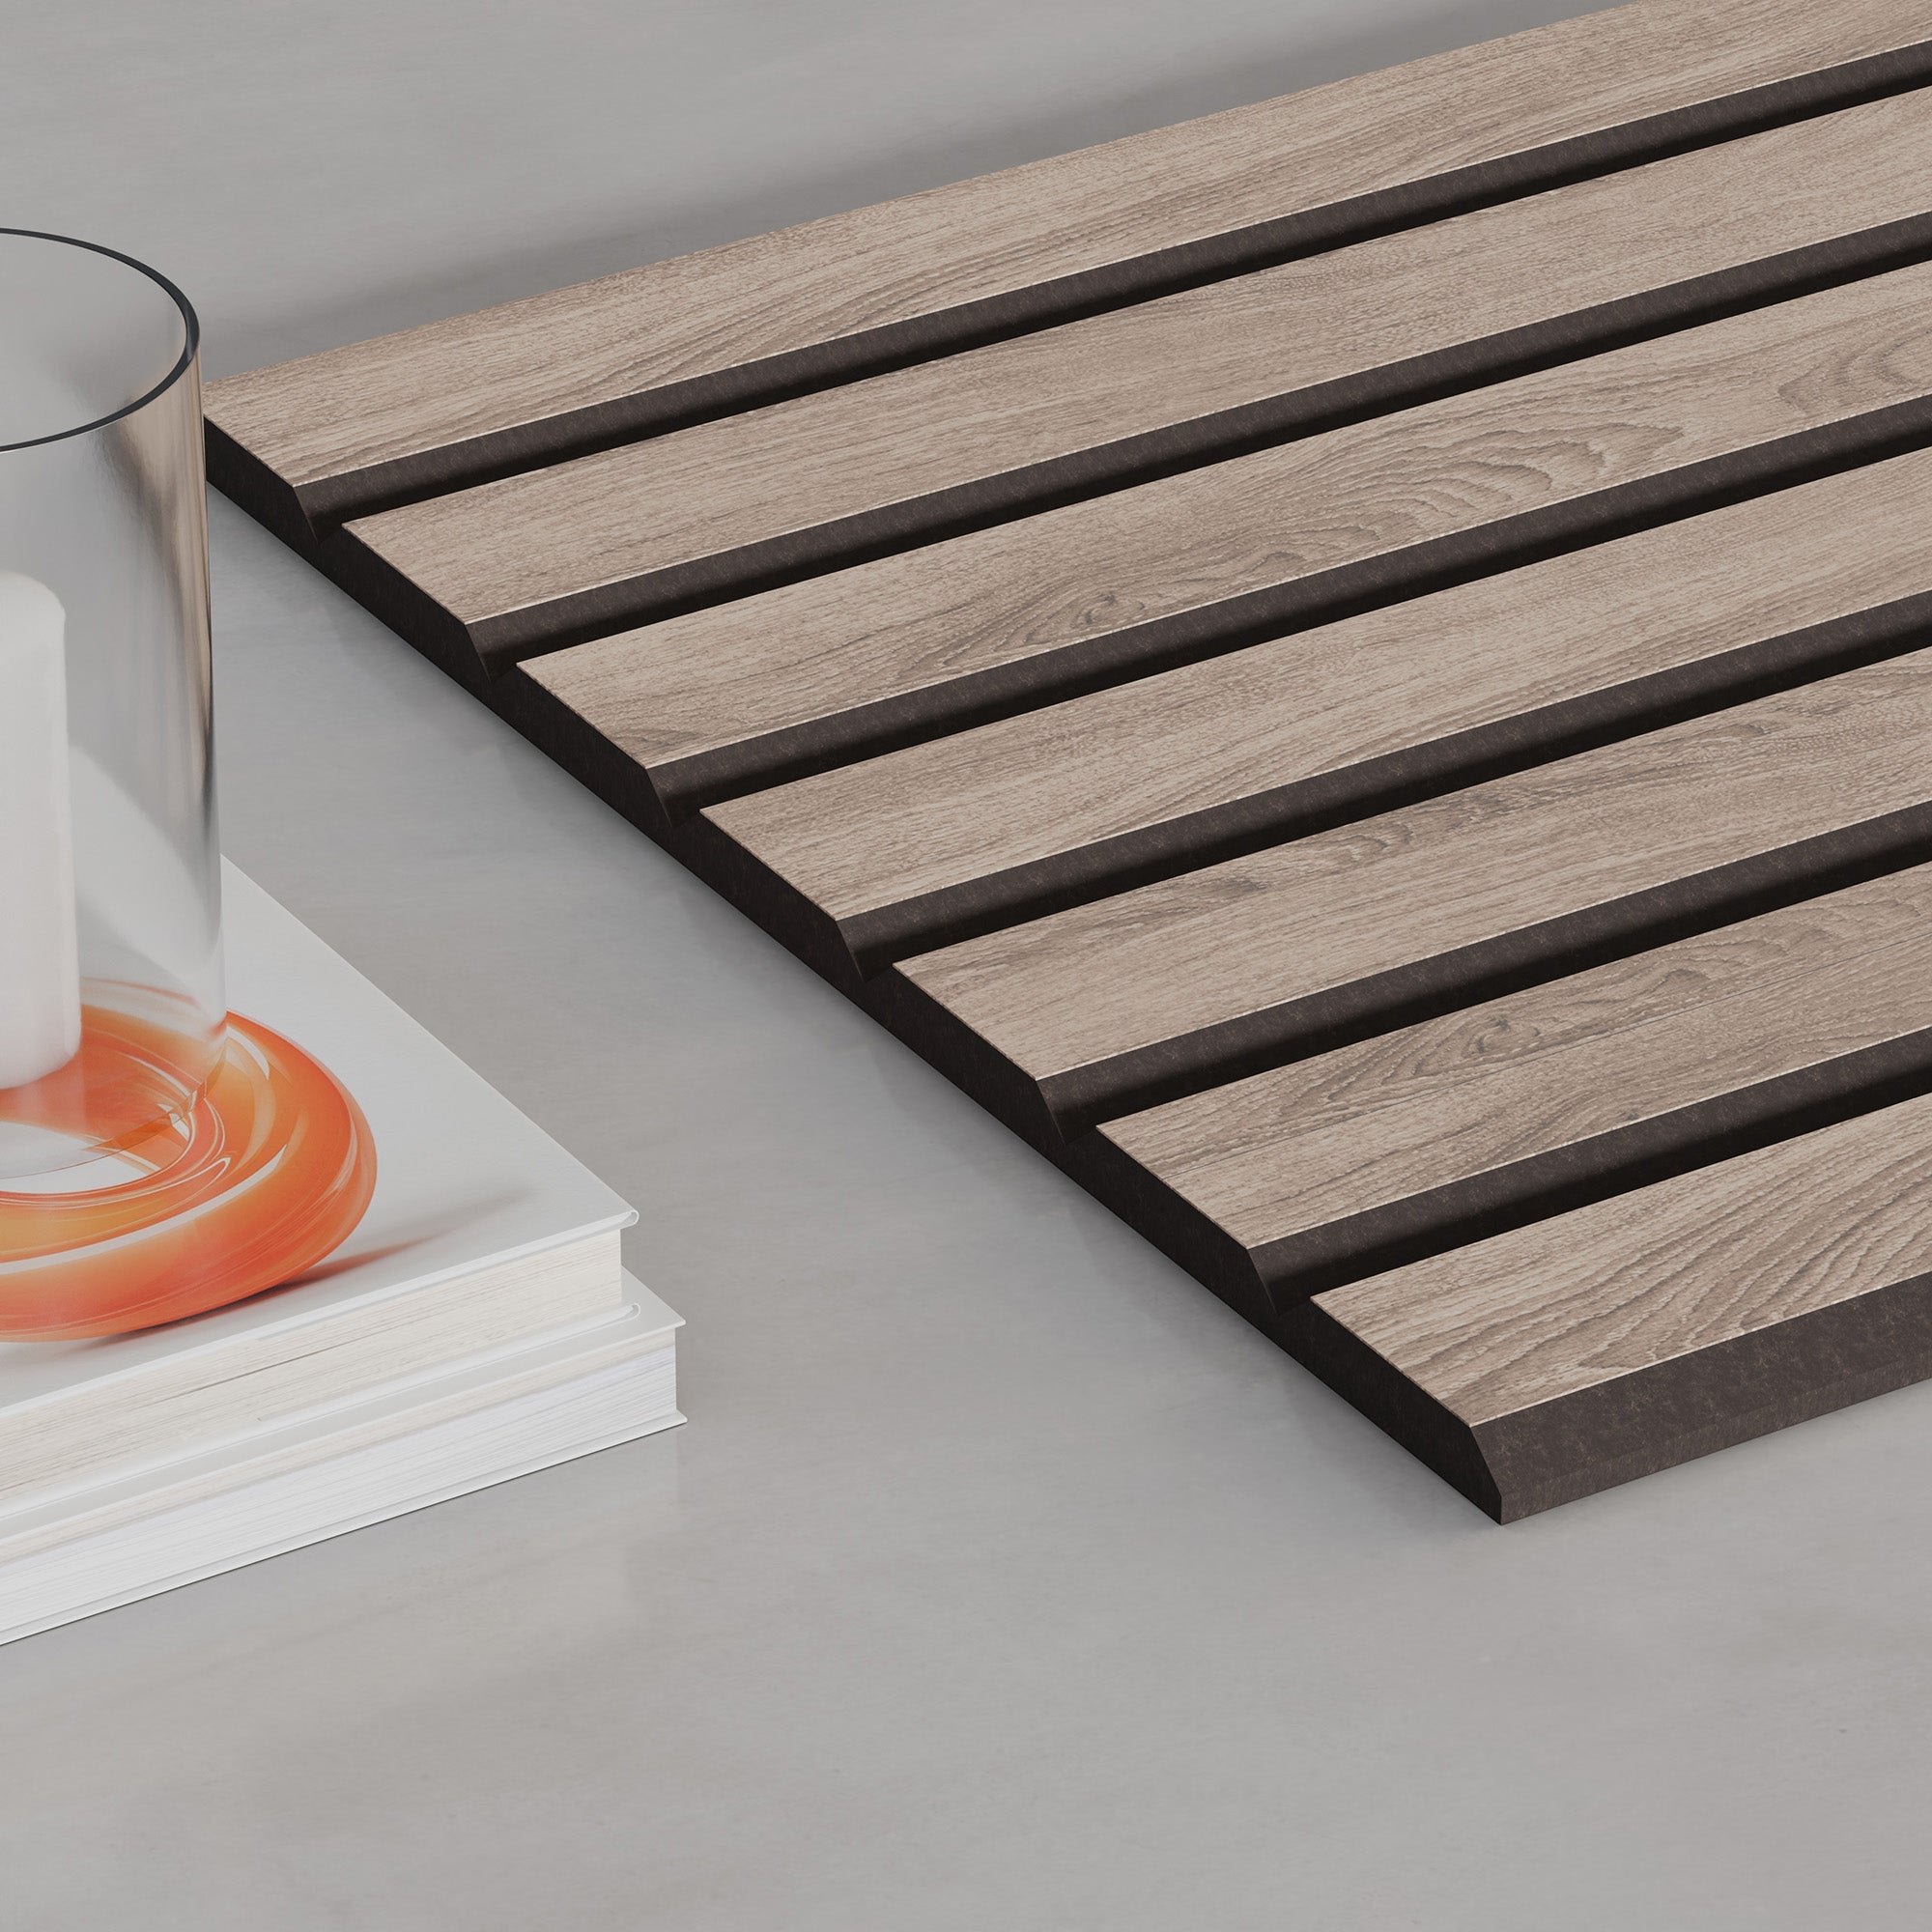
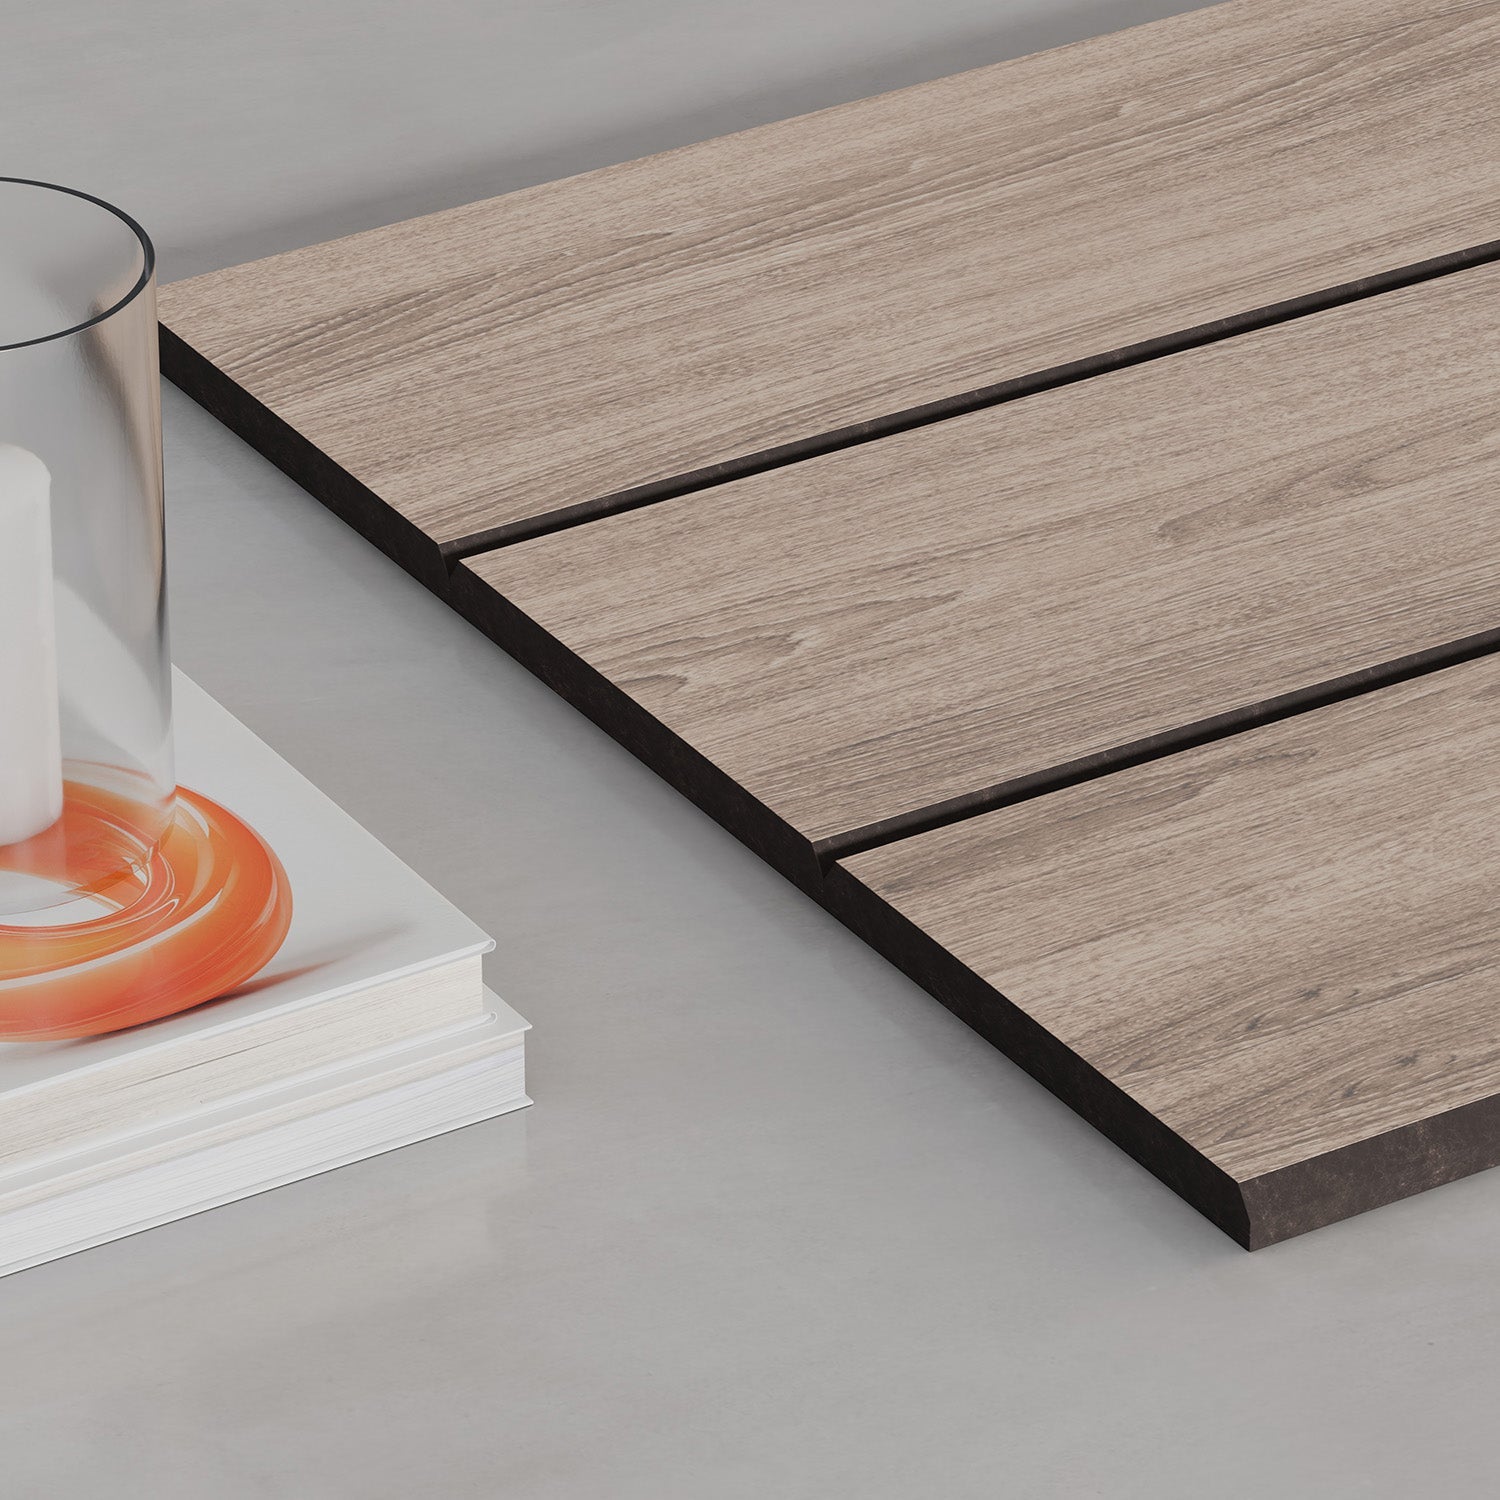
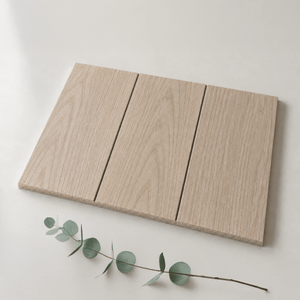
The same flexible build, cut into three broad 3.8″ faces with a 3mm shadow reveal.
Shop Ultralight Wide
Ultralight Accent
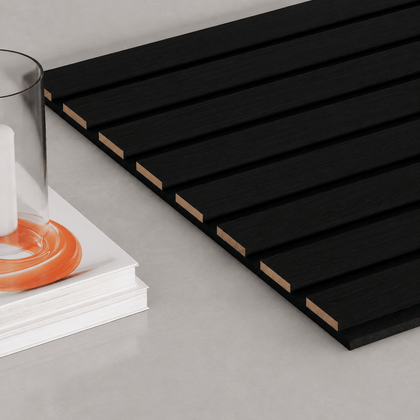
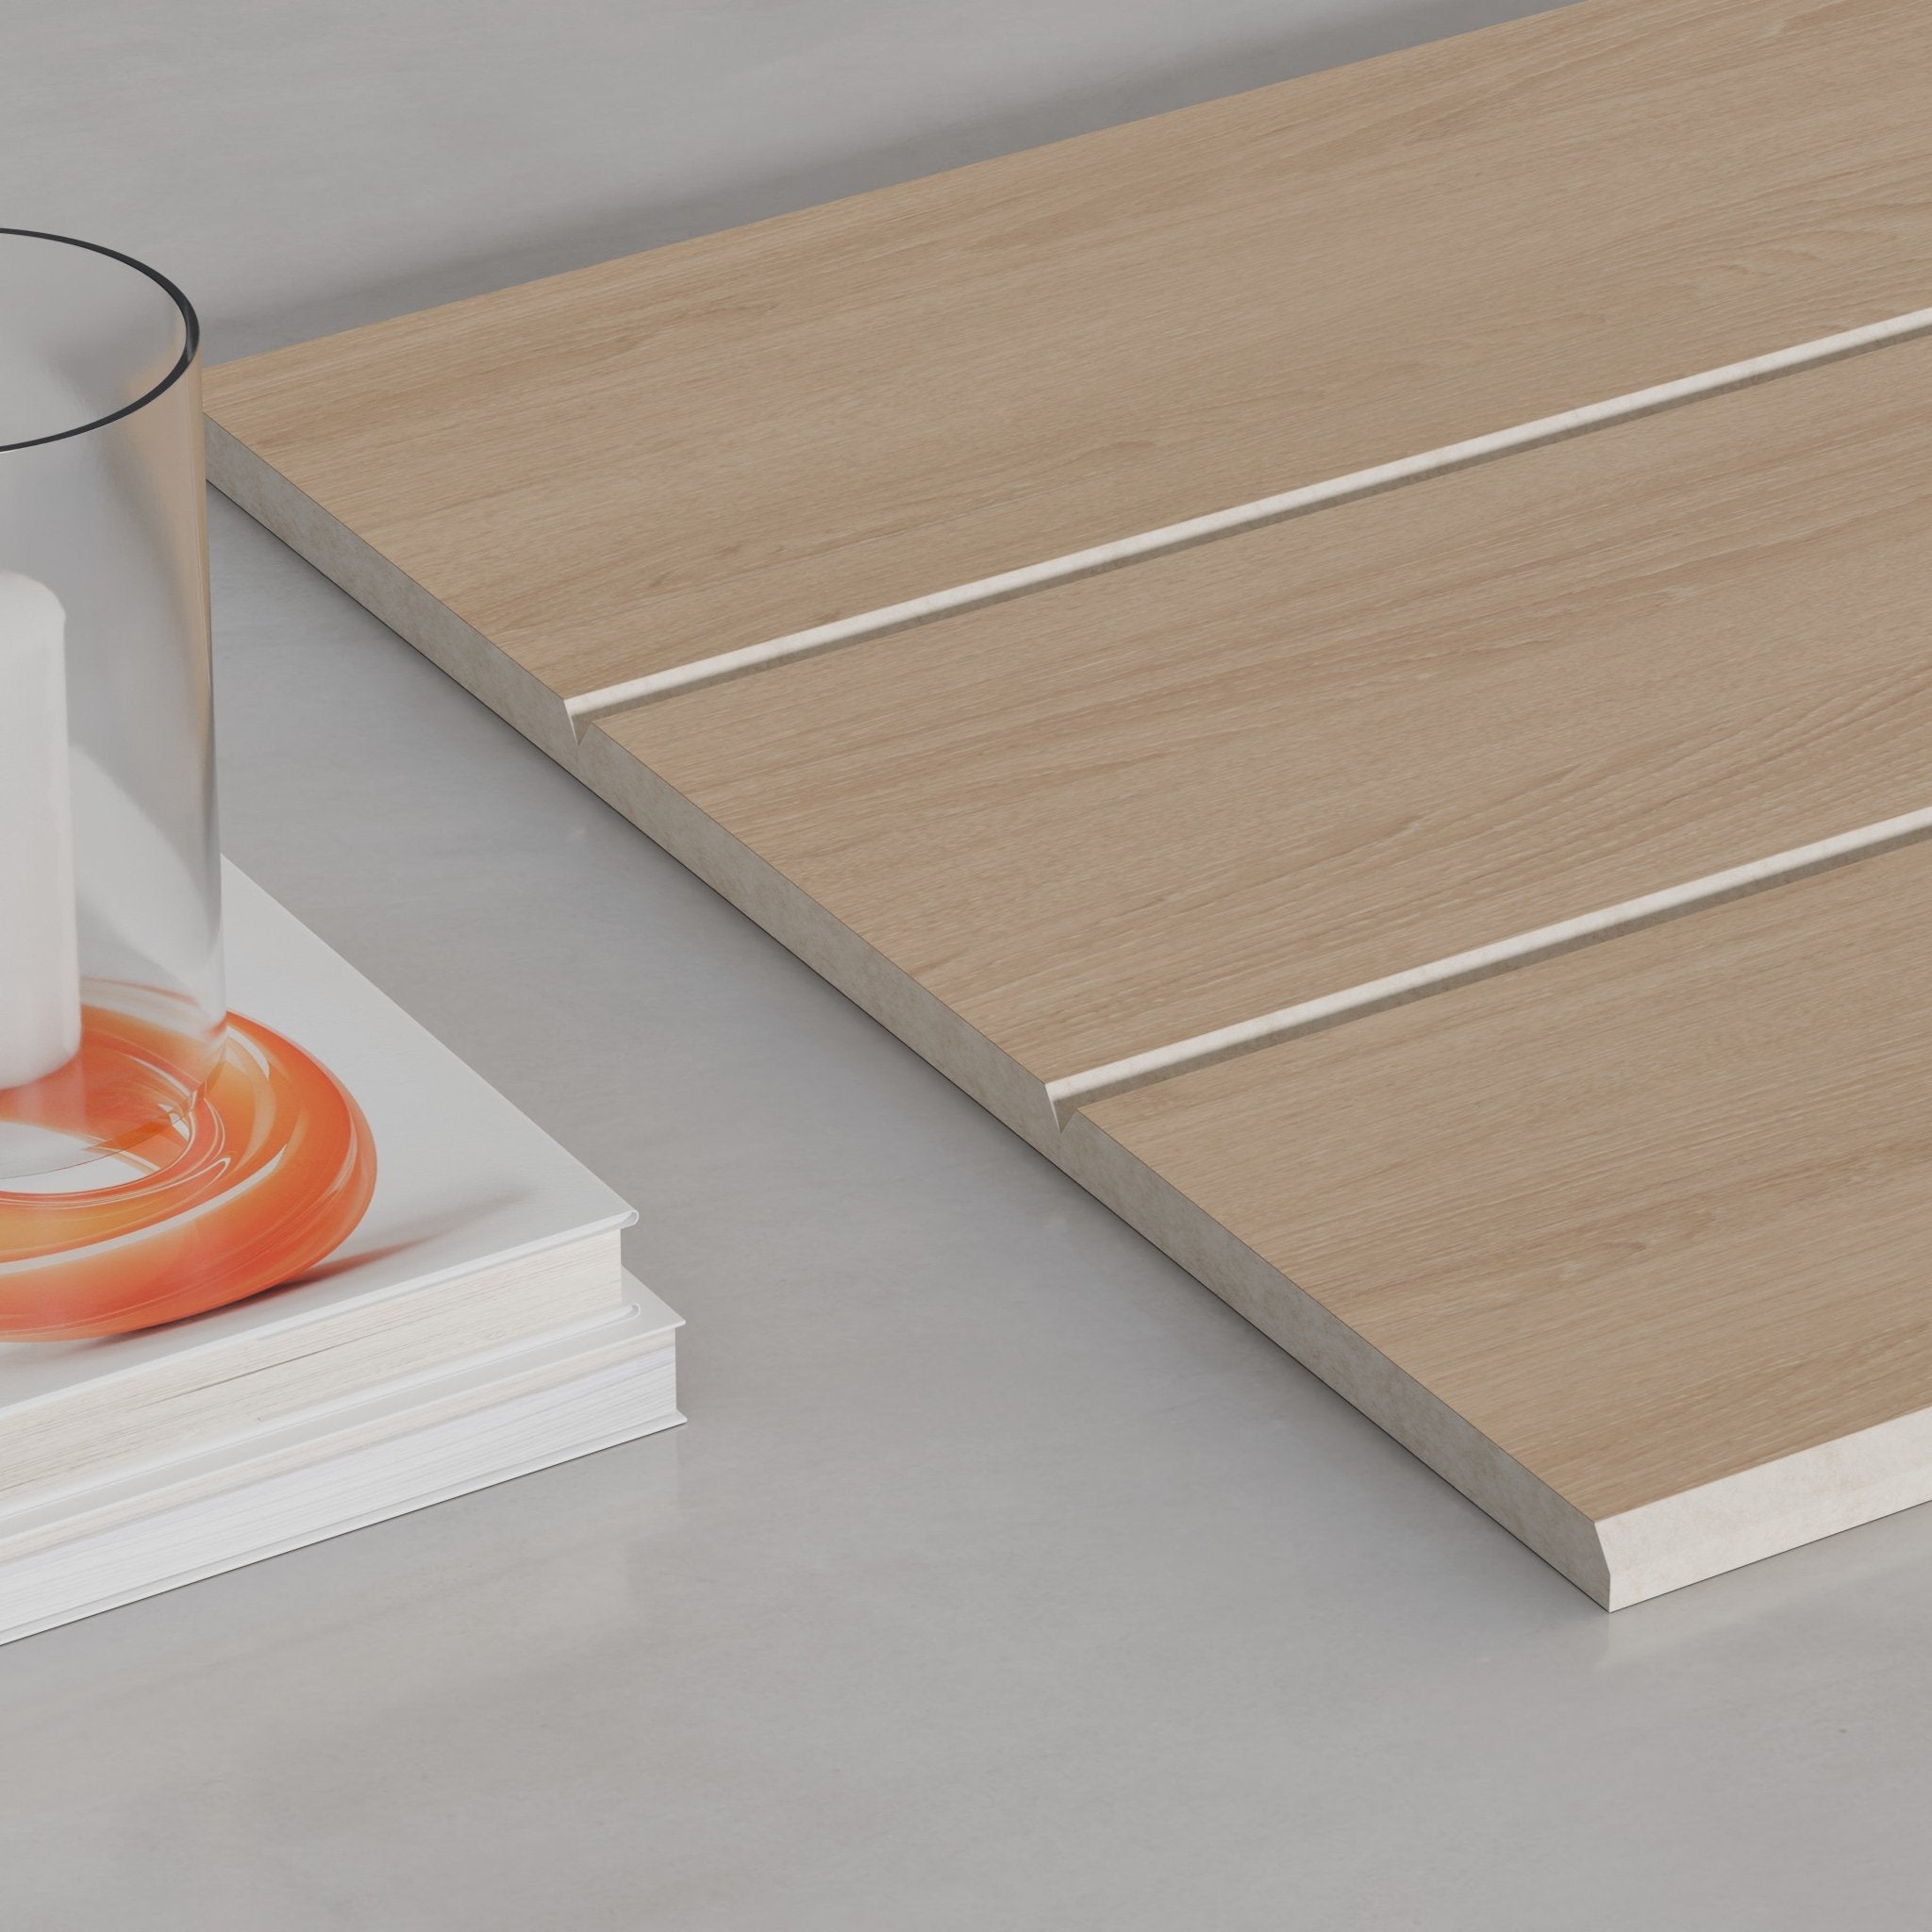
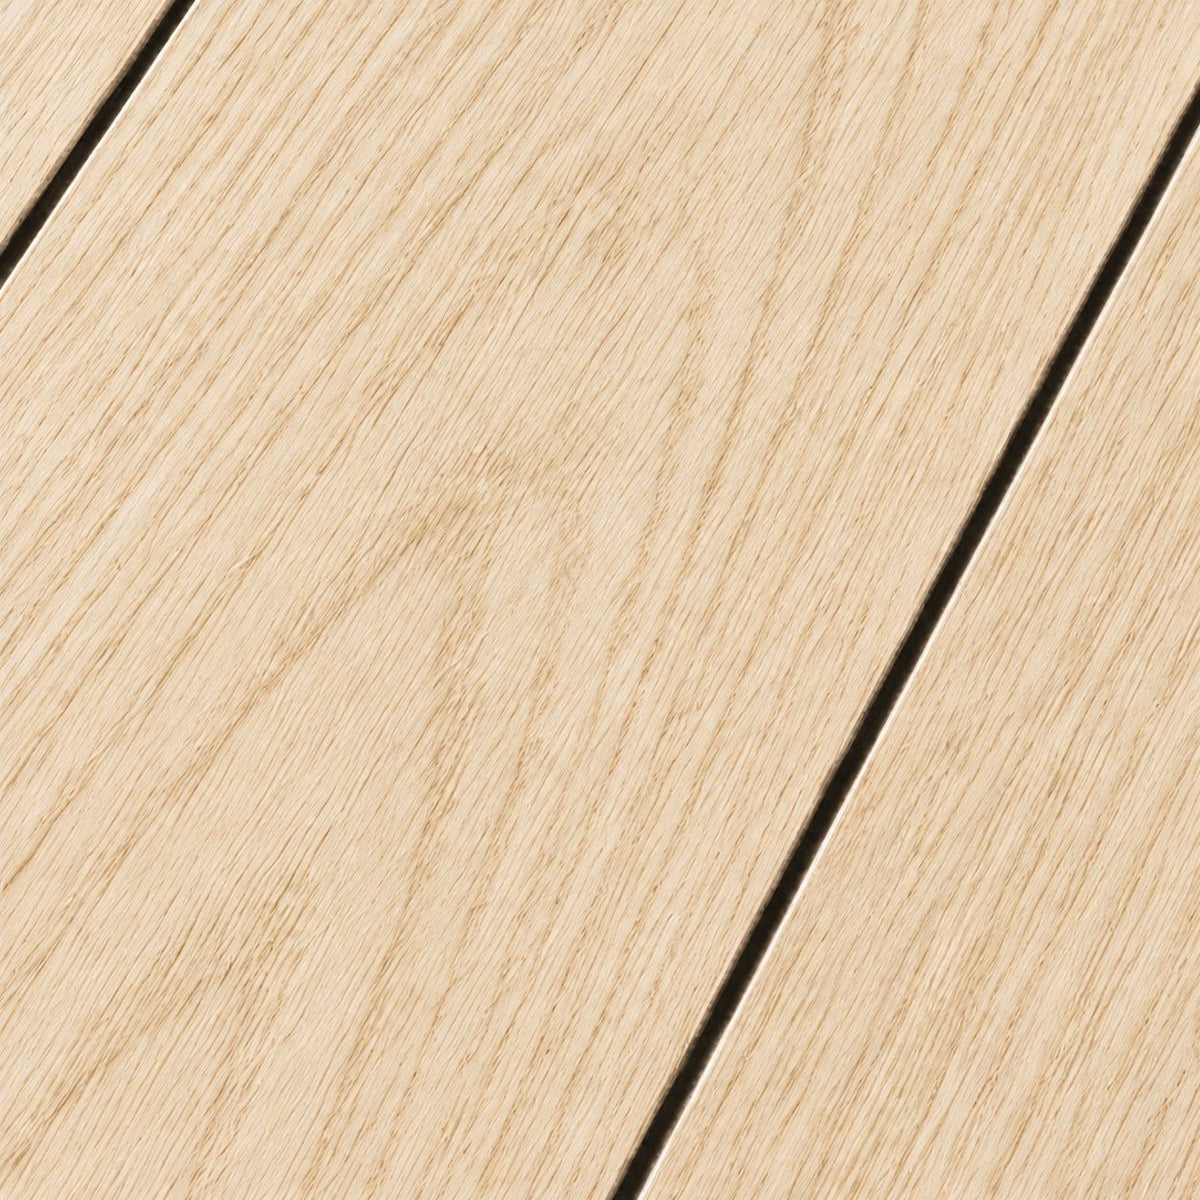
One continuous veneer face on felt. Real wood, wall to wall.
Shop Ultralight Accent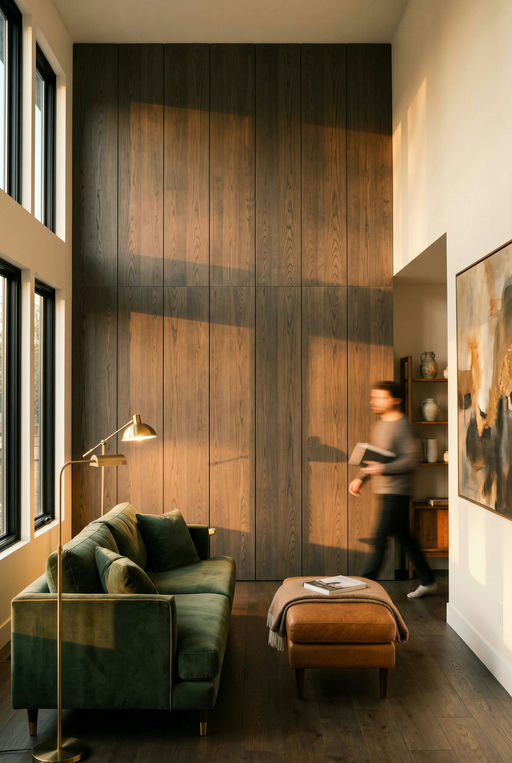
Why Ultralight
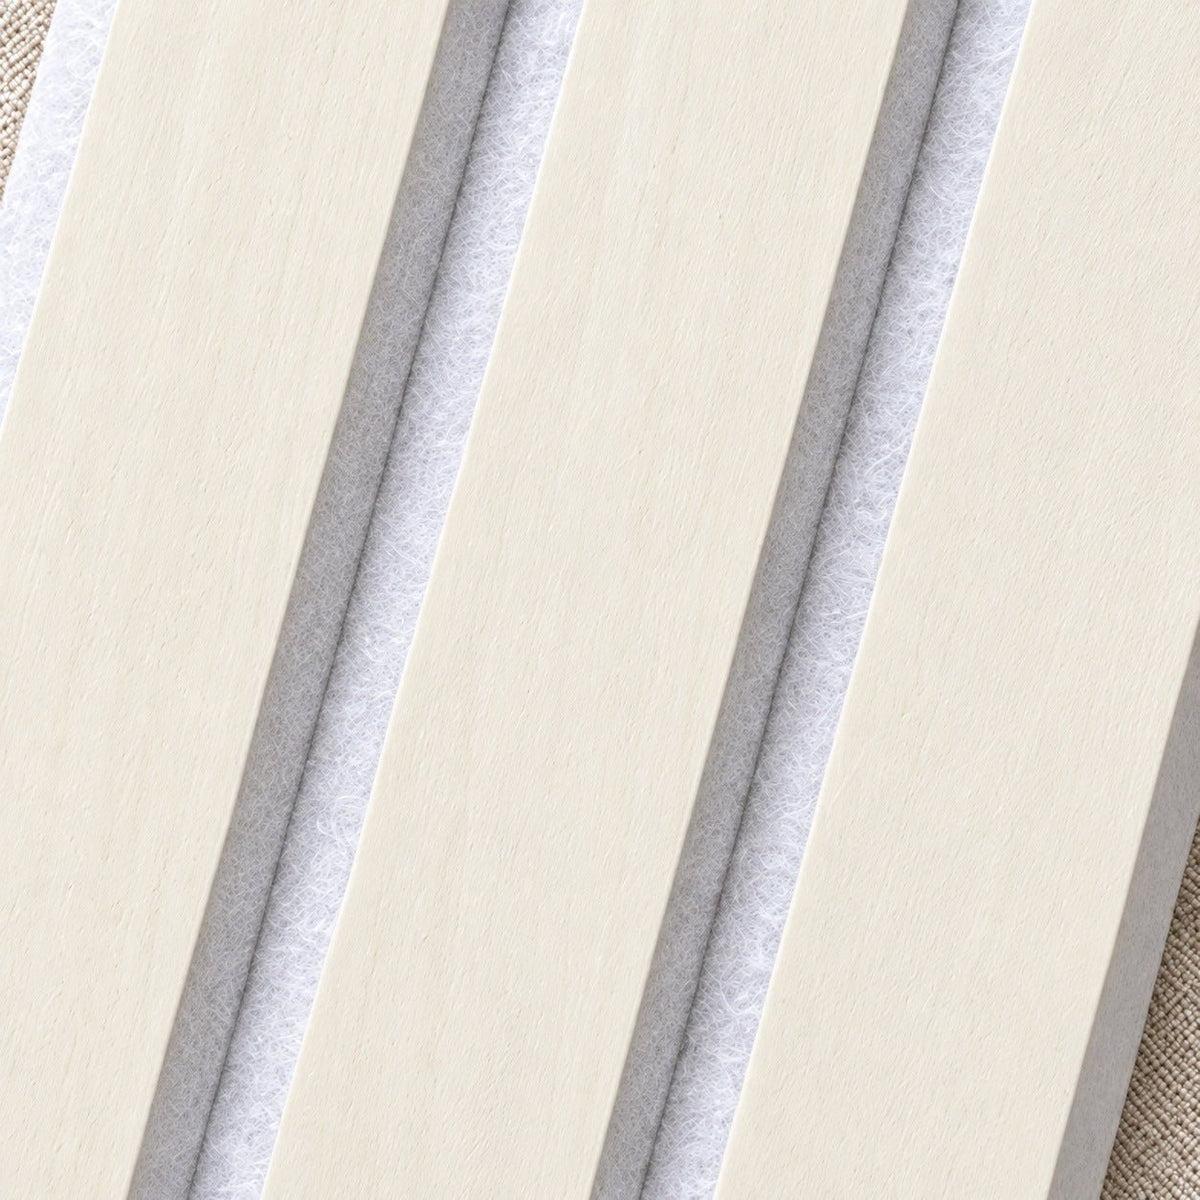
Ultralight is real wood veneer laminated straight onto 9mm recycled acoustic felt. No MDF and no rigid core, so a whole box is light enough to carry in one hand and a panel bends around a curved wall.
Slat is the original 1.2″ slat. Wide cuts the same build into broad 3.8″ faces. Accent is one continuous veneer face, real wood wall to wall.
All Ultralight
Shop every Ultralight panel
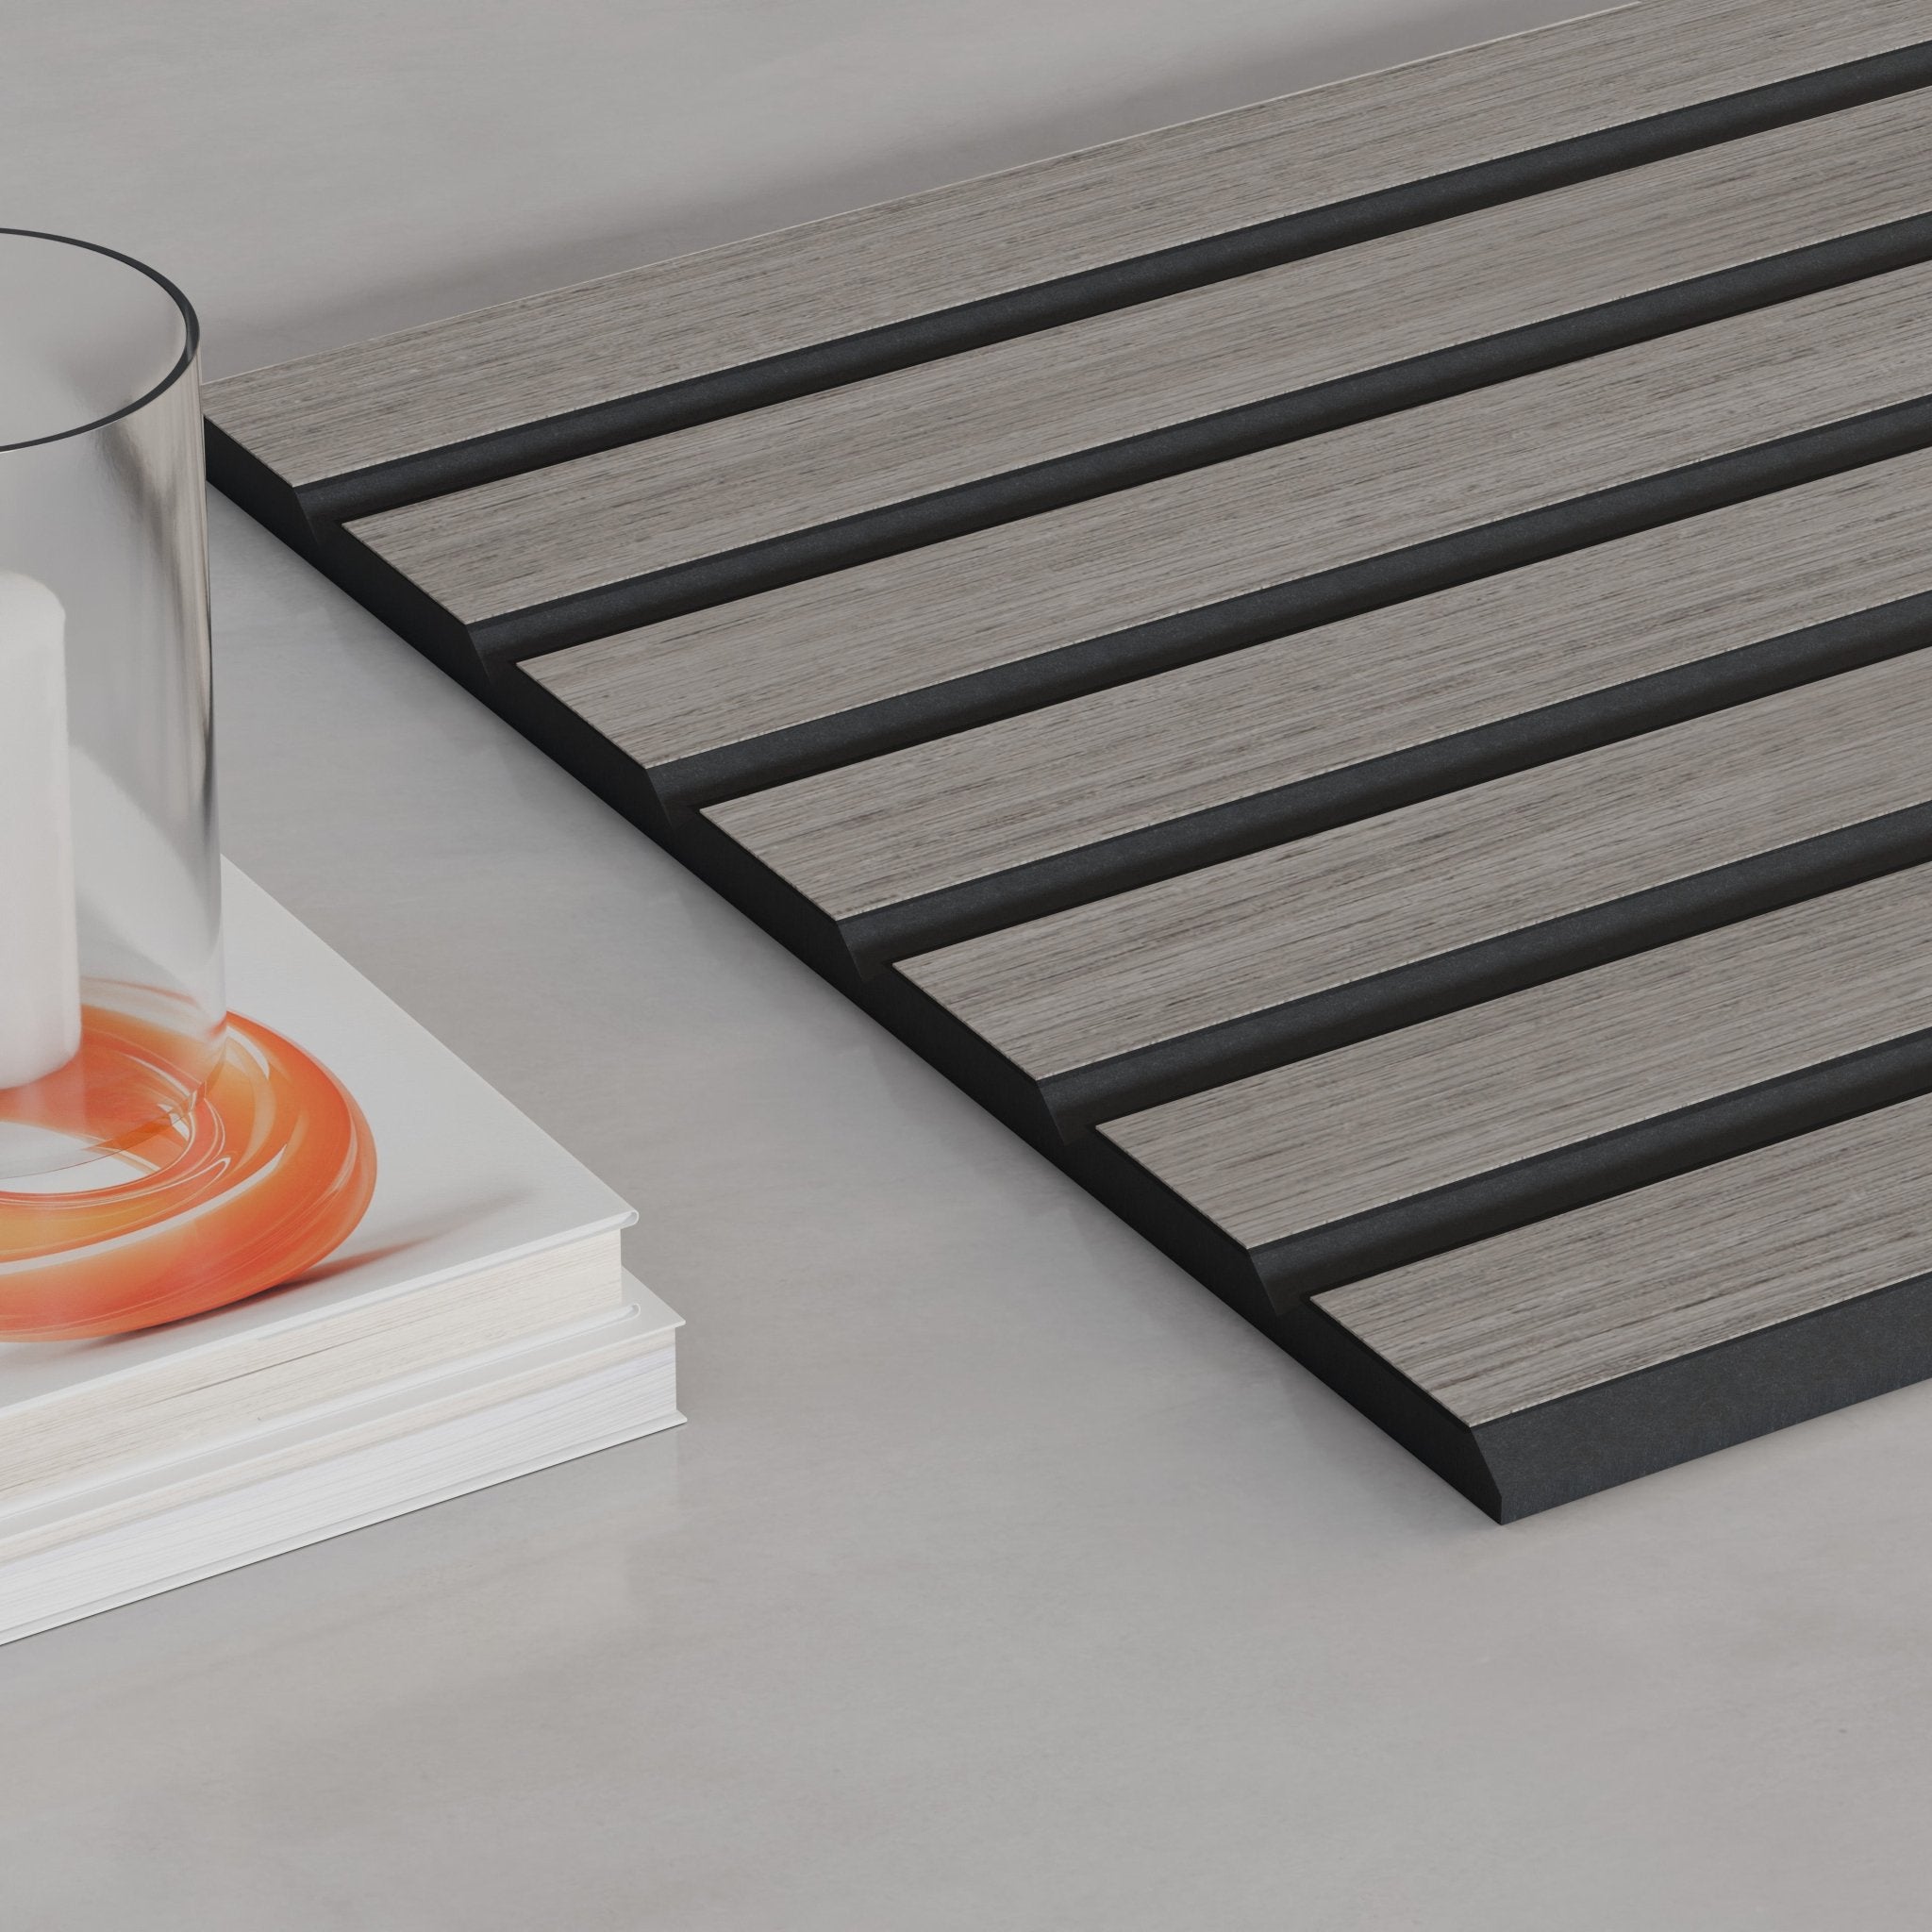
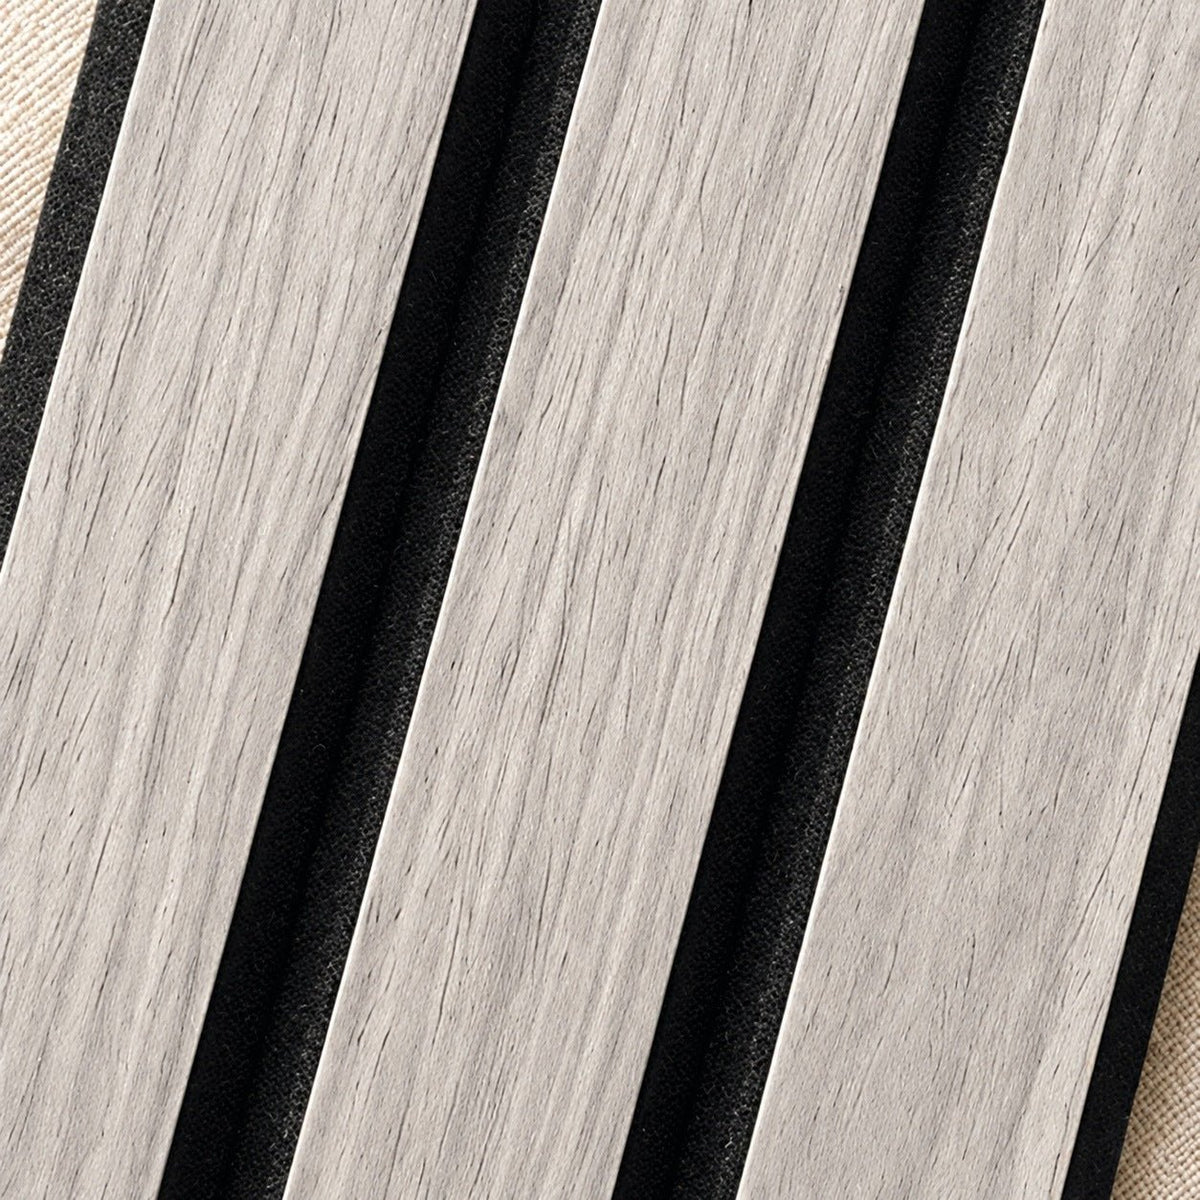
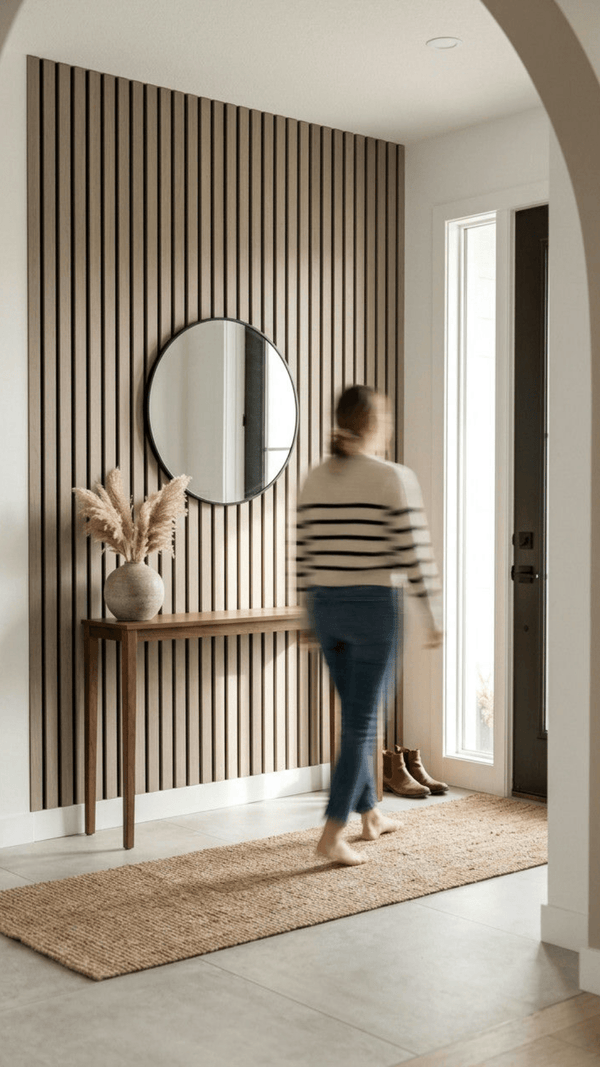
 Not sure on the color?
See it in your own light
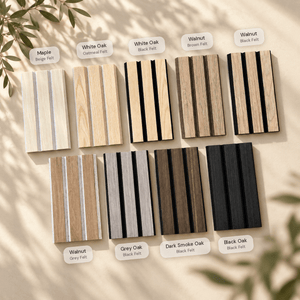
ULTRALIGHT sample kits from $15. See the real wood and felt at home.
Shop sample kits
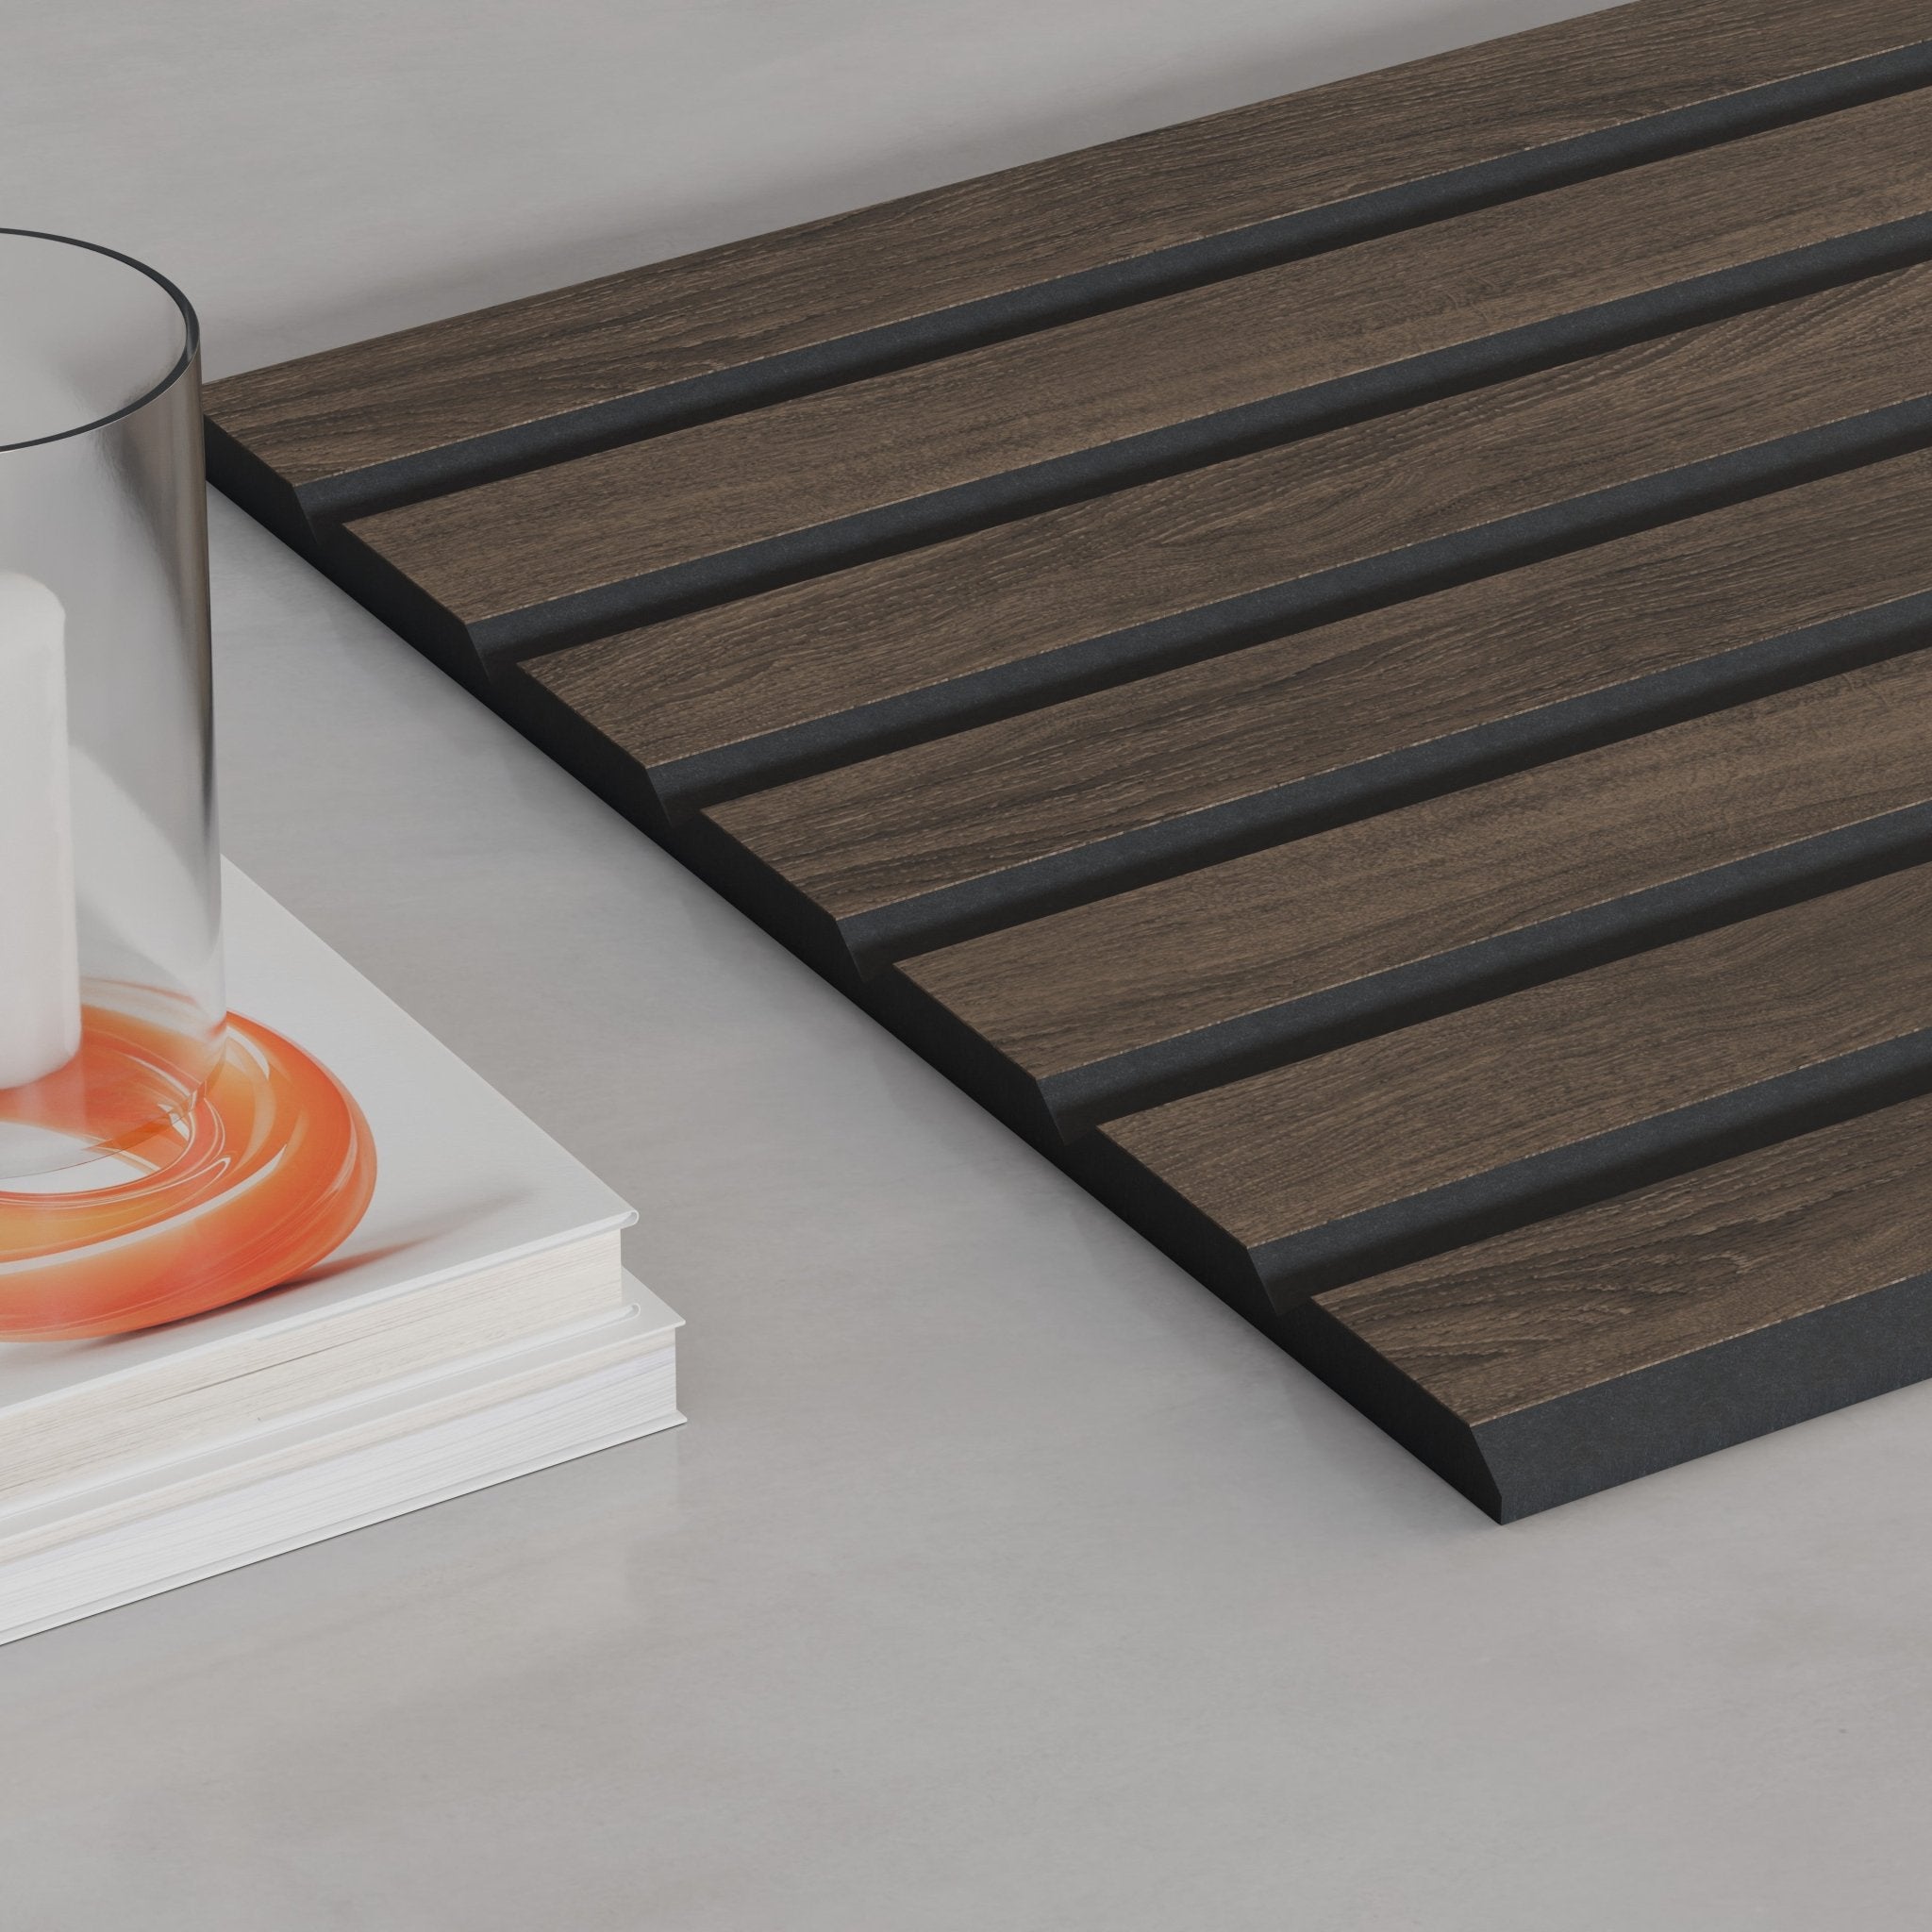
 Not sure on the color?
See it in your own light
ULTRALIGHT sample kits from $15. See the real wood and felt at home.
Shop sample kits
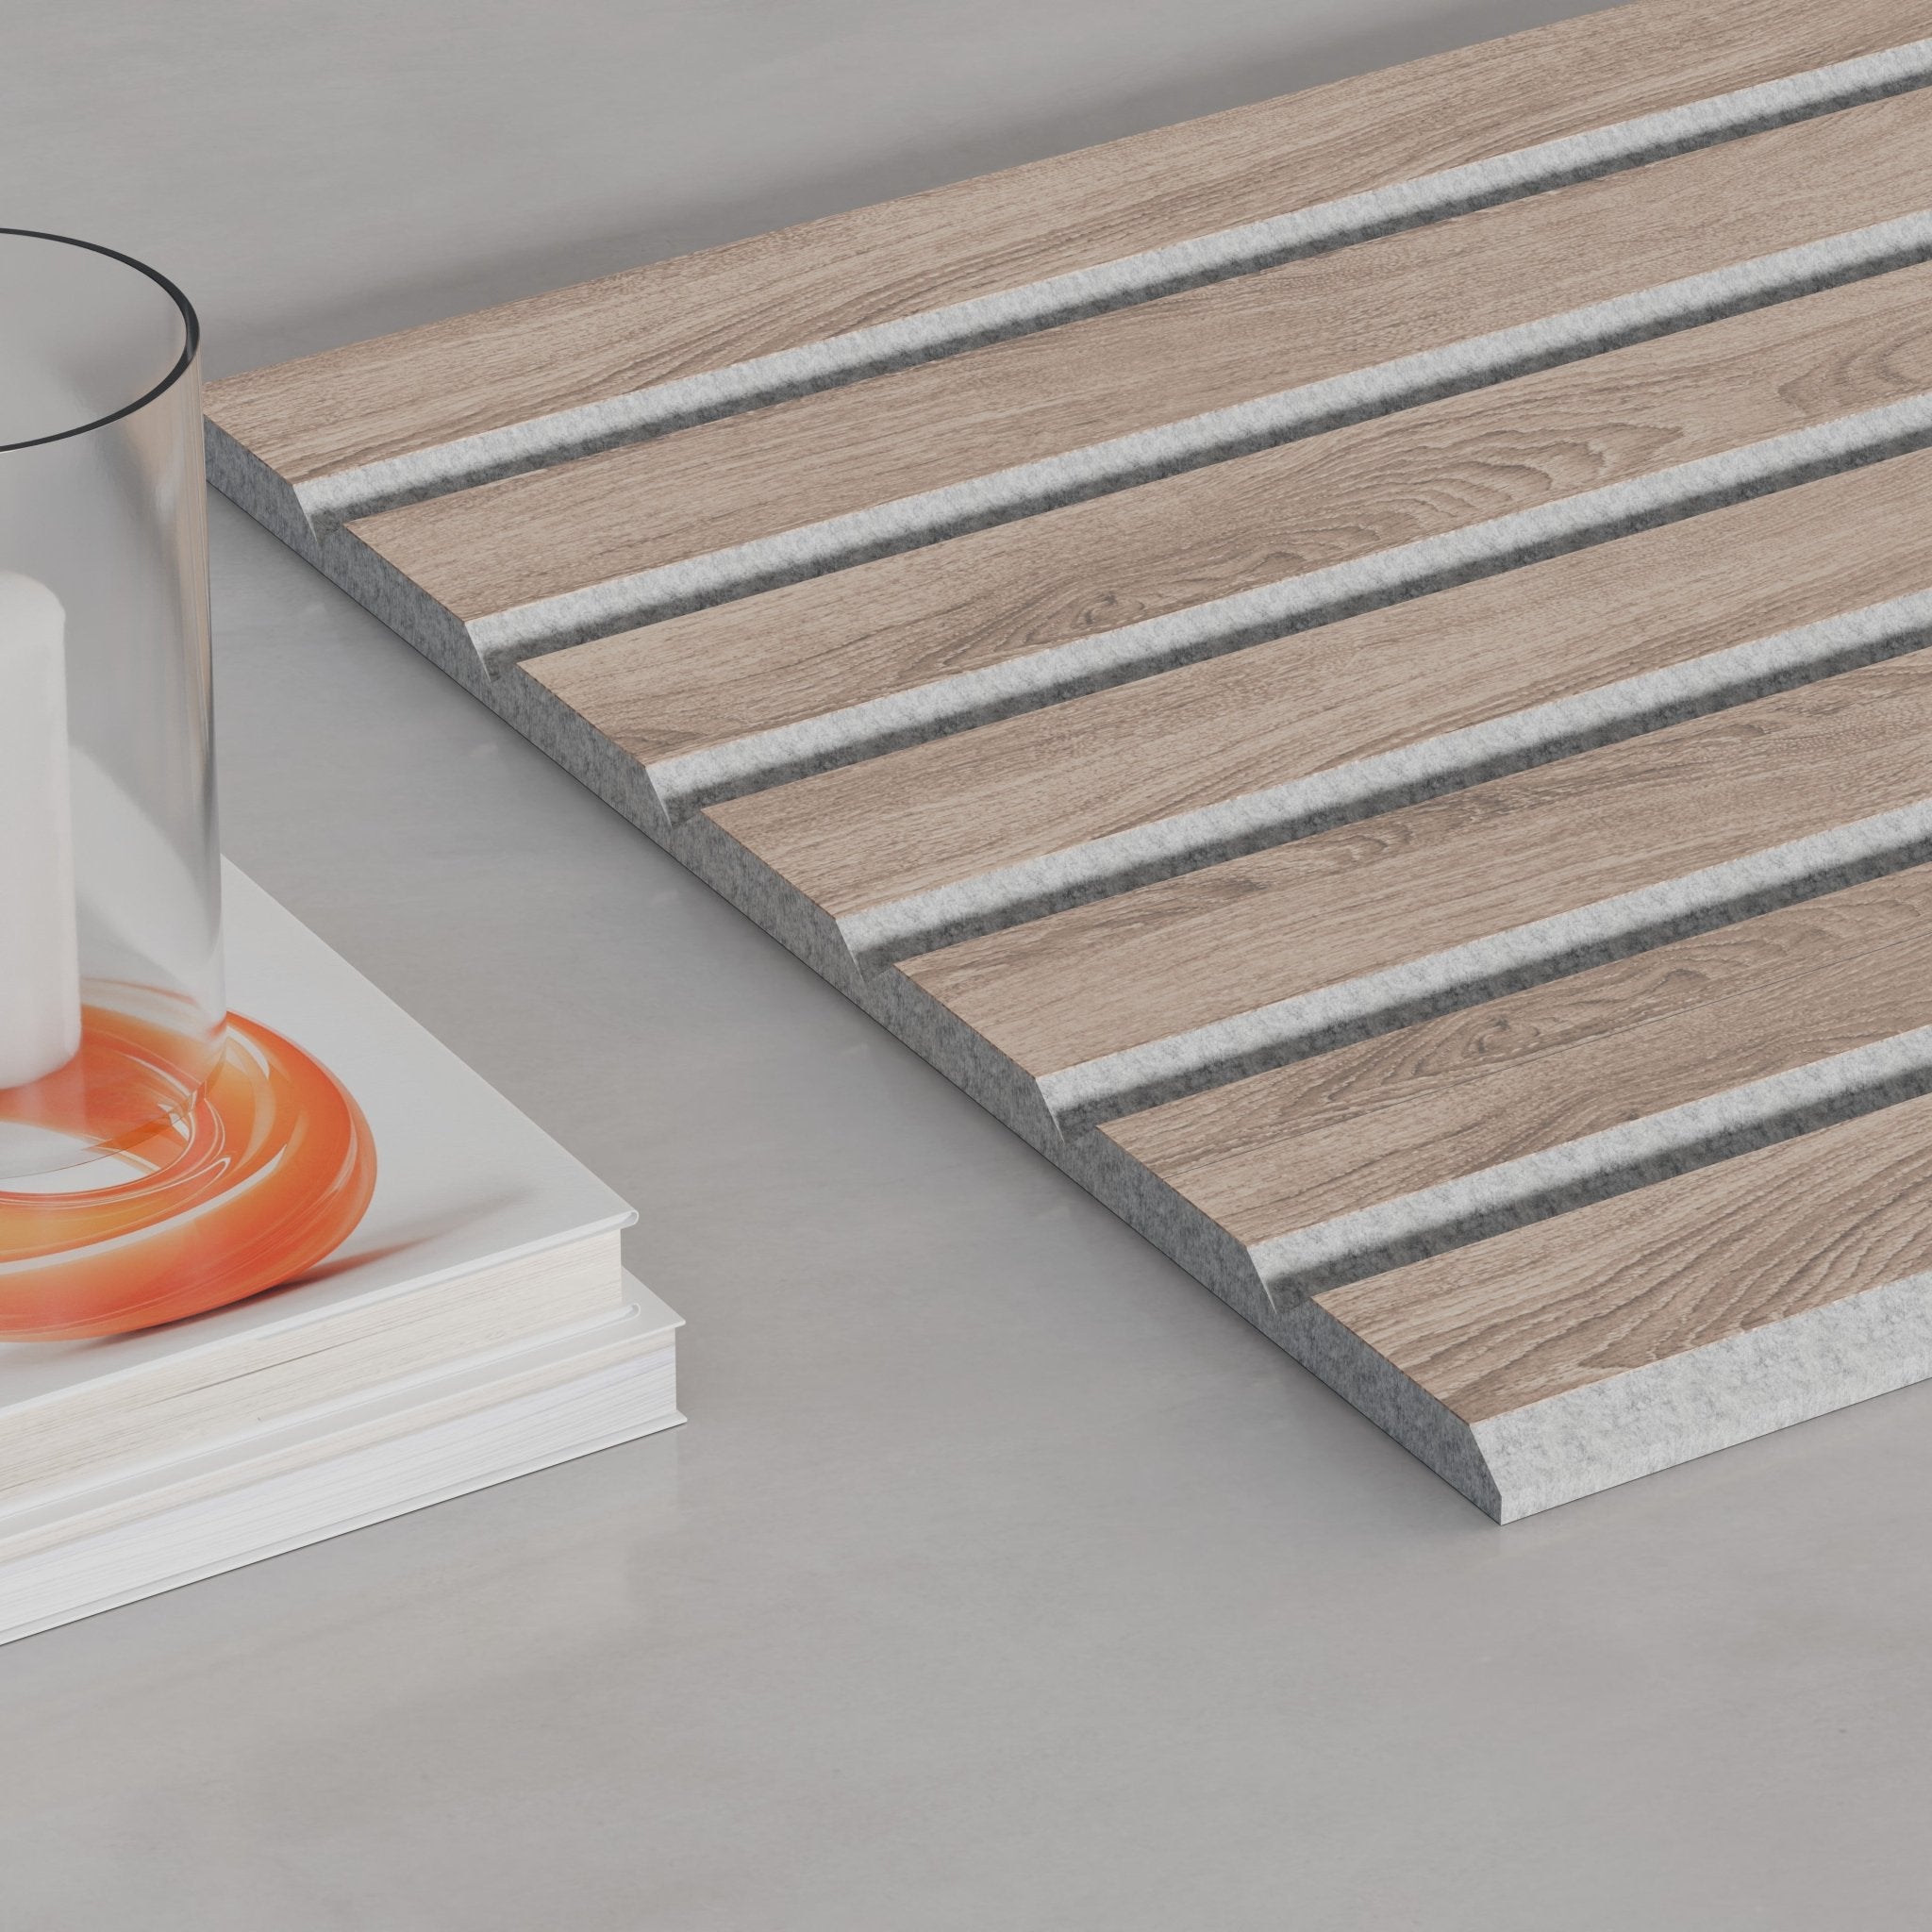
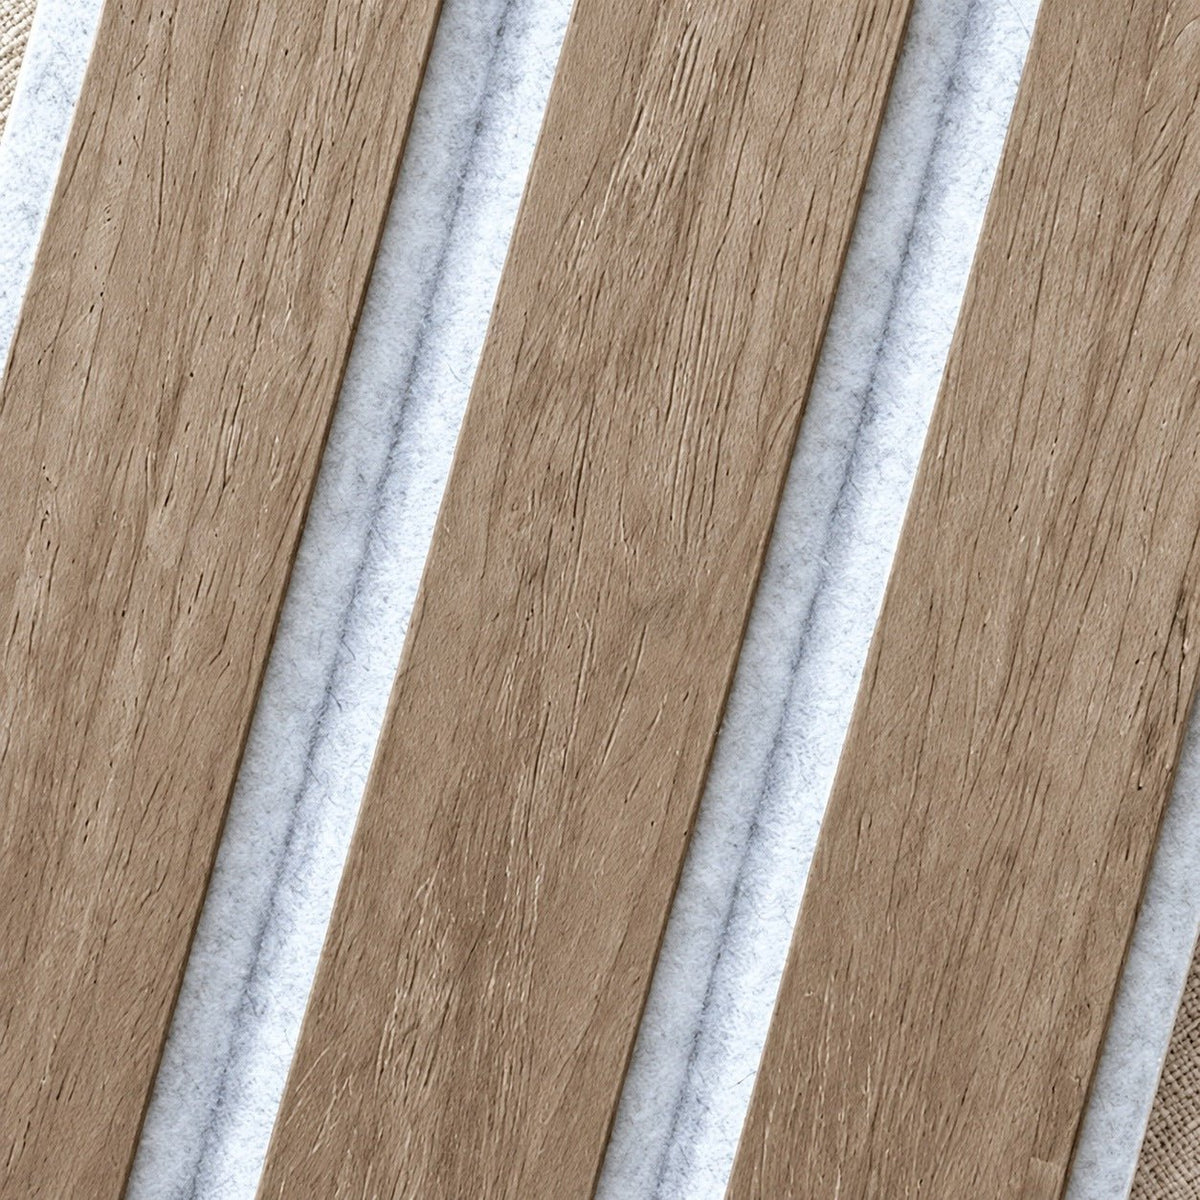

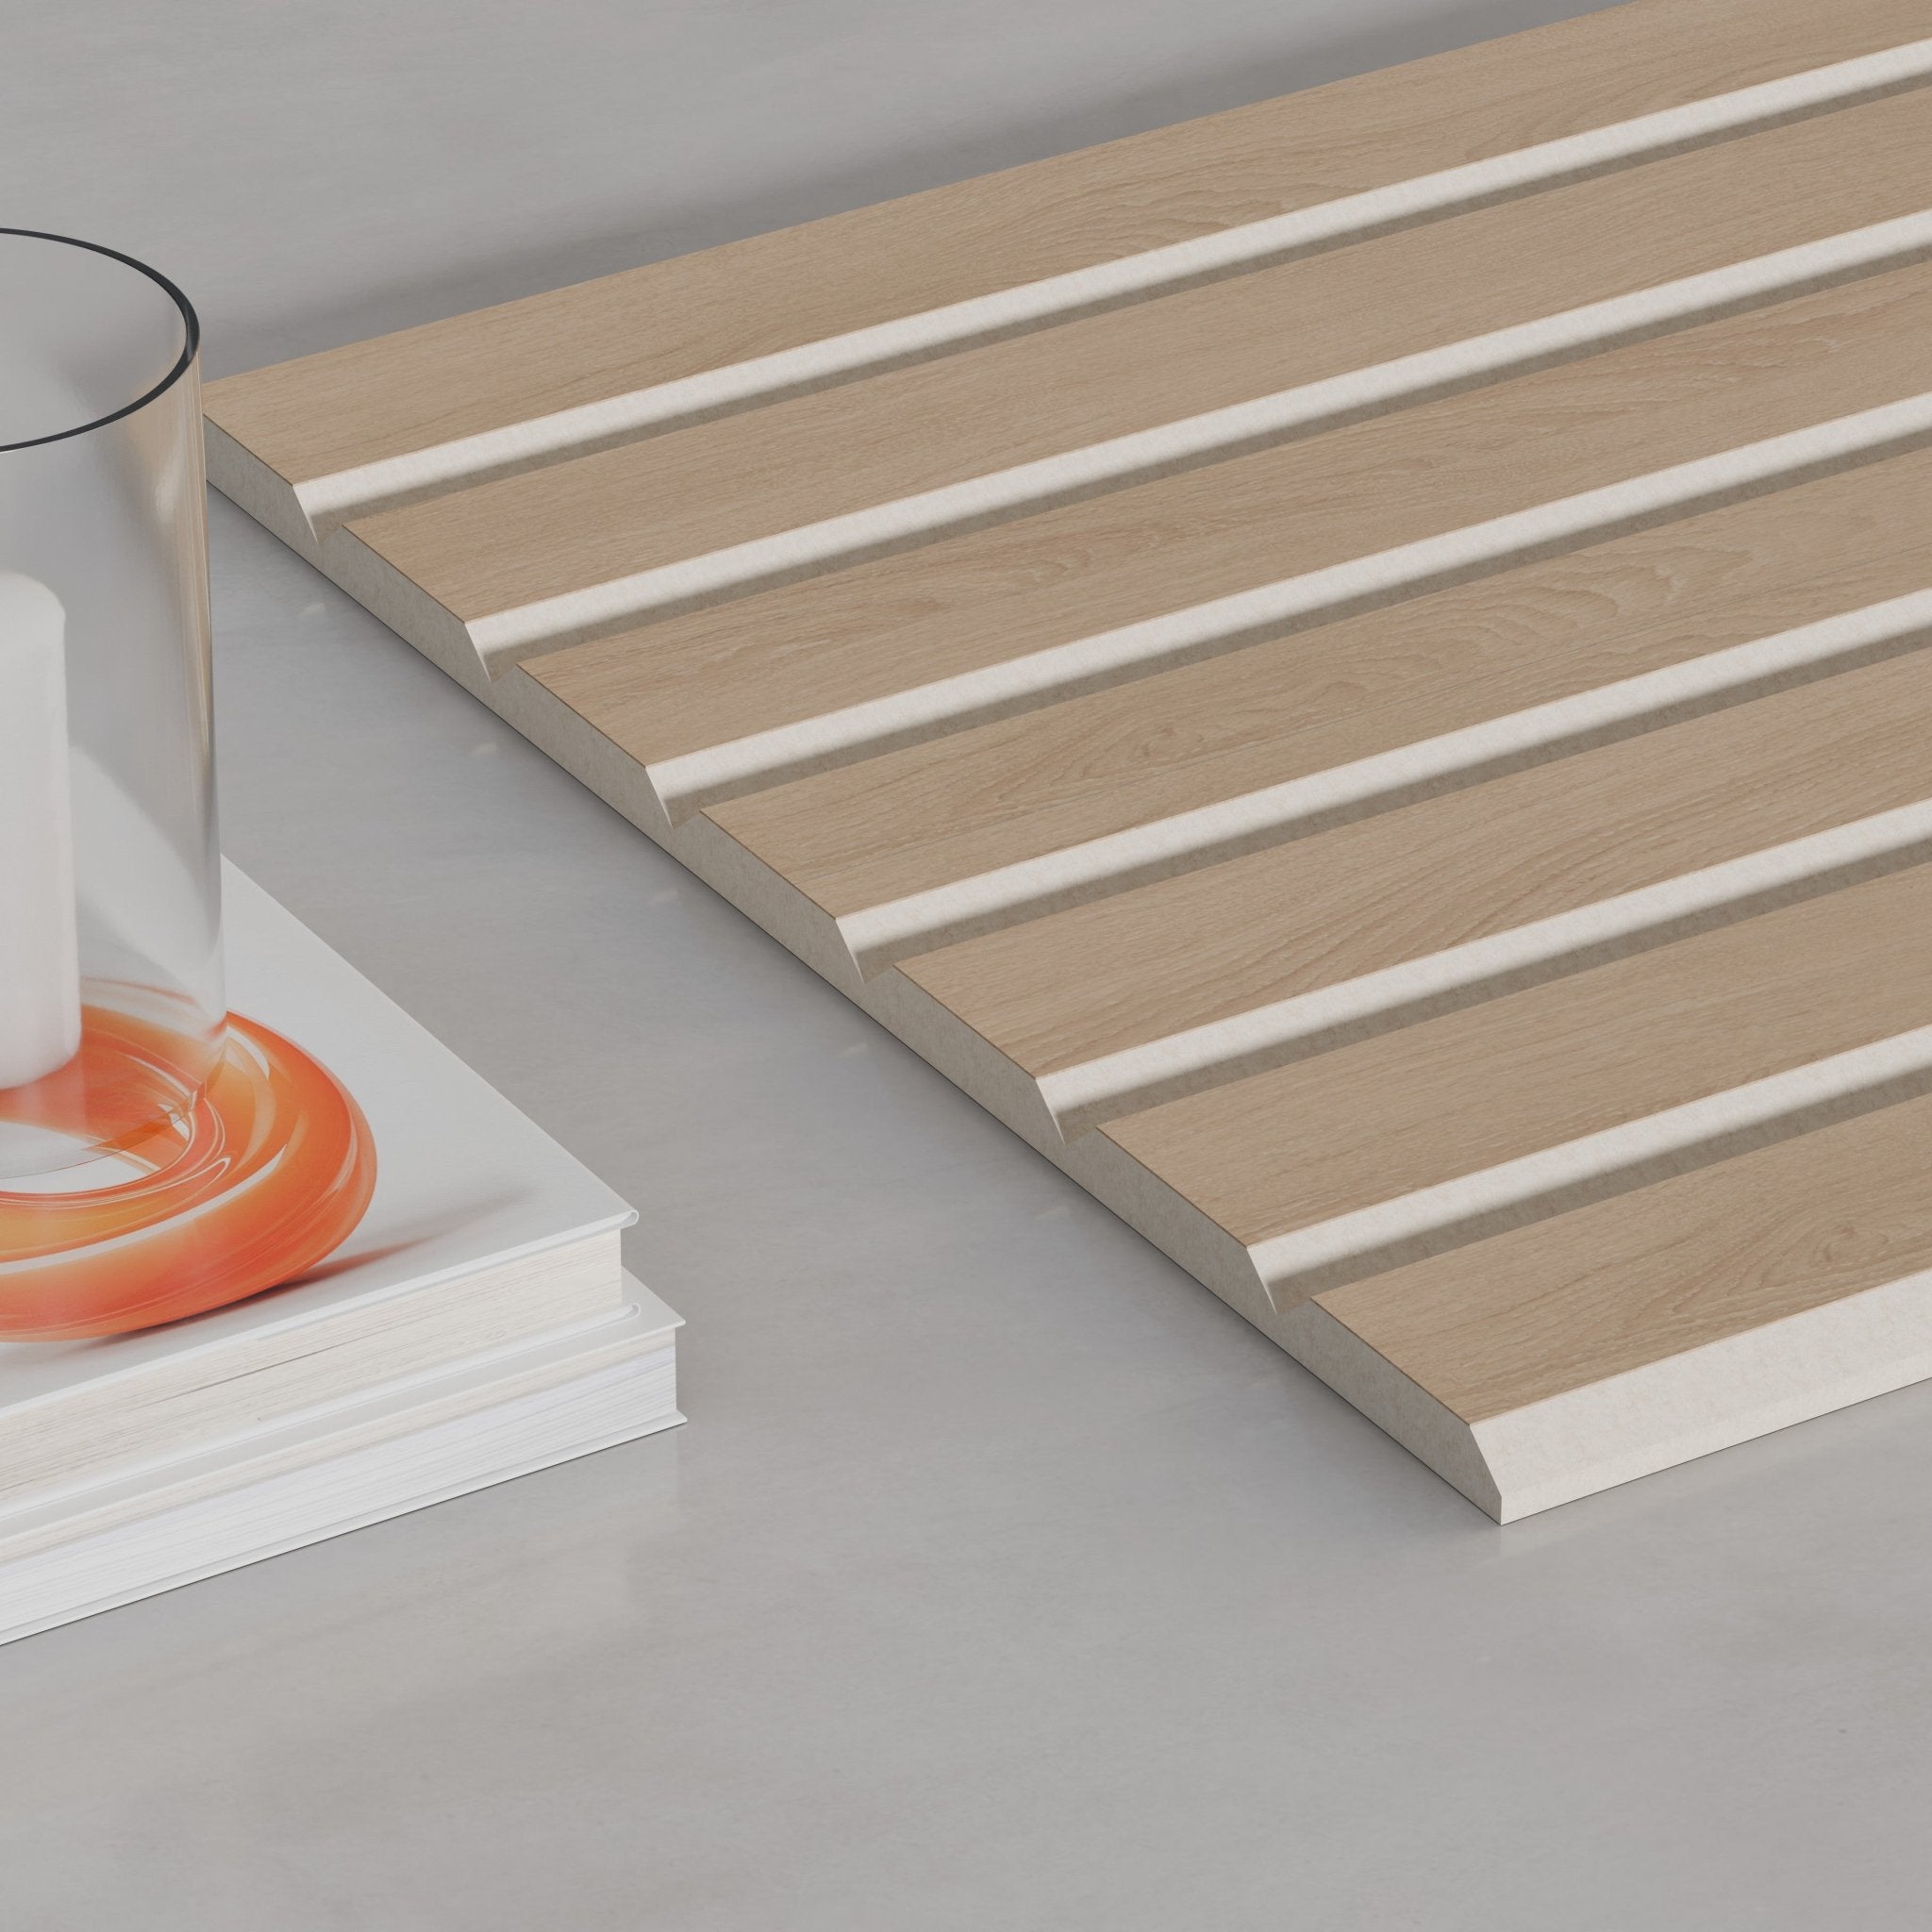
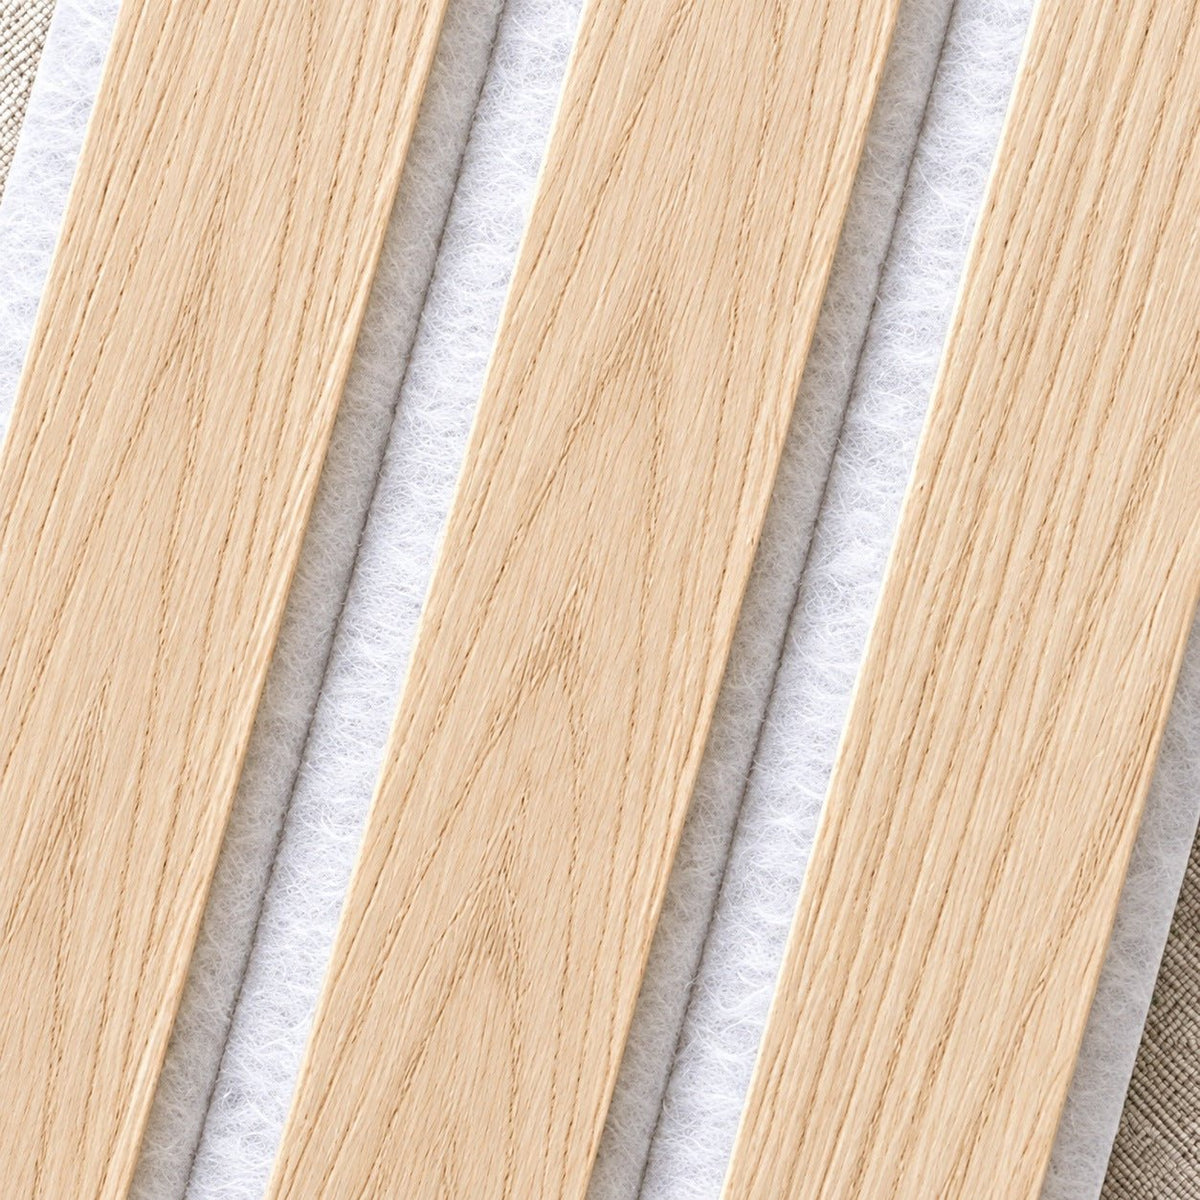
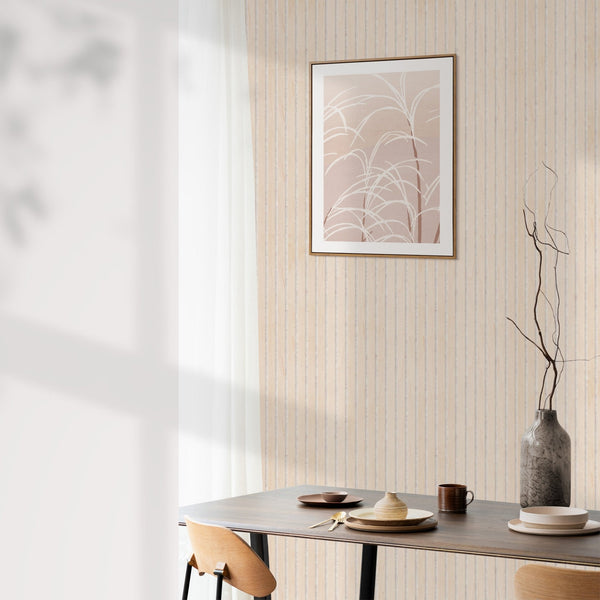
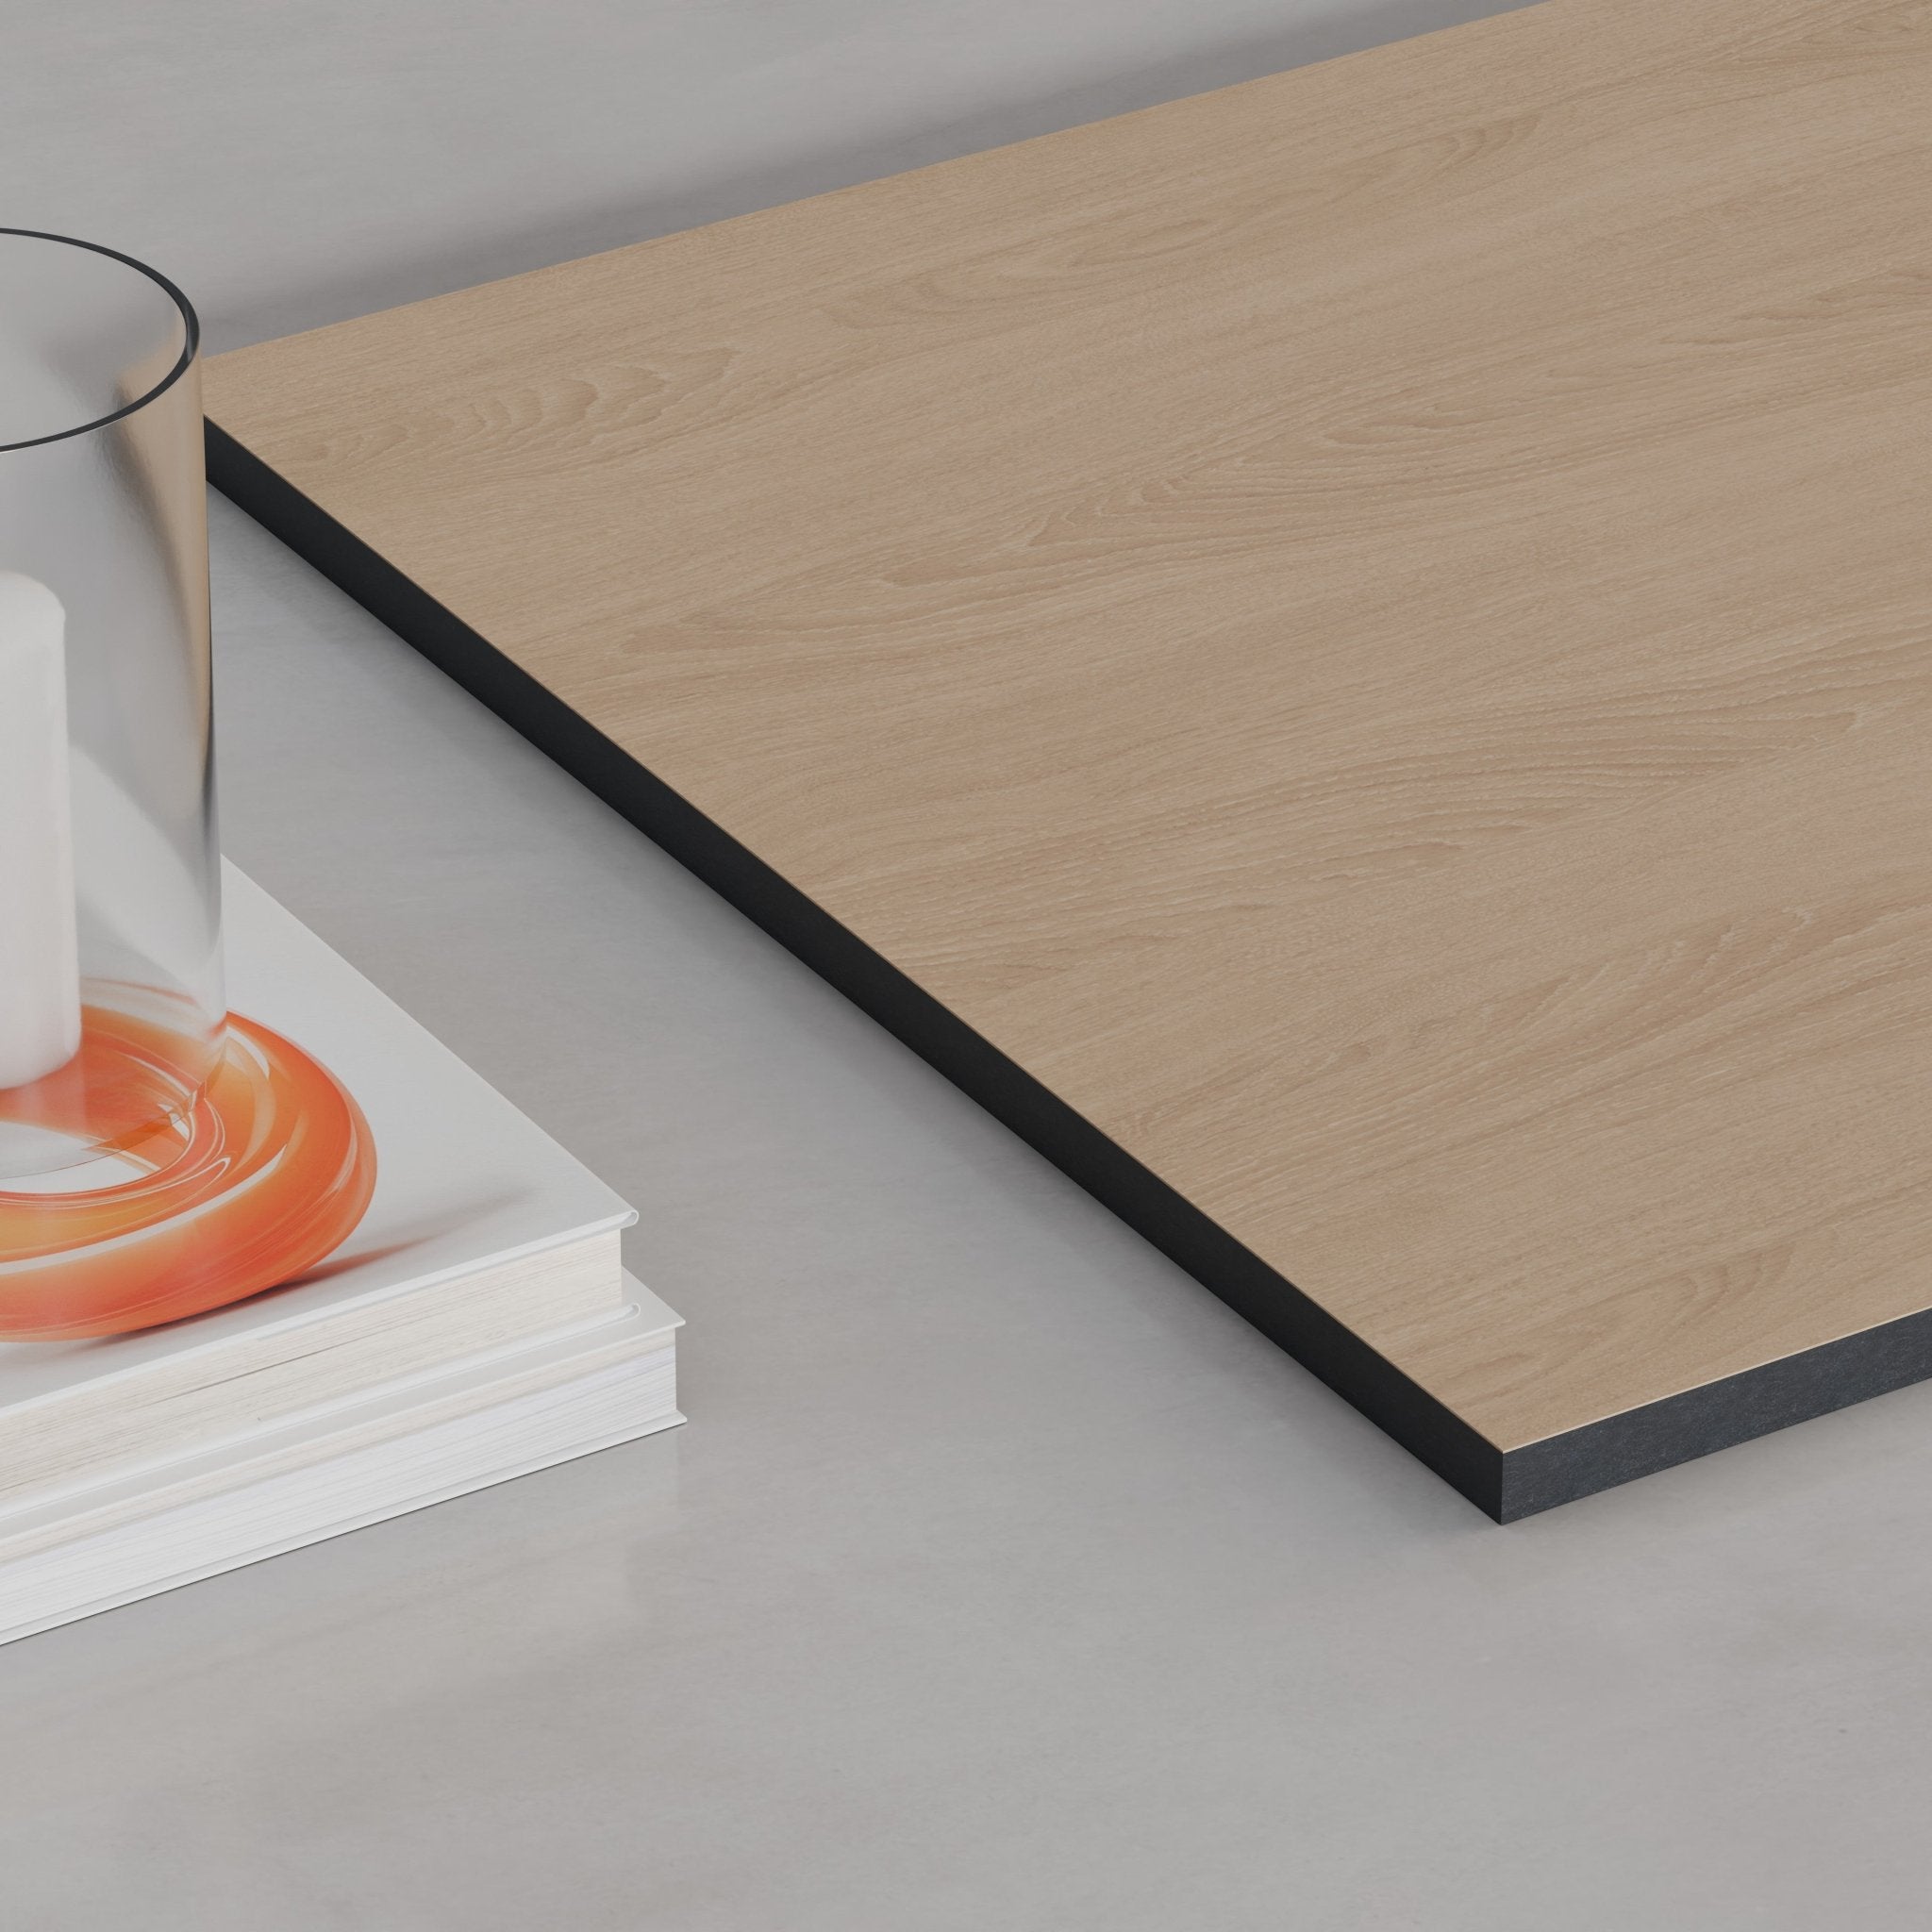
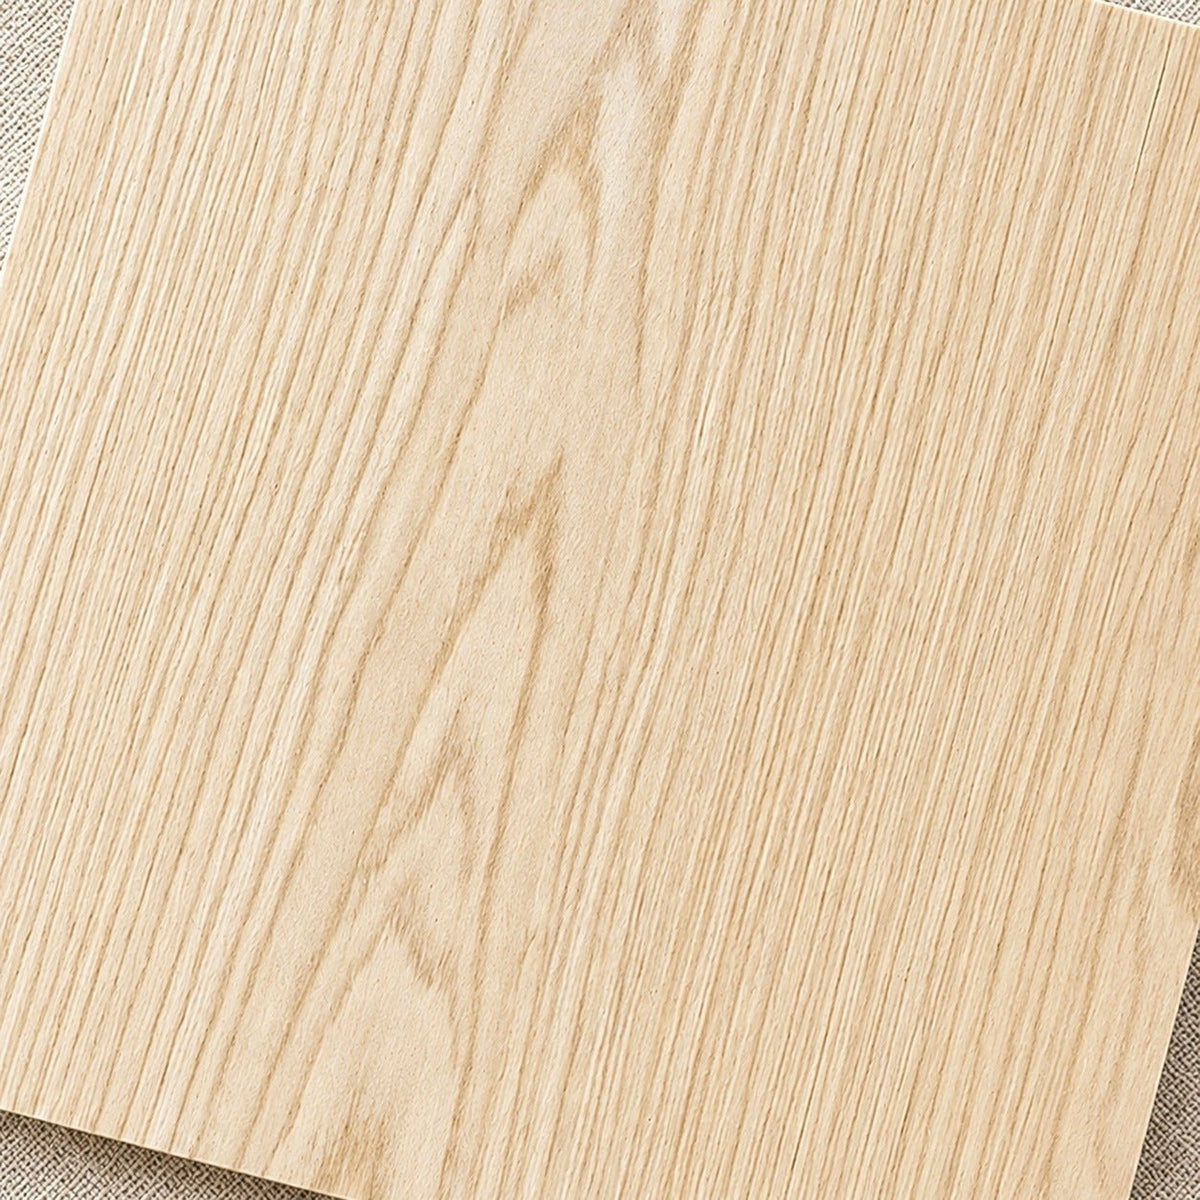
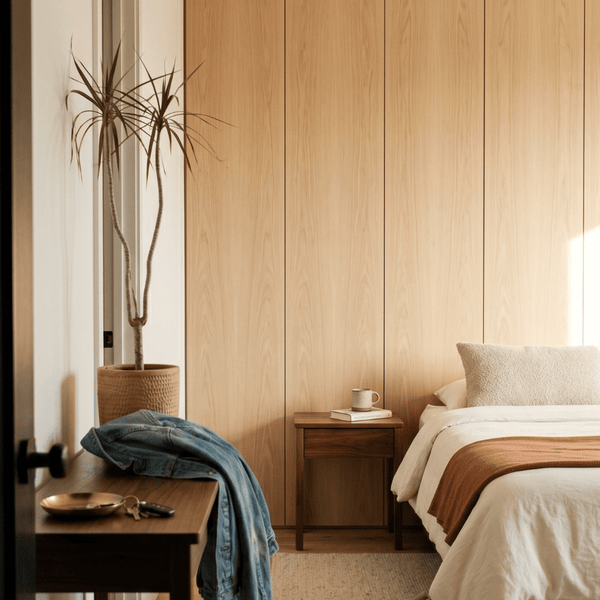


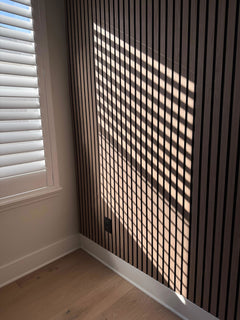
You’re in good company.
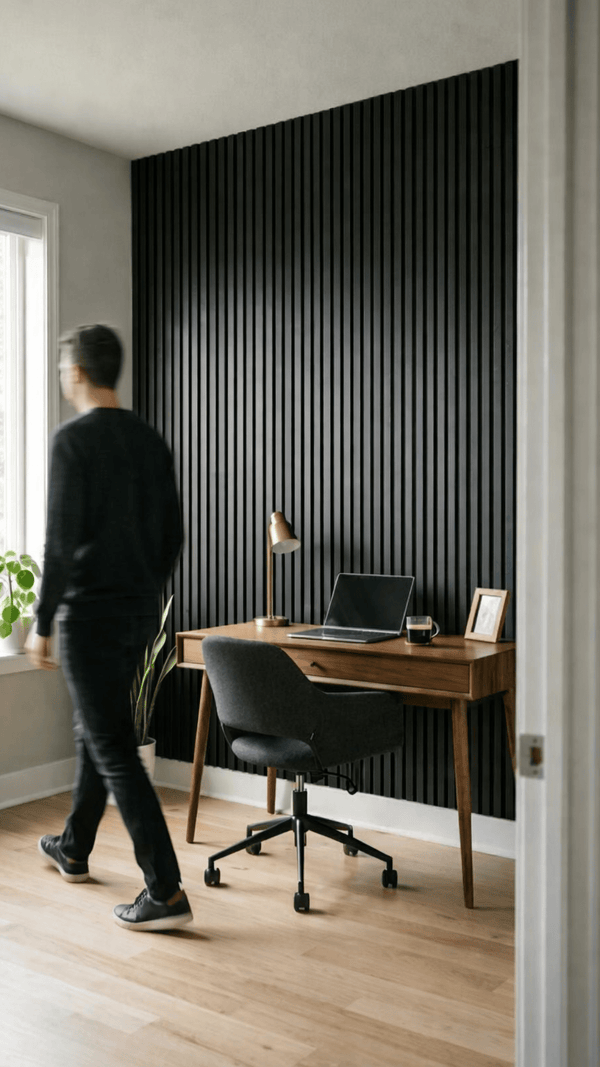
304423+ sq ft of our panels are already up in 2500+ homes & businesses across all 50 states. Join them. ★★★★★4.9 from 293 reviews
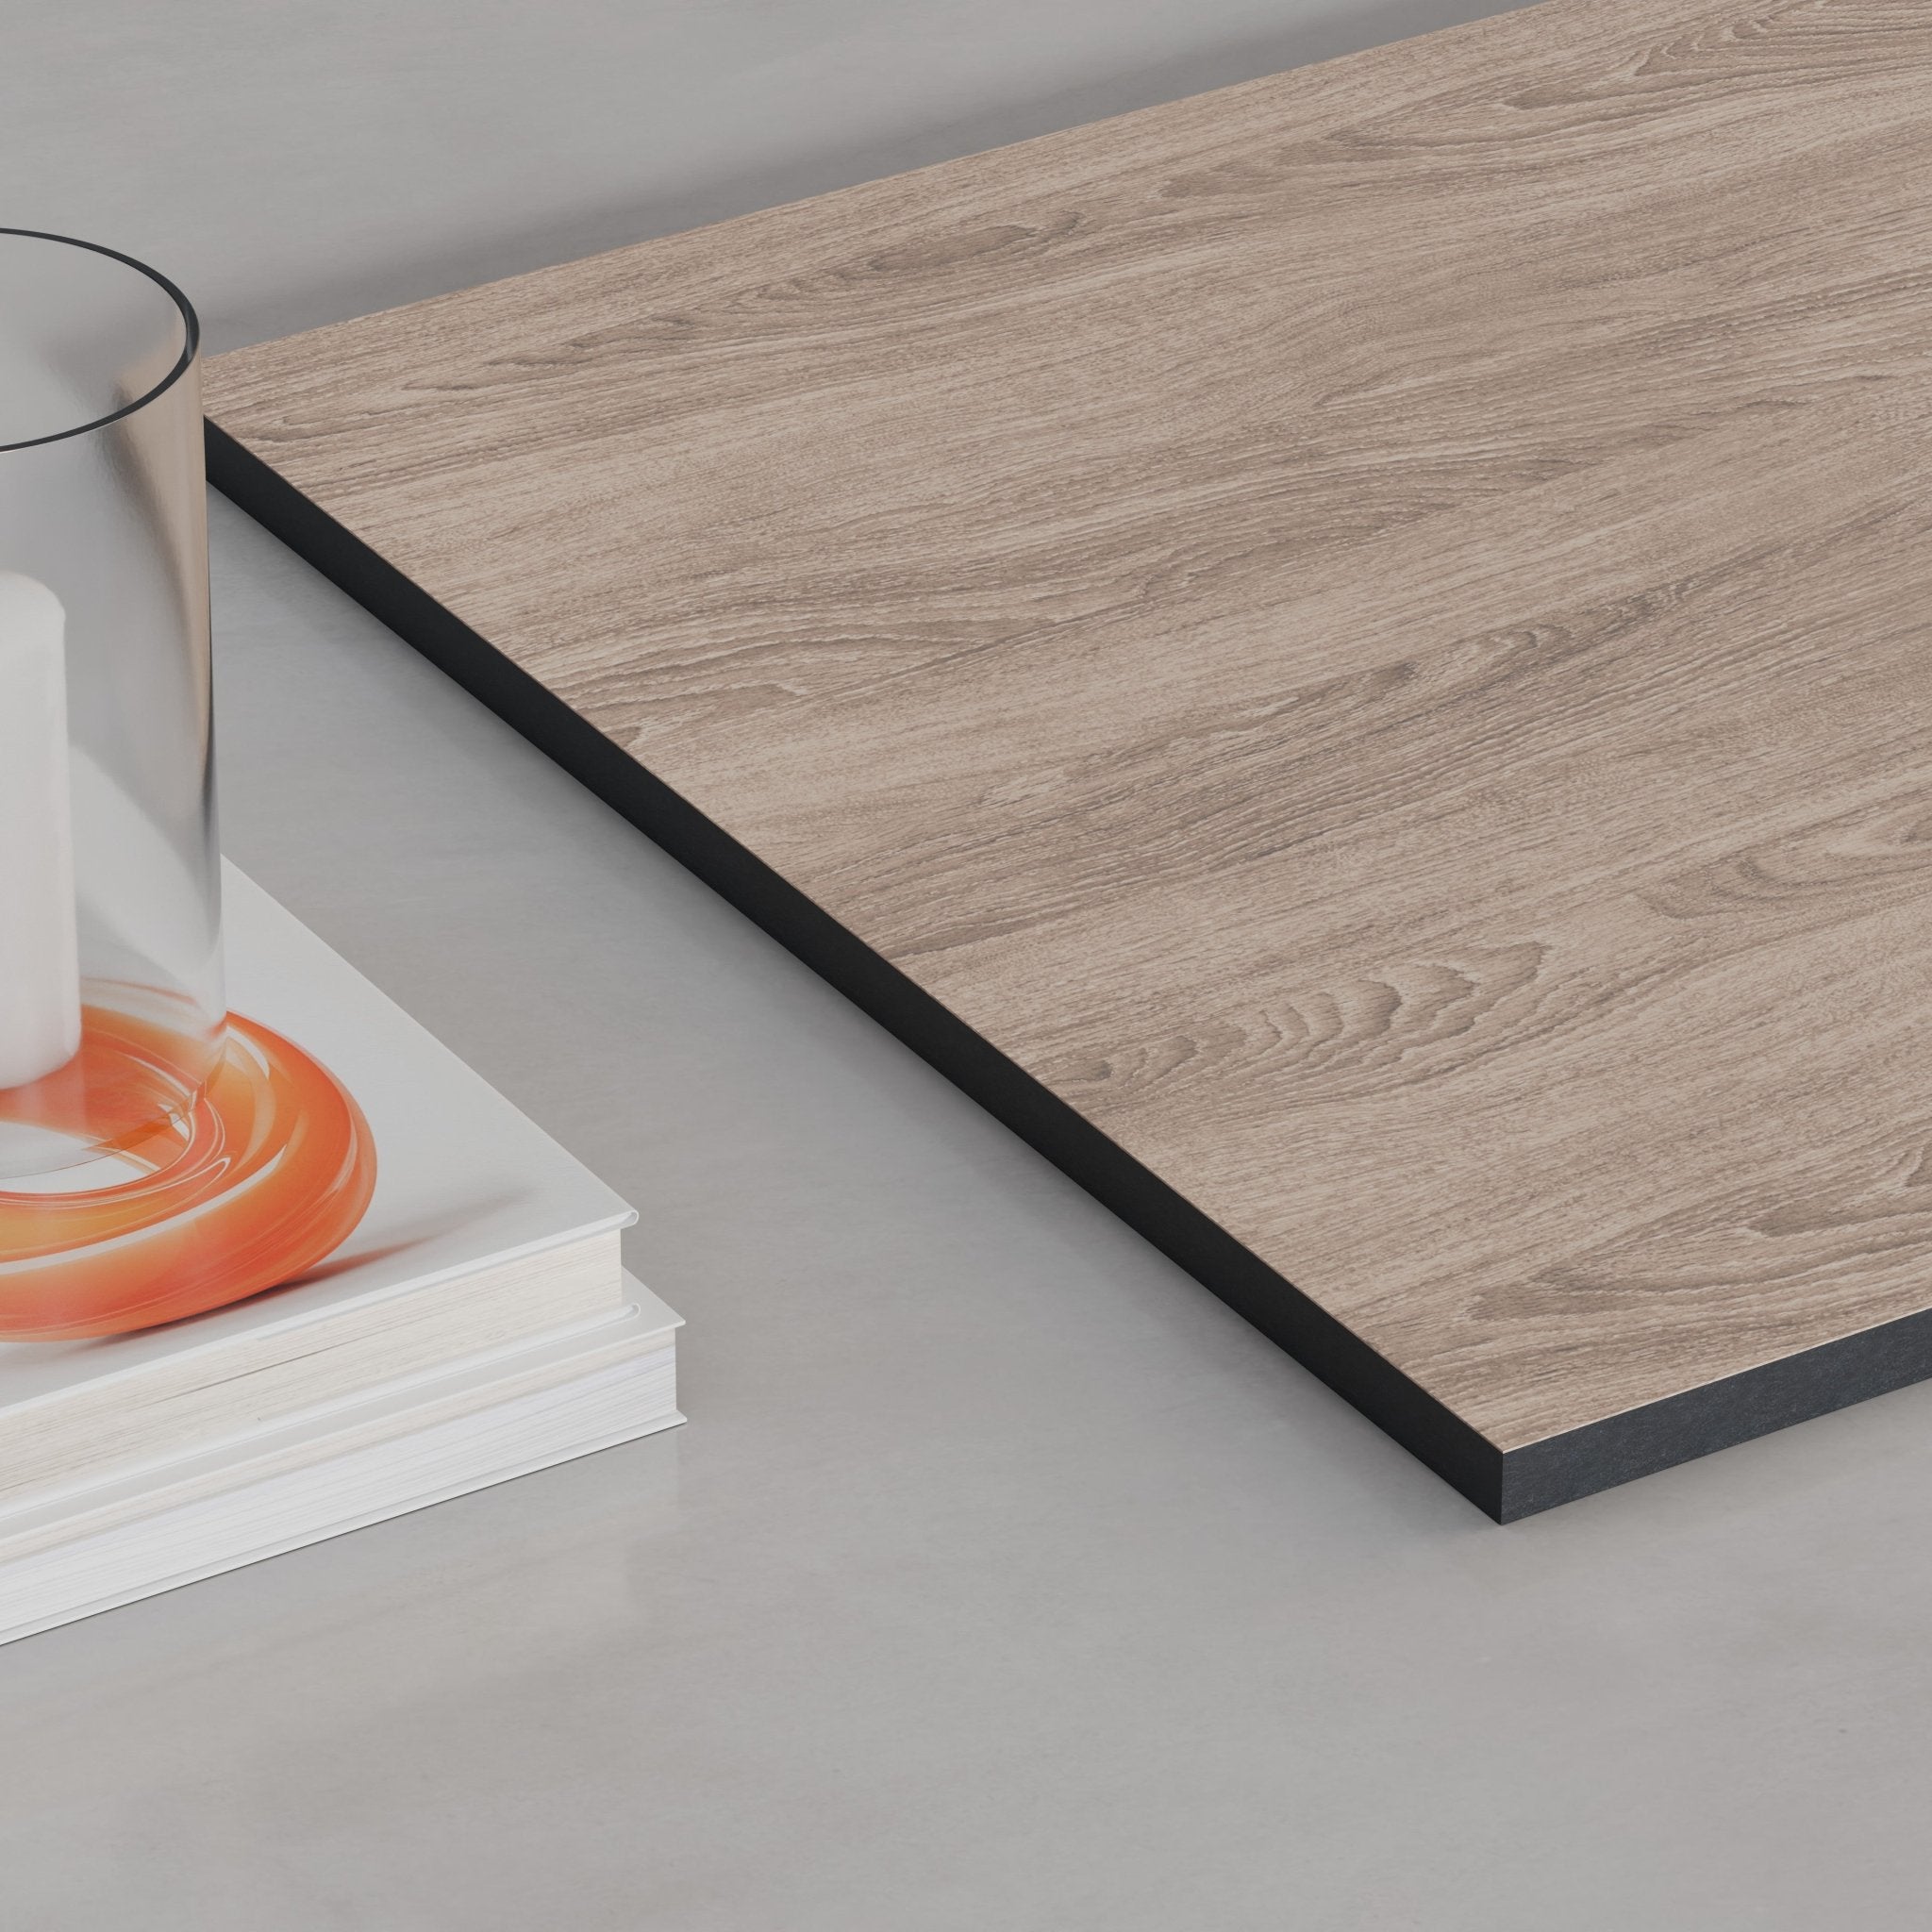
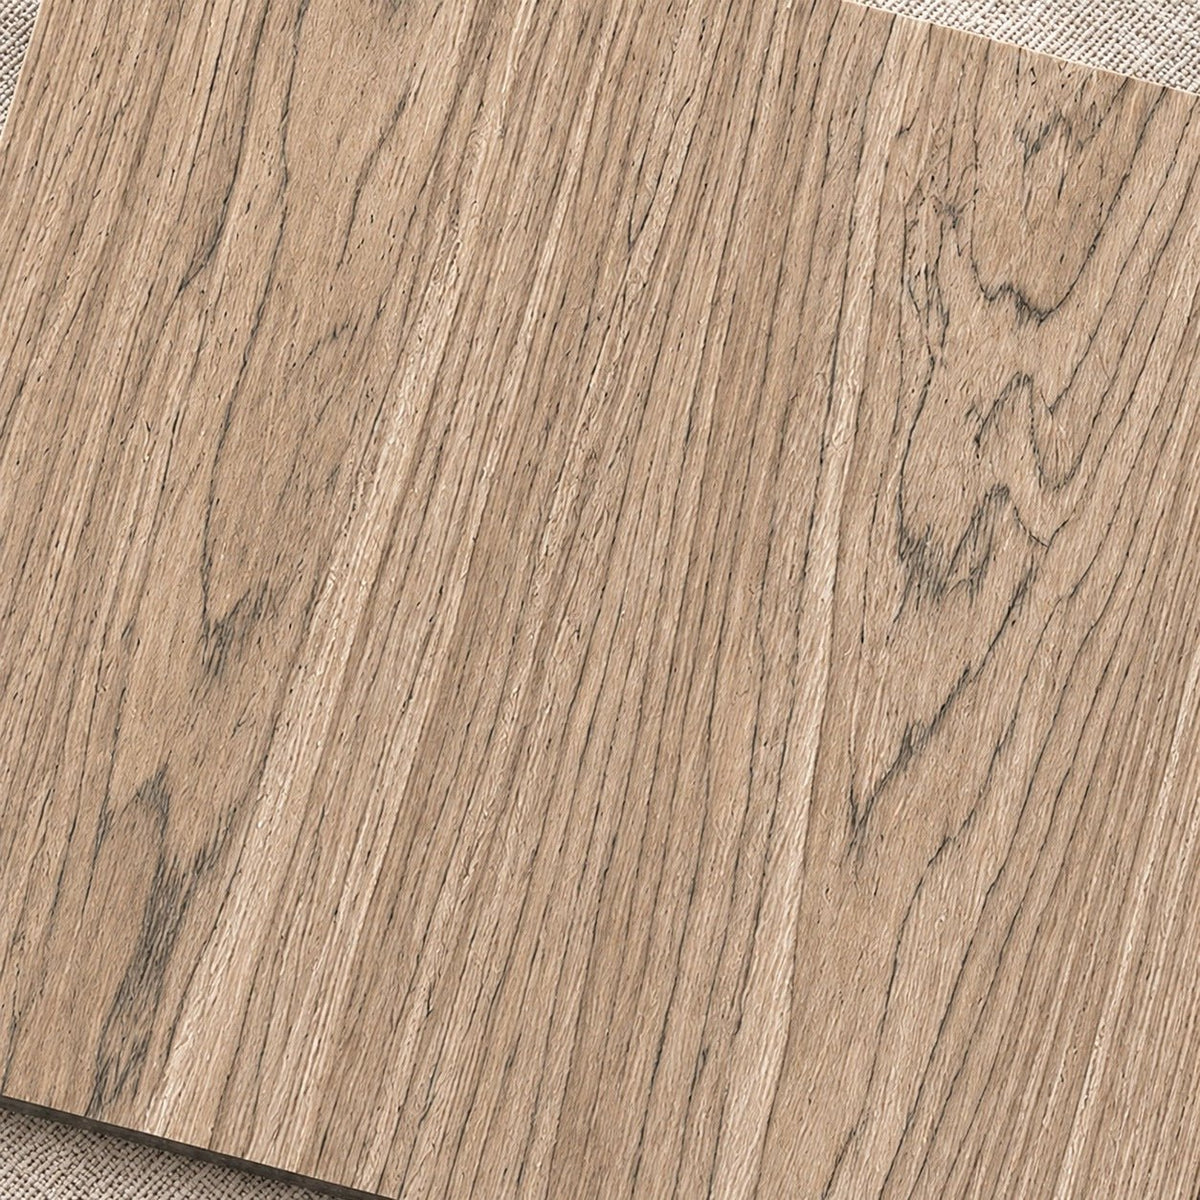
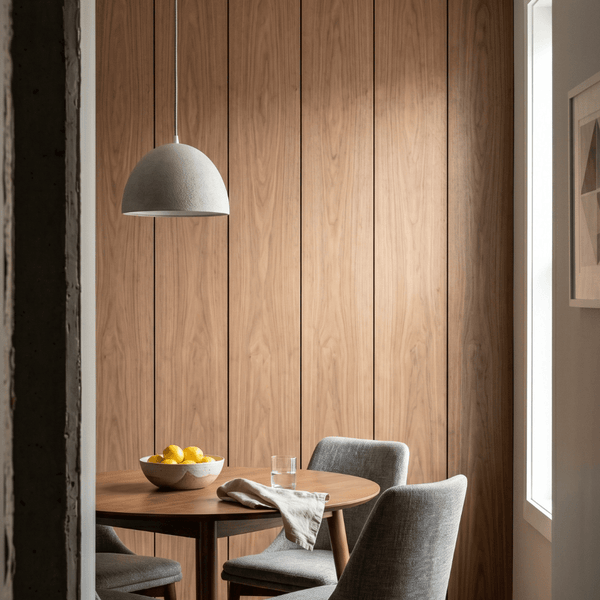
You’re in good company.
304423+ sq ft of our panels are already up in 2500+ homes & businesses across all 50 states. Join them. ★★★★★4.9 from 293 reviews





Plan your wall
How many boxes do I need?
Pick your ceiling height and enter your wall width. We'll work out the boxes and price for each line.
Volume discounts available on 9, 10 and 12 ft panels.
Rounded up to whole boxes for one wall at full panel height. Add a box if you'll cut around windows or doors.
See the difference
Put them side by side, at home
Order the samples and compare them on your own wall, in your own light.
Shop all samples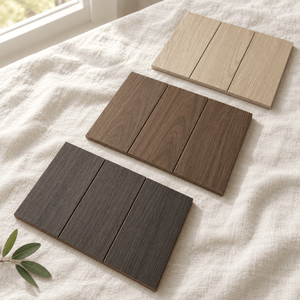


Installation
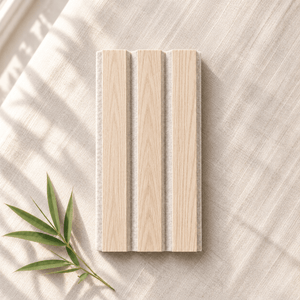
How they go up
Pick your line for the steps, or download the full guide as a PDF.
Trim-head screws, adhesive or both
- Plan the wall
Measure the wall and work out how many boxes you need. Start at the most visible corner and draw a plumb line.
- Fix the first panel
Trim-head screws through the felt in the outermost groove at each edge, rows no more than 30″ apart (a bugle or pan head is too wide and sits proud). Or construction adhesive, or both.
- Butt the next panel up
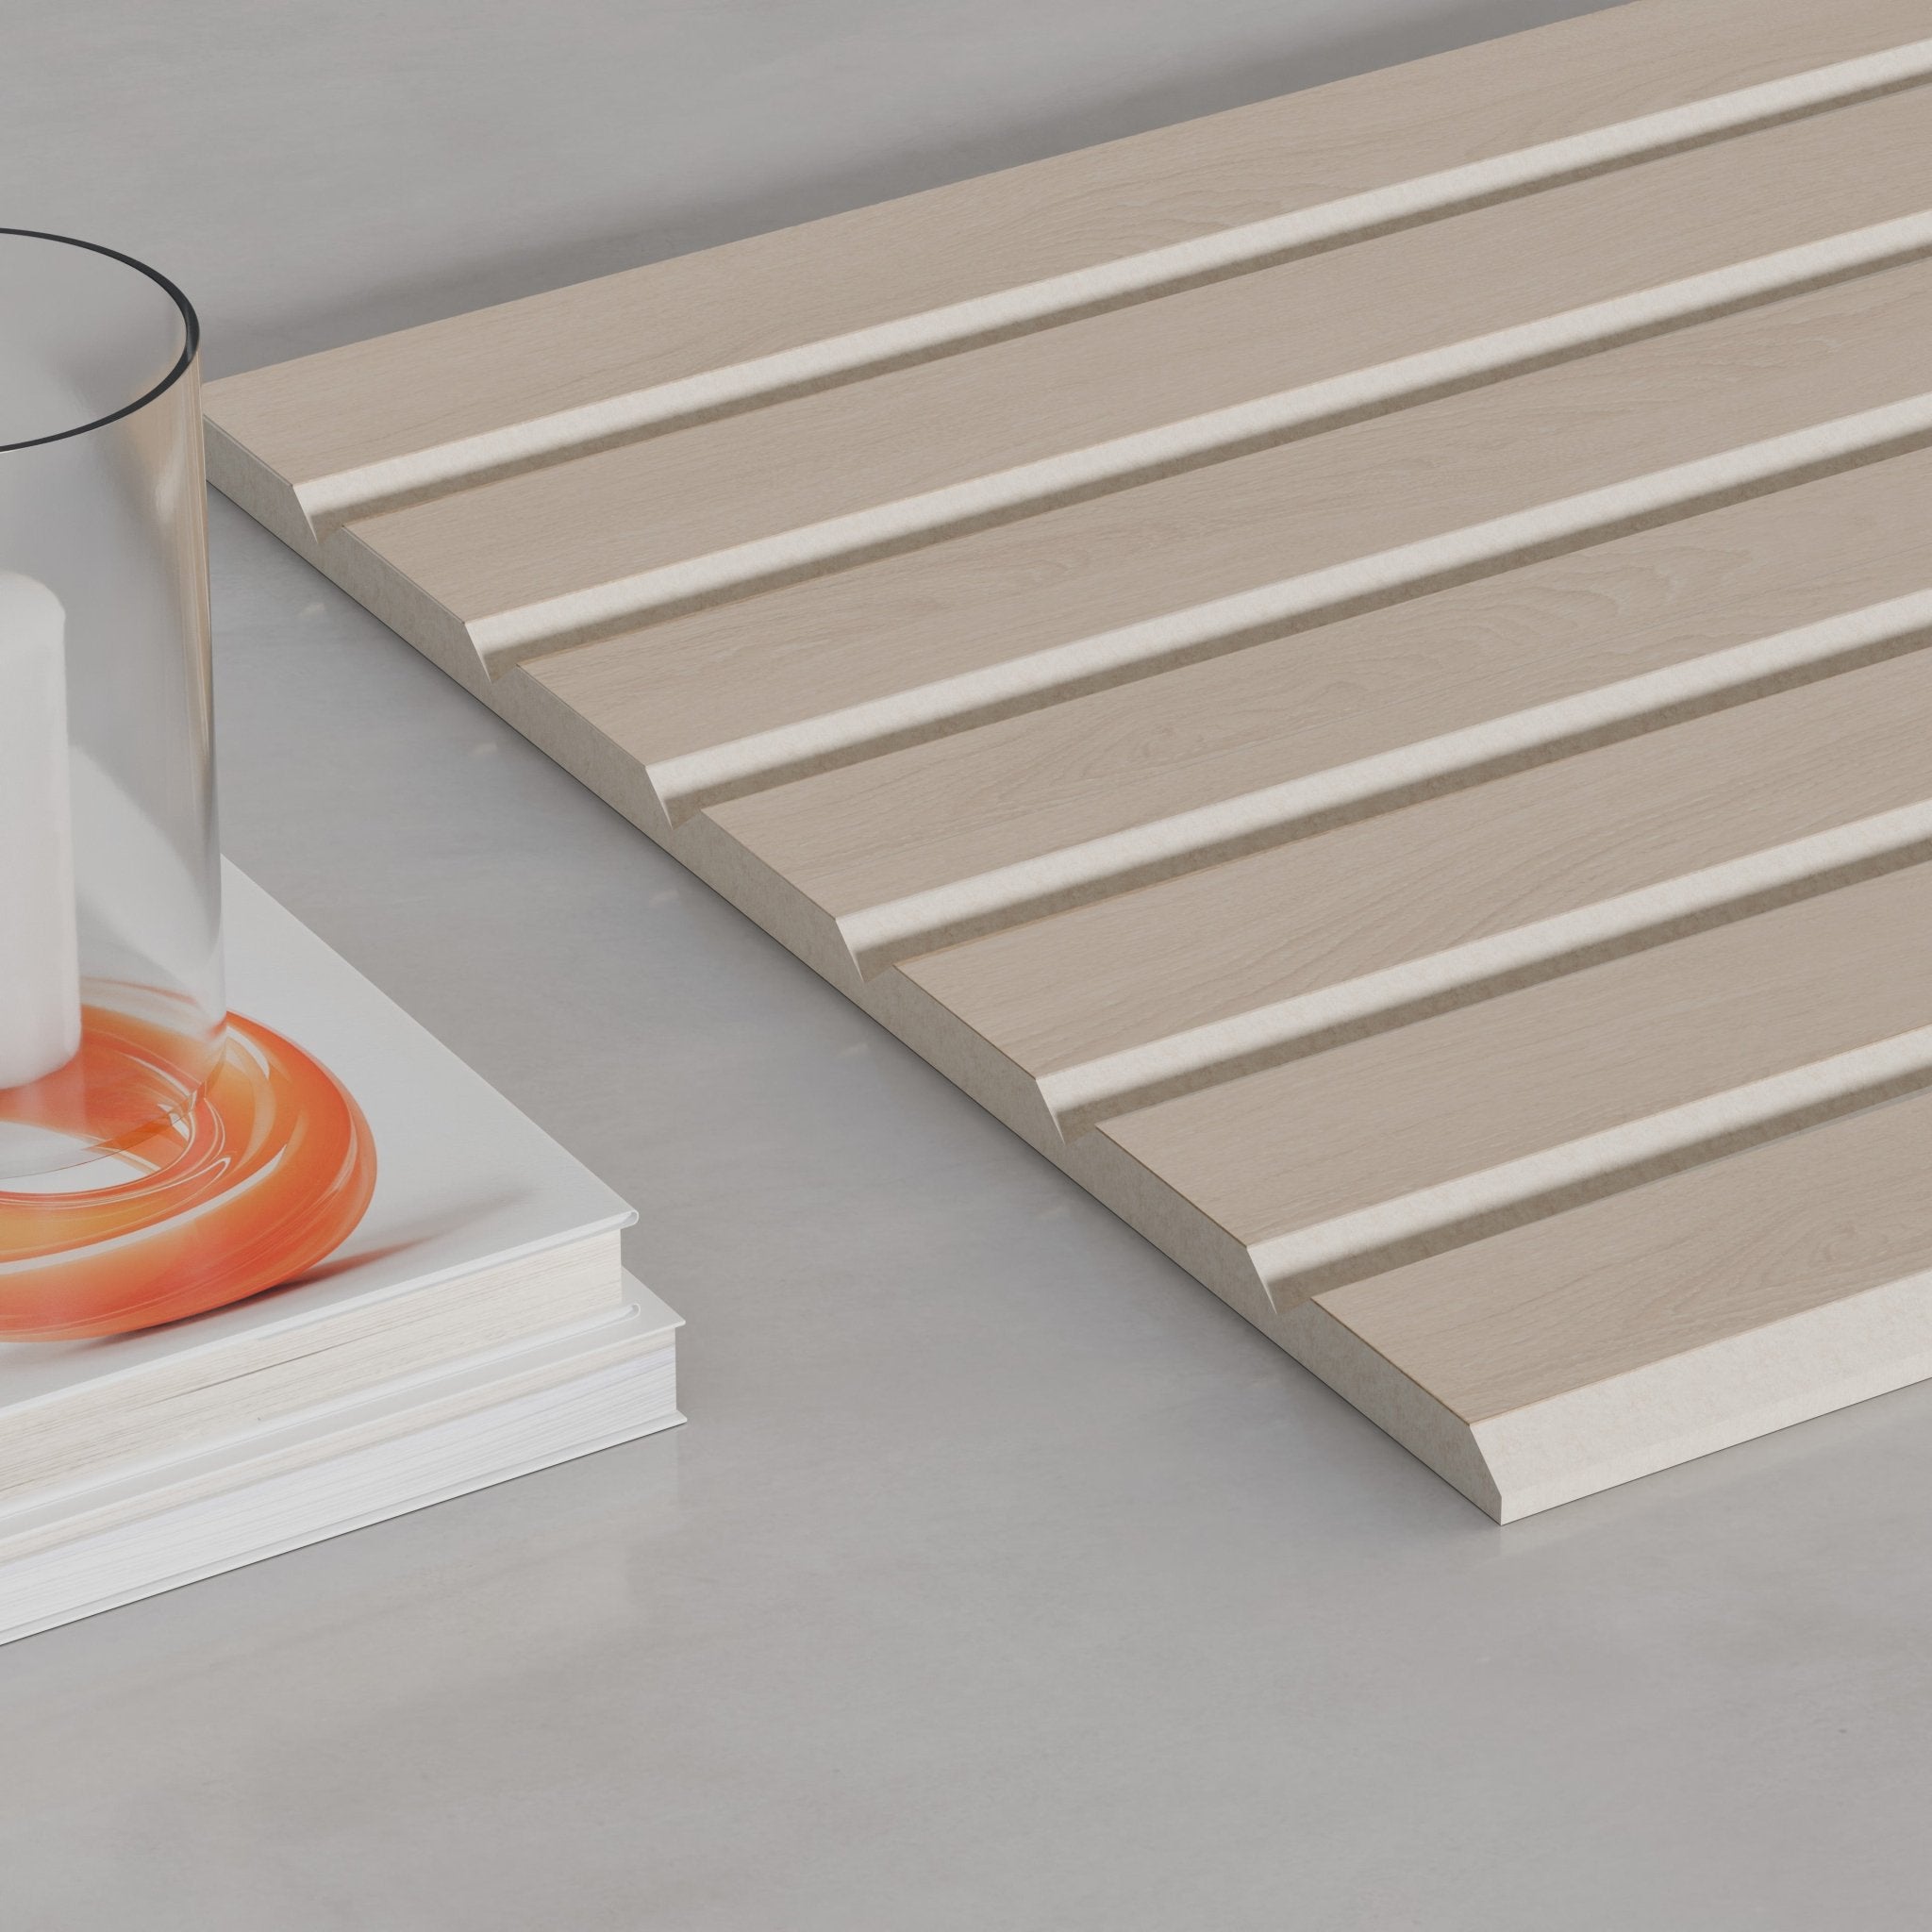
Each end carries half a V-groove. Push until the 45° chamfers seat and the two halves close into one full groove that matches the rest. No lip, no overhang.
- Curves and columns
No rigid core, so Ultralight bends across the slats around curves and columns. Use adhesive and start from the tightest part of the curve.
You'll need
- Drill / driver (cordless is best)
- Trim-head screws
- Construction adhesive, instead of or as well as screws
- 4 ft level or a laser, and a pencil
- Tape measure
- Stud finder or wall anchors
- Sharp utility knife (does both cuts)
- Fine-tooth saw blade (optional)
Cutting tips
- A utility knife and a straight edge are all you need. Score along the line, and a few passes give a splinter-free edge.
- Practice on an offcut first. It's easy to drift off a straight line.
- Cutting several panels? A circular saw is faster. Put painter's tape on the cut line and use a fine-tooth blade with 60+ teeth.
- Sizing the felt only? A razor blade does it.
- Outlets and switches: a jigsaw, multi-tool or sharp utility knife all work.
Construction adhesive only
- Plan the wall
Measure the wall and work out how many boxes you need. Start at the most visible corner and draw a plumb line.
- Fix with construction adhesive
One continuous S-bead on the felt back, about 2″ in from every edge. Adhesive only: a screw head is wider than the 3mm reveal.
- Butt the next panel up
Each edge has a 1.5mm chamfer, so two panels close into one 3mm shadow reveal. If a join looks wider than the rest, push until the chamfers seat.
- Pin it (optional)
Finishing nails pin a panel while the adhesive takes. The head seats down in the reveal and disappears.
You'll need
- Construction adhesive, rated for wood
- Caulk gun
- Finishing nails, to pin a panel while it grabs
- 4 ft level or a laser, and a pencil
- Tape measure and straightedge
- Fine-tooth blade, for the veneer face
- Utility knife, for the felt
Cutting tips
- A fine-tooth blade goes through the veneer face, a sharp utility knife through the felt. The face is too wide for a knife alone.
- Run painter's tape along the cut line before you saw, so the veneer edge stays clean and doesn't chip.
- Wide: cut down the middle of a reveal and the new edge matches a factory one.
- Accent: a cut edge comes out square, so land it in a corner, behind trim or against a cabinet.
- Cutting to height? Cut from the bottom, so the factory edge stays at the top.
- Practice on an offcut first.
- Outlets and switches: a jigsaw, multi-tool or sharp knife all work.
About this line
Good to know
Our signature acoustic wood slat panels redefine flexibility in form and function. Just 9mm thin, yet rich in depth and character, they install easily on flat or curved surfaces alike. Available in white oak or walnut, each ultralight panel offers real wood texture with felt backing for warmth, contrast, and exceptional acoustic performance. Choose from three precisely engineered sizes to fit standard 8ft, 9ft, and 10ft wall heights—making installation seamless and design beautifully scalable.