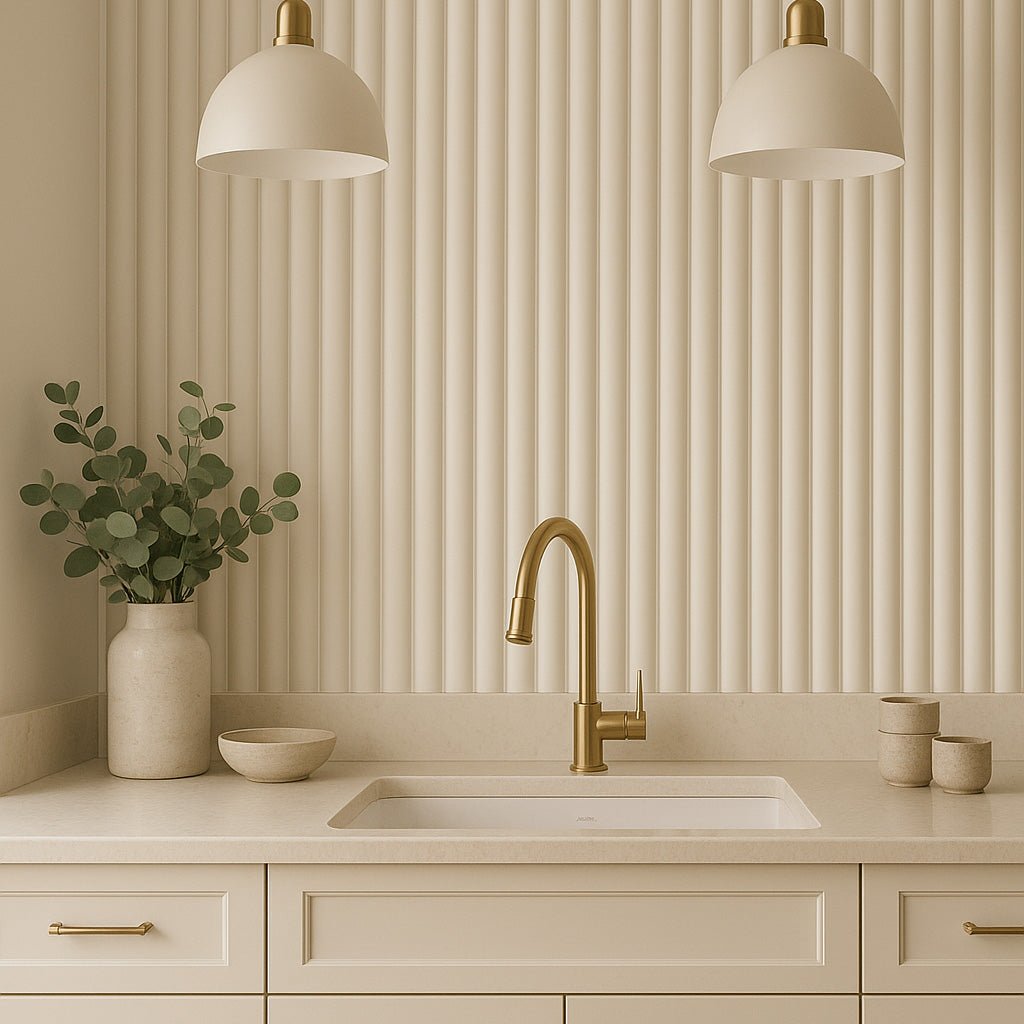
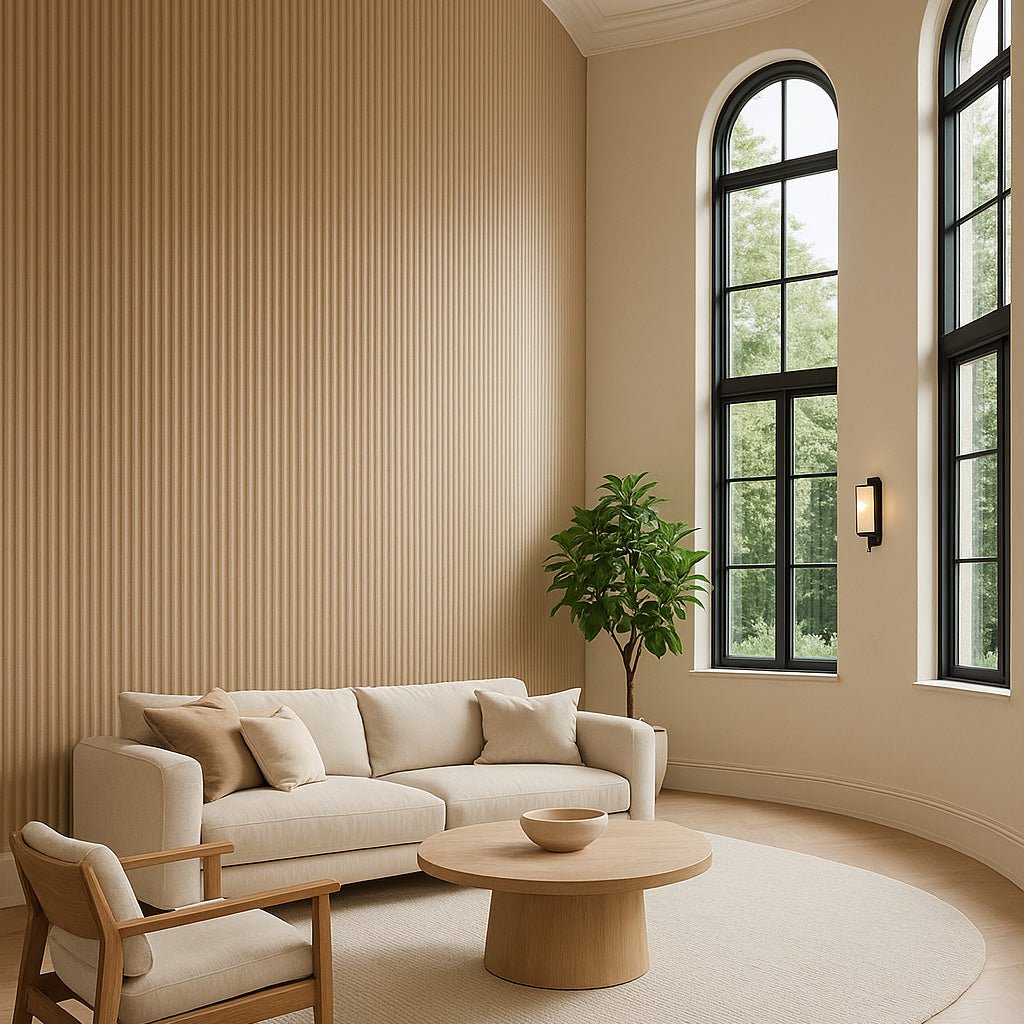
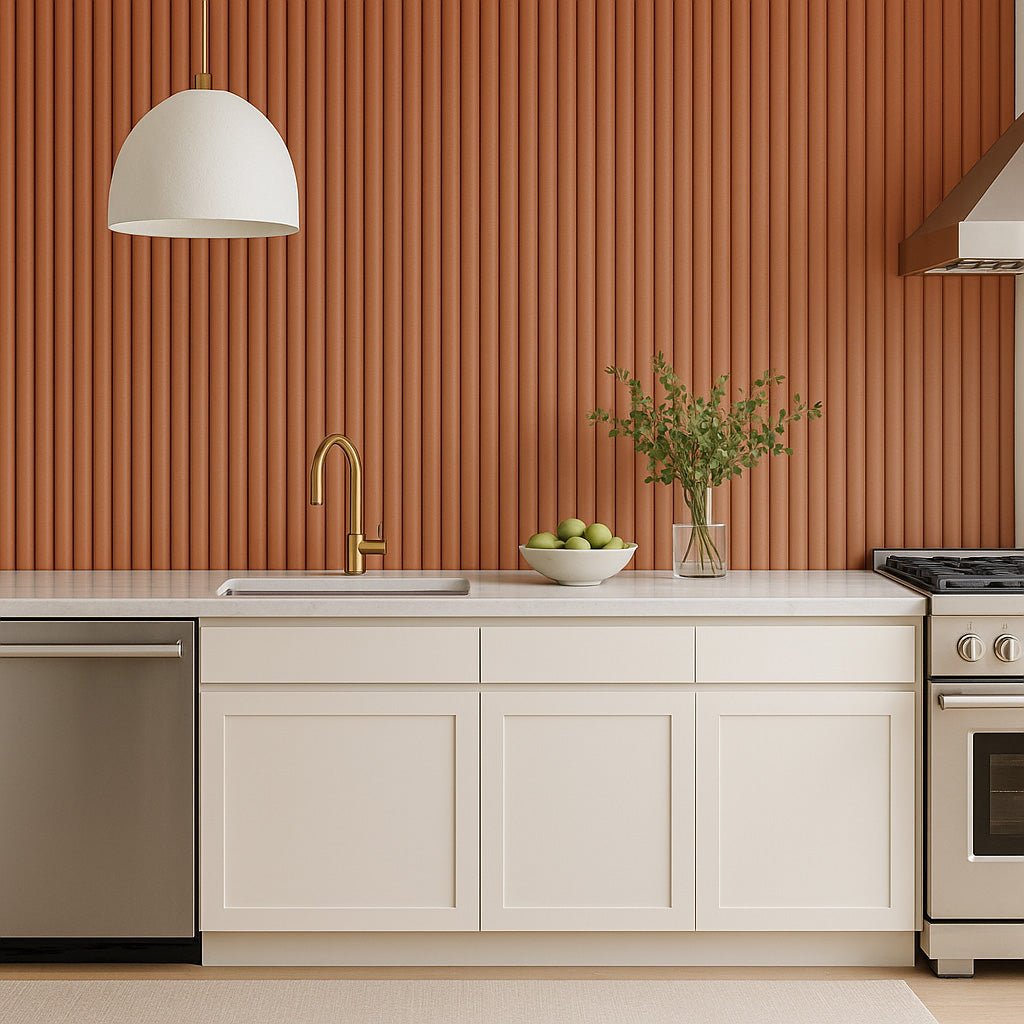
Ridge Paint-Ready Fluted Wall Panel
Primed, sanded and ready for your color — three profiles cut into one panel.
- Five coats of primer — paint straight onto it
- Three profiles — Slat, Ridge or Valley
- Bends in both directions — columns, arches, curves
- Cuts with a handsaw — no special tools
In stock — Delivery soon
Bring your vision to life with flexible, paint-ready fluted wall panels in three stylish patterns and two versatile sizes. Professionally primed MDF, easy to cut, moisture resistant, and effortless to install—perfect for flat or curved walls.
Available in three distinct patterns—Ridge, Valley, and Slat—and cut to fit 8ft, 9ft, and 10ft walls, these panels are made from MDF and factory pre-primed for easy painting and re-painting. Each panel is lightweight, moisture-resistant, and strong yet flexible, allowing for installation on flat surfaces or curved walls like columns and archways. Whether you’re updating a bathroom, wrapping a feature wall, or adding architectural interest to a residential or commercial space, these panels install easily with construction adhesive and finishing nails, connect seamlessly, and cut cleanly to size with basic tools.
 Features & Benefits
 Features & Benefits
Five Coats of Primer: The face arrives primed and sanded flat. Your paint goes straight onto it — no priming, no sanding, no prep.
Paint It, Repaint It: Any colour, any sheen, and a different one in three years. The primed face takes a fresh coat without stripping anything back.
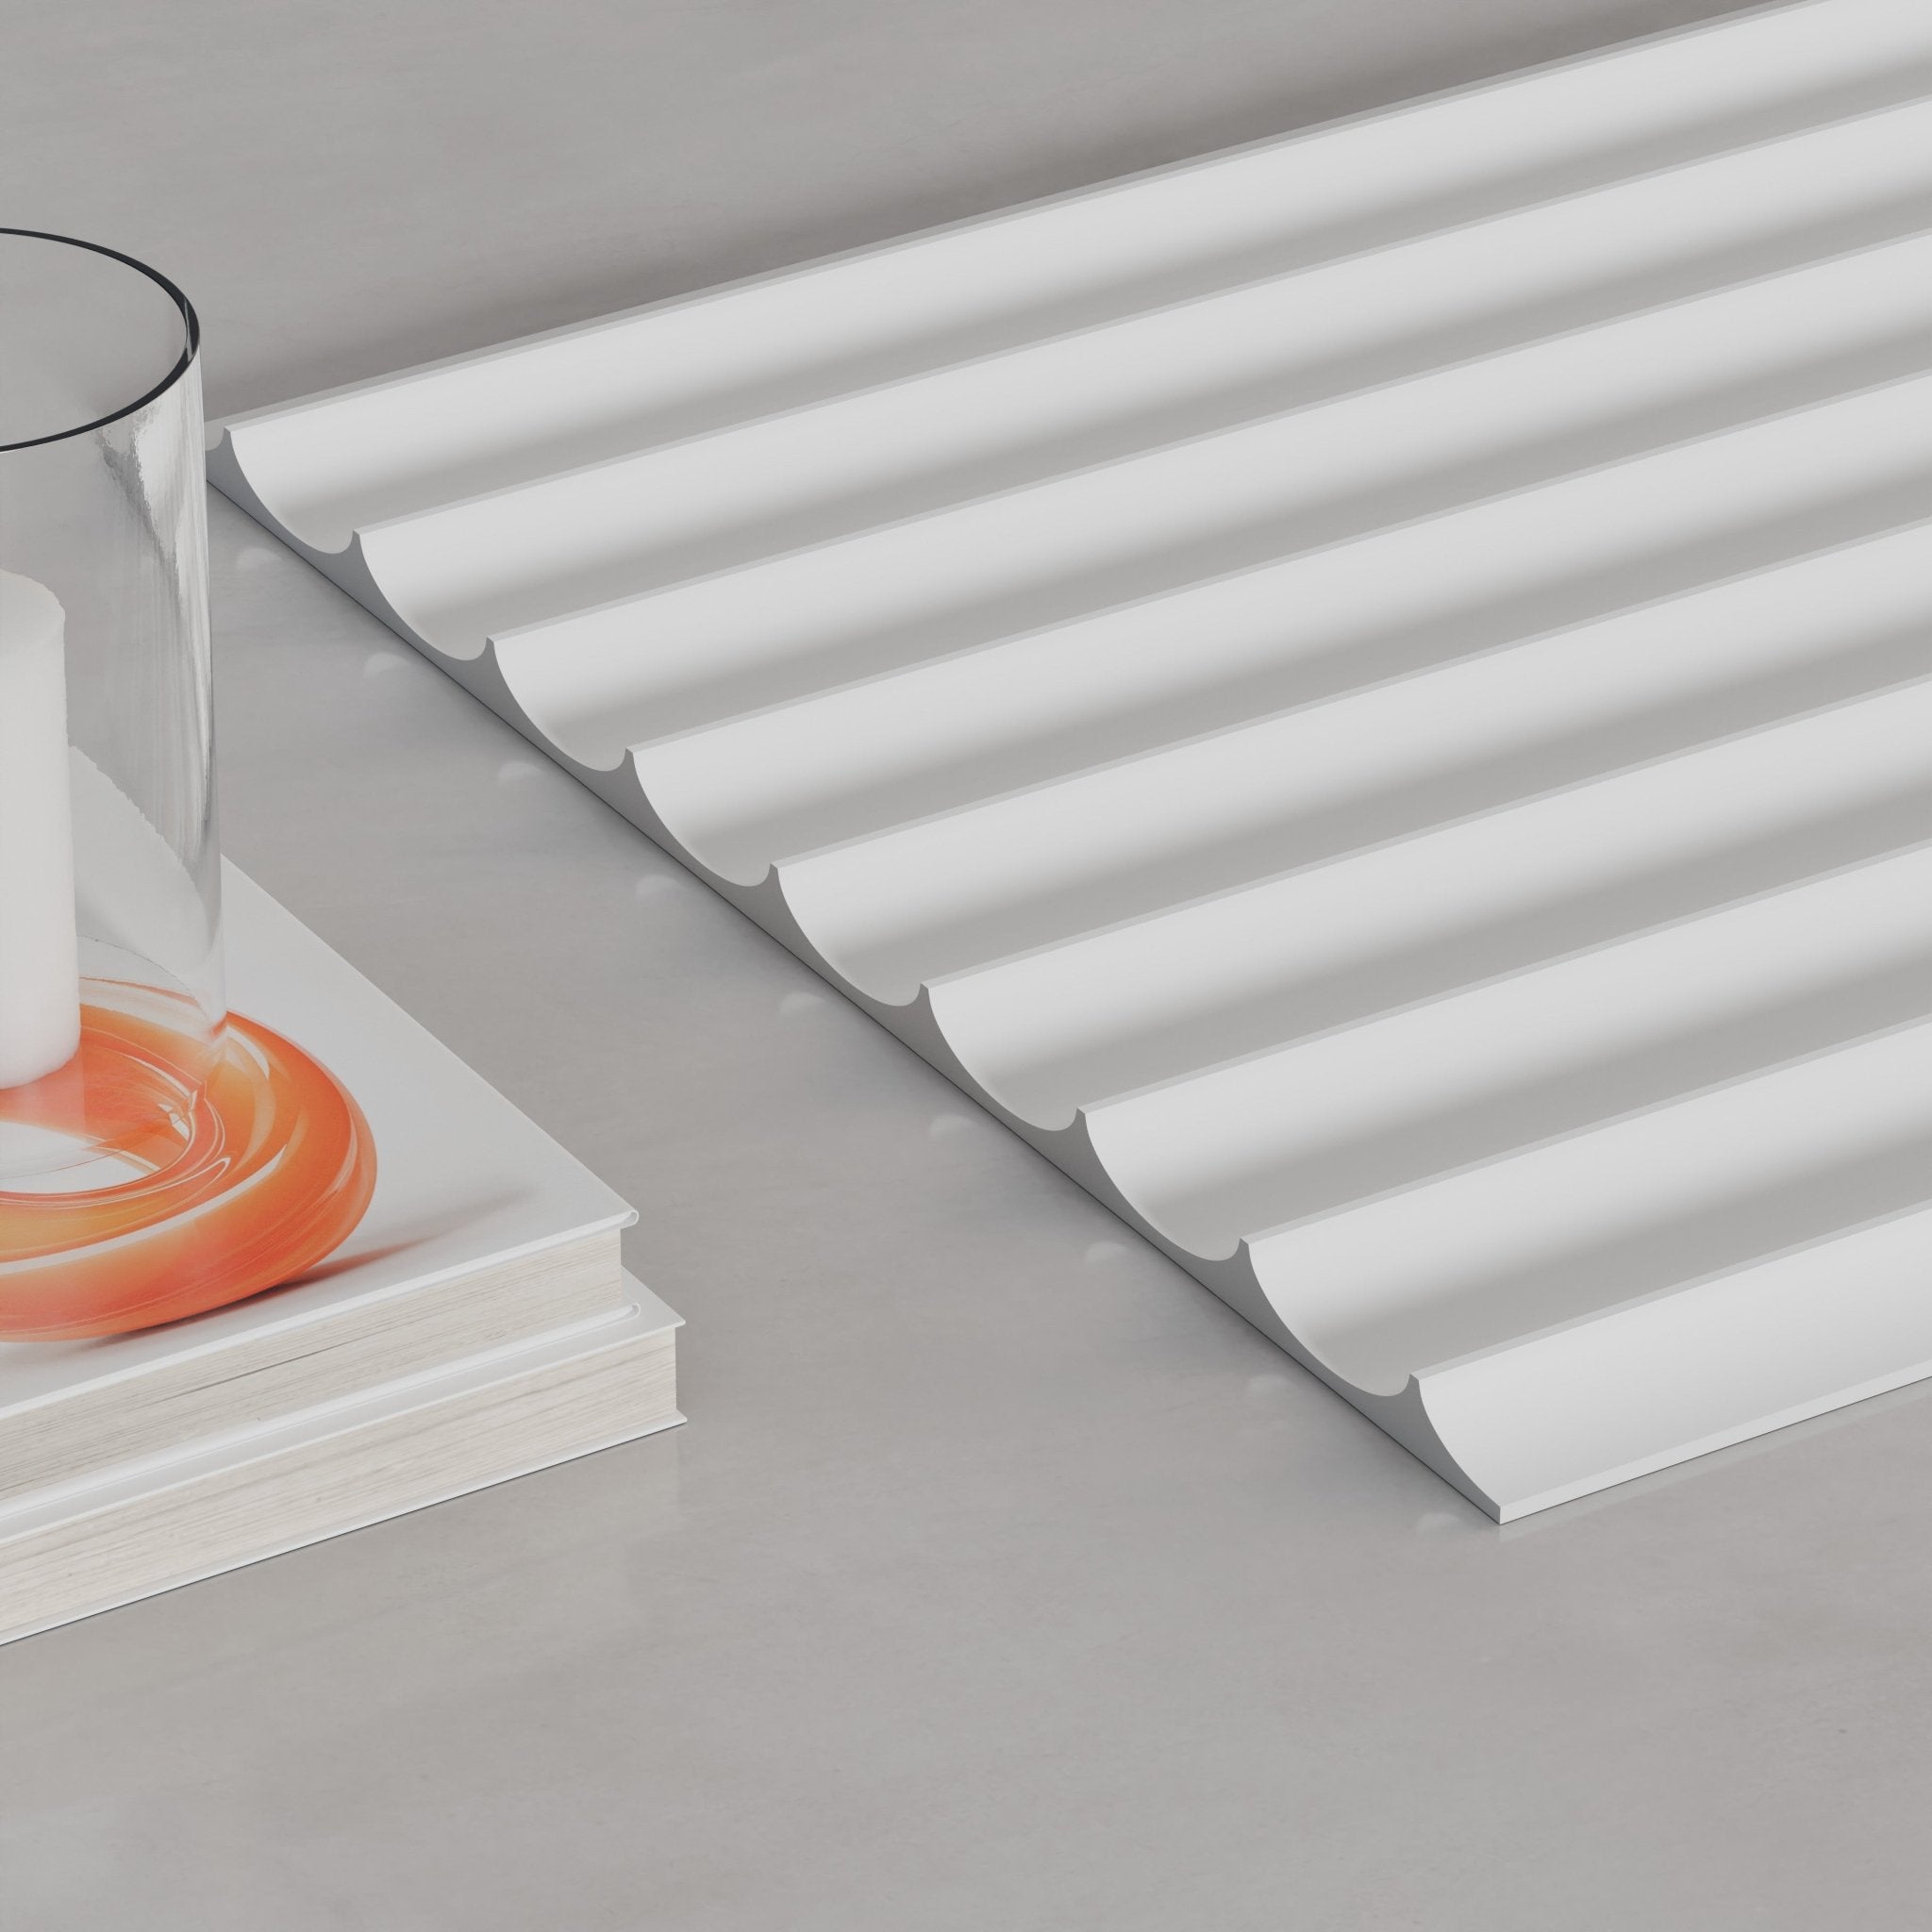
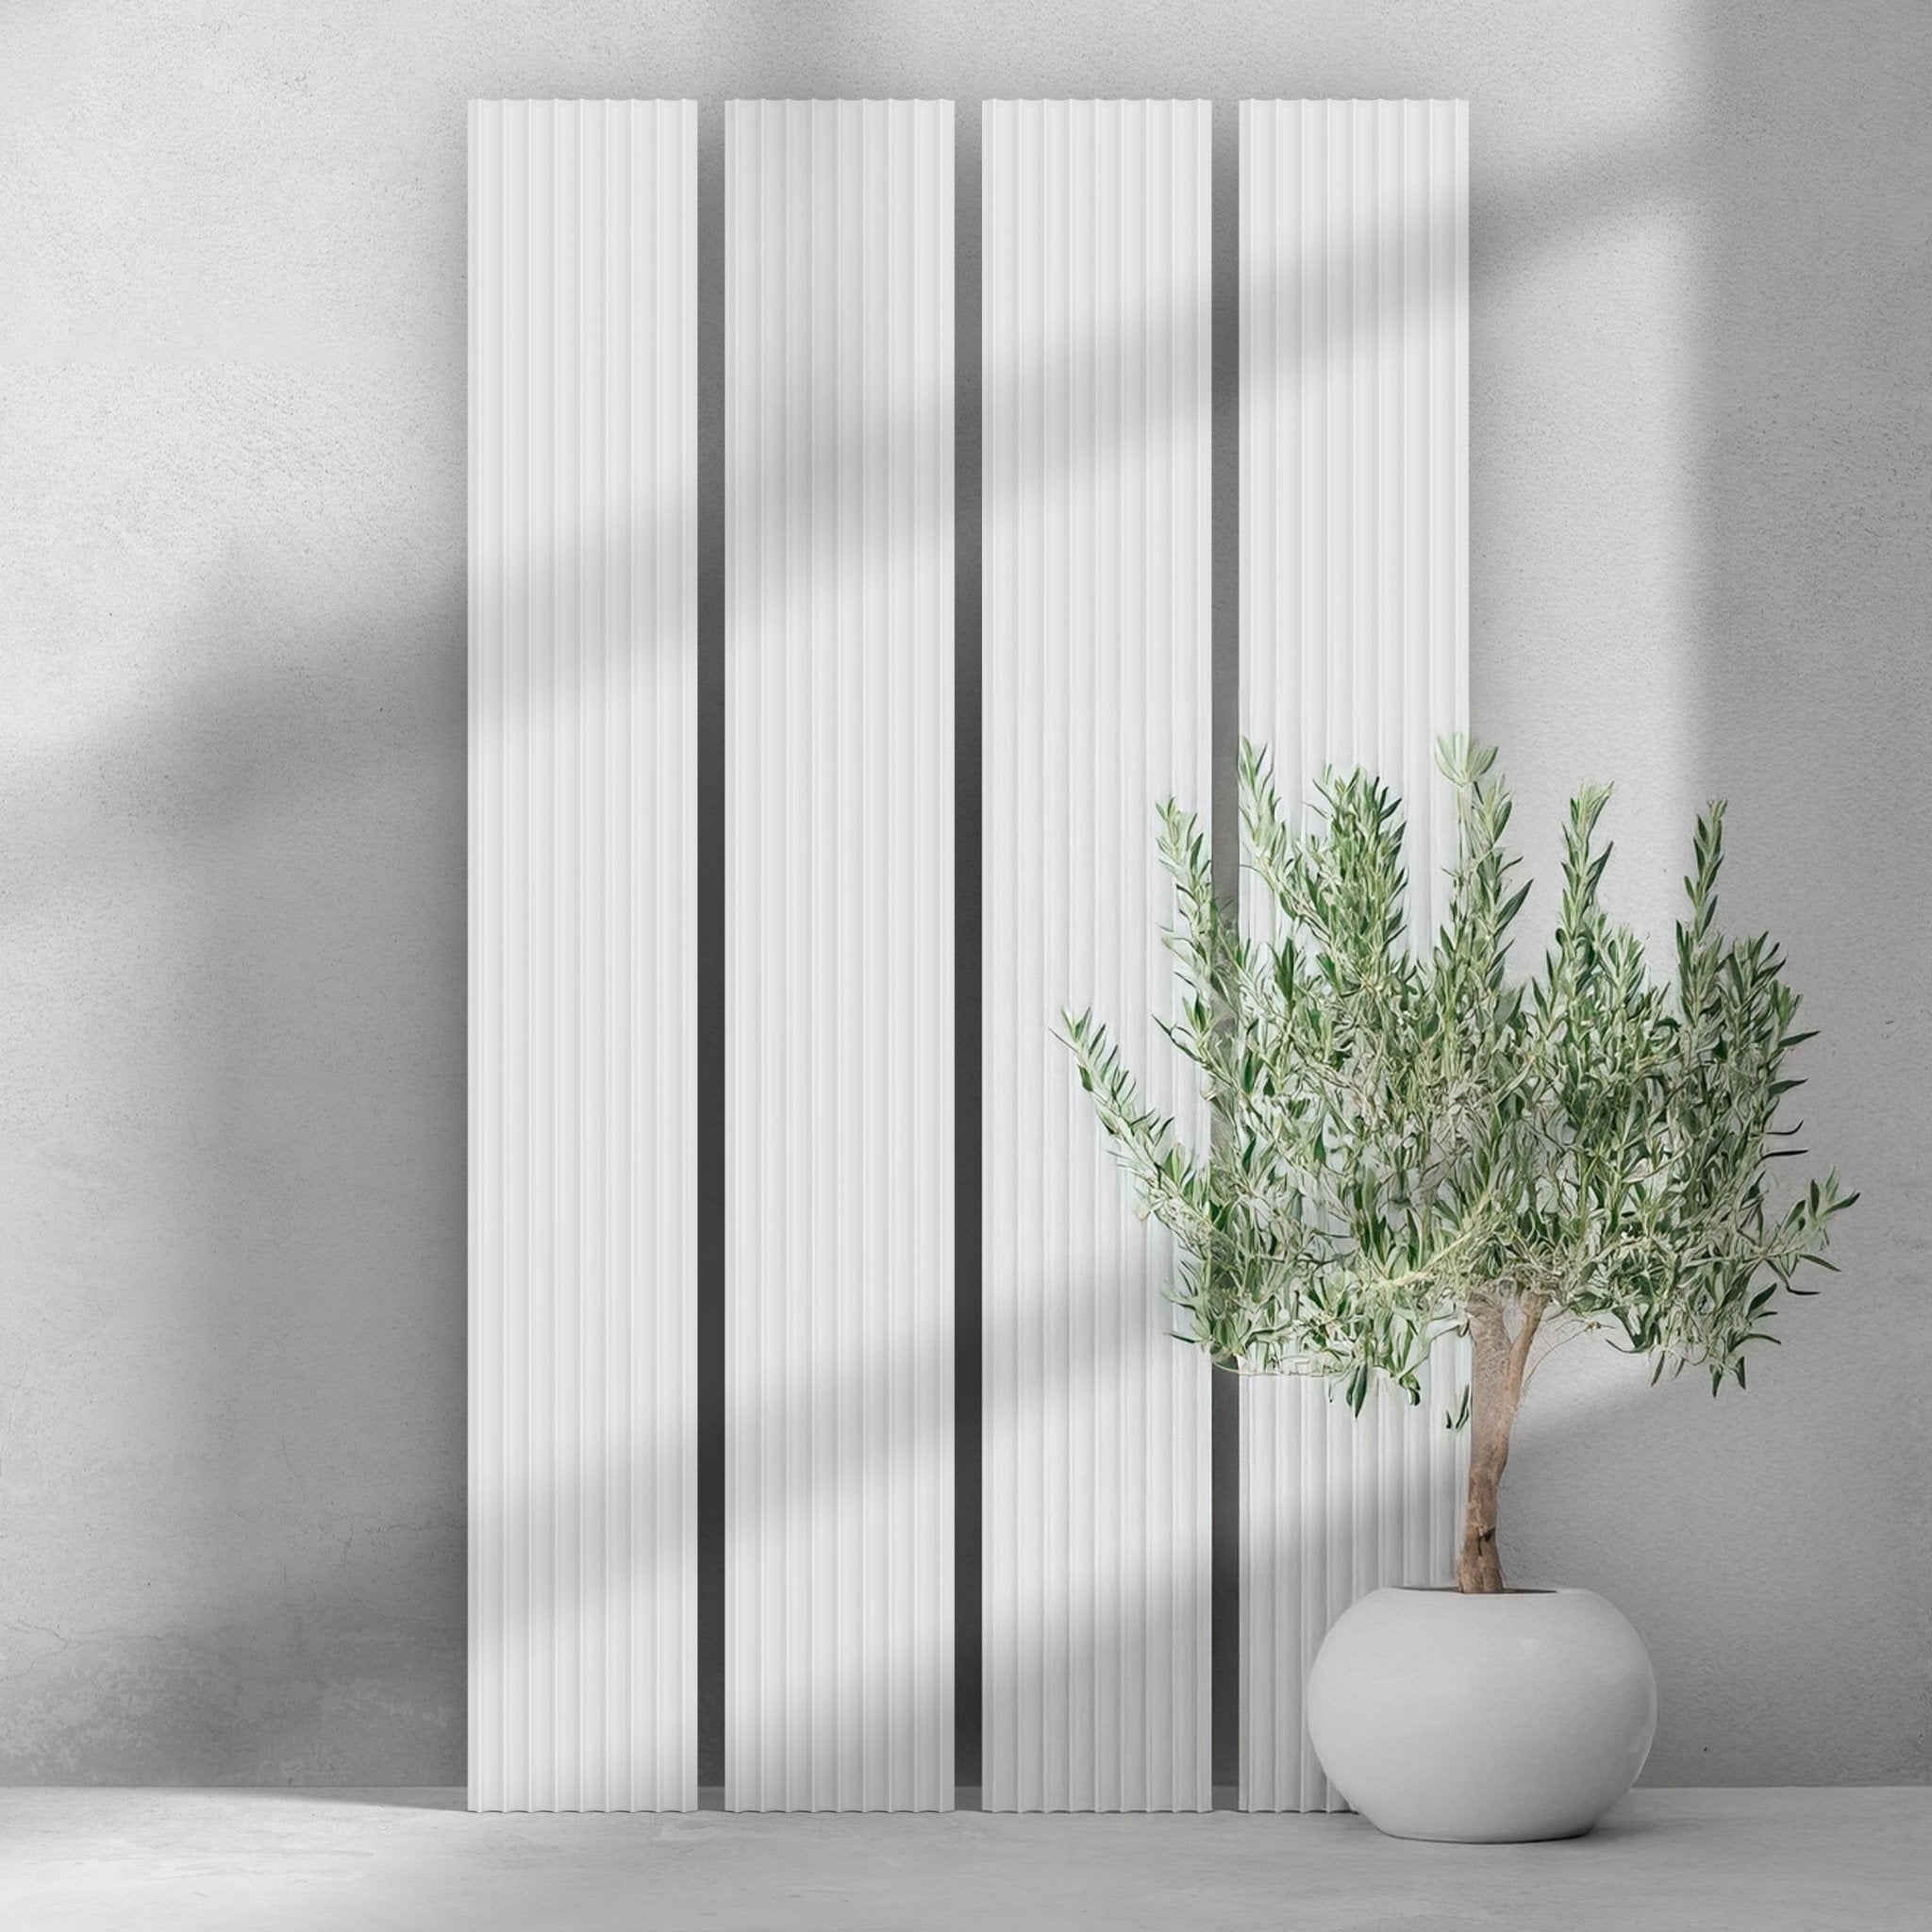
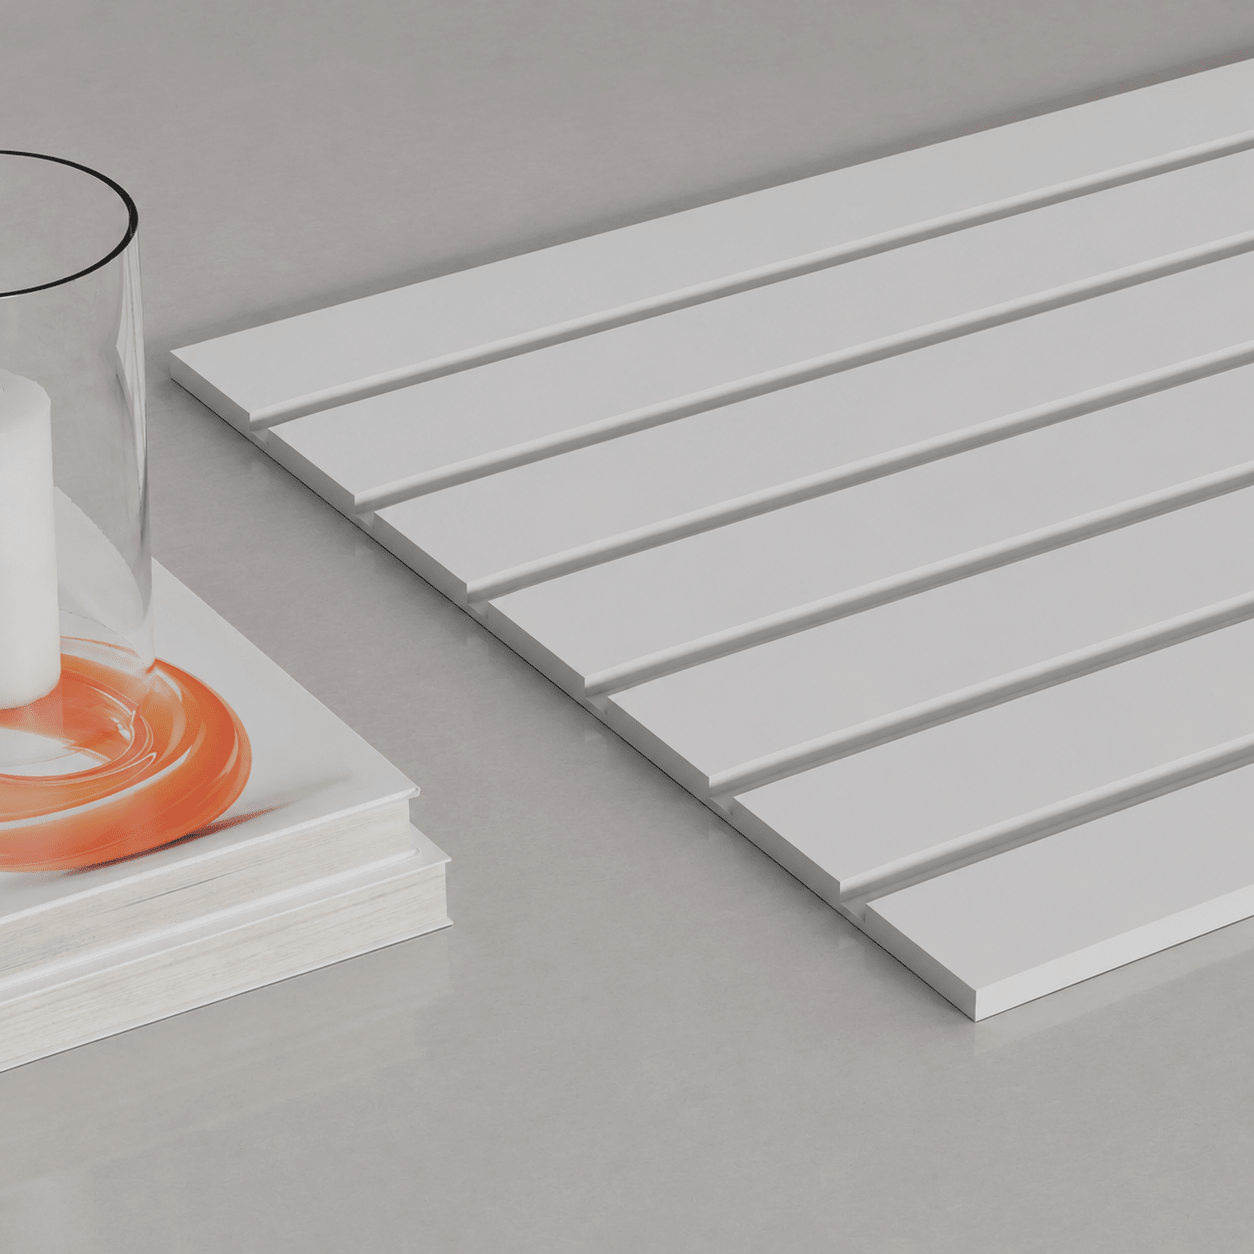
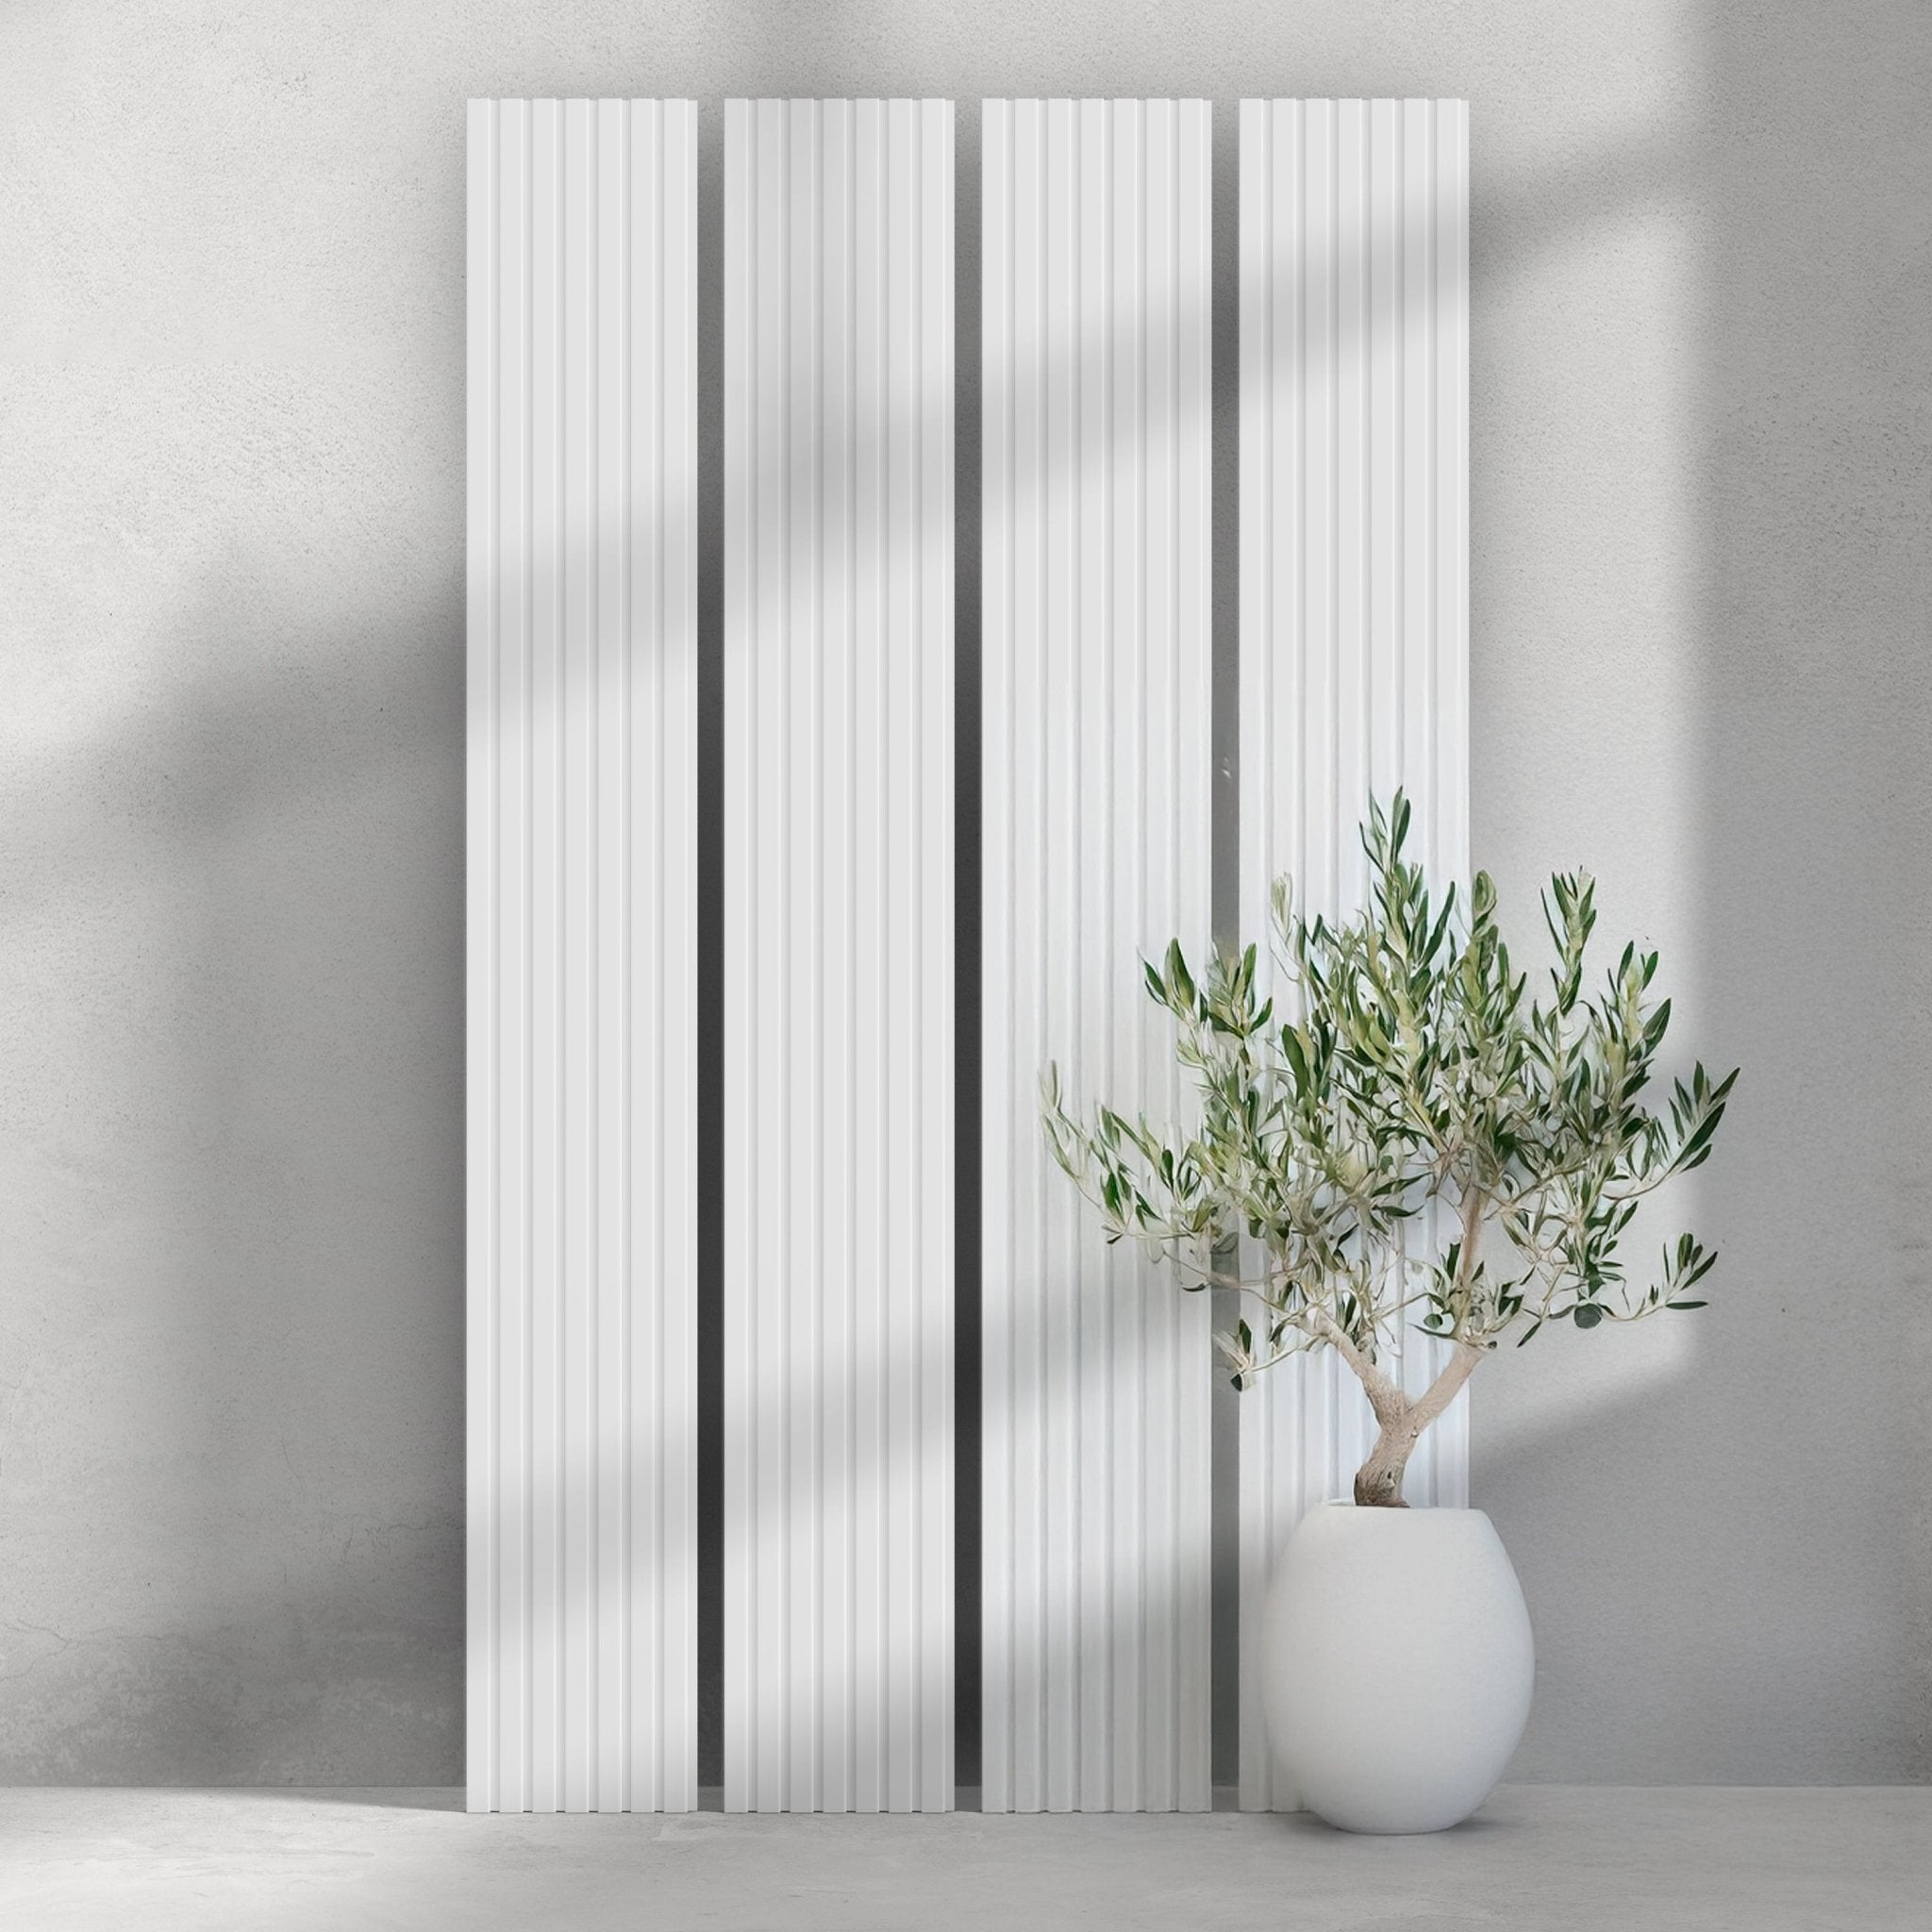
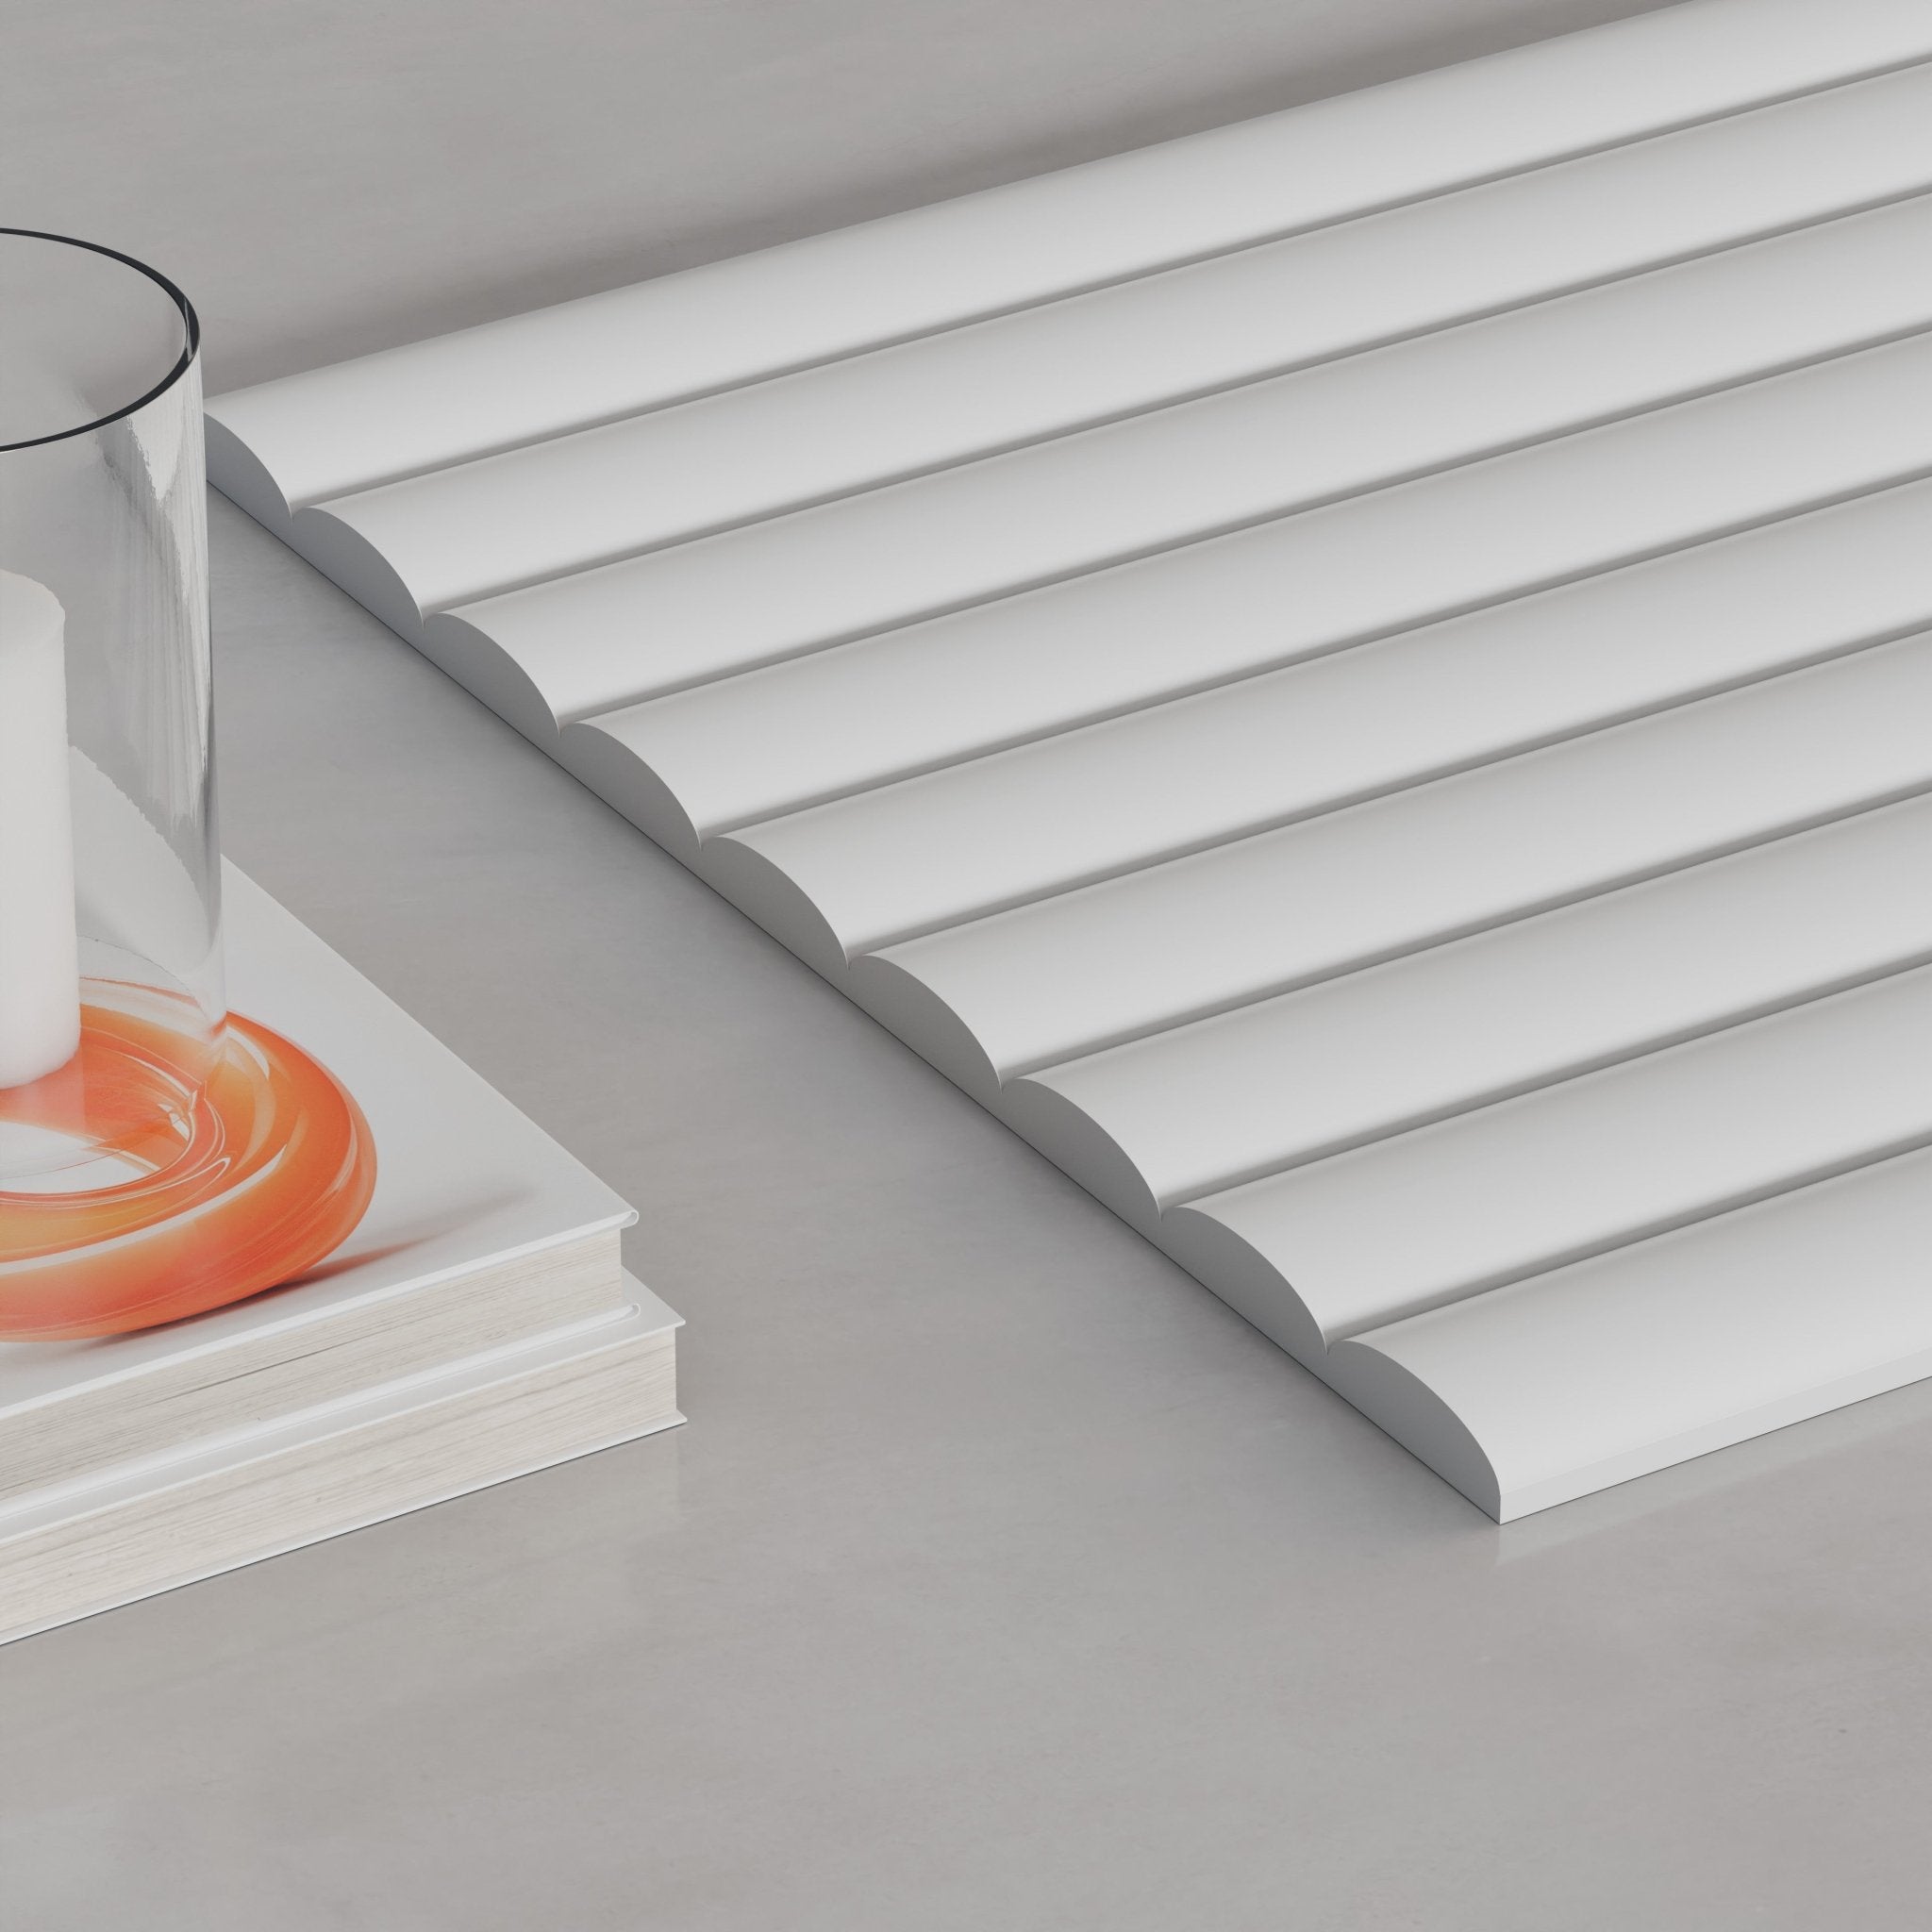
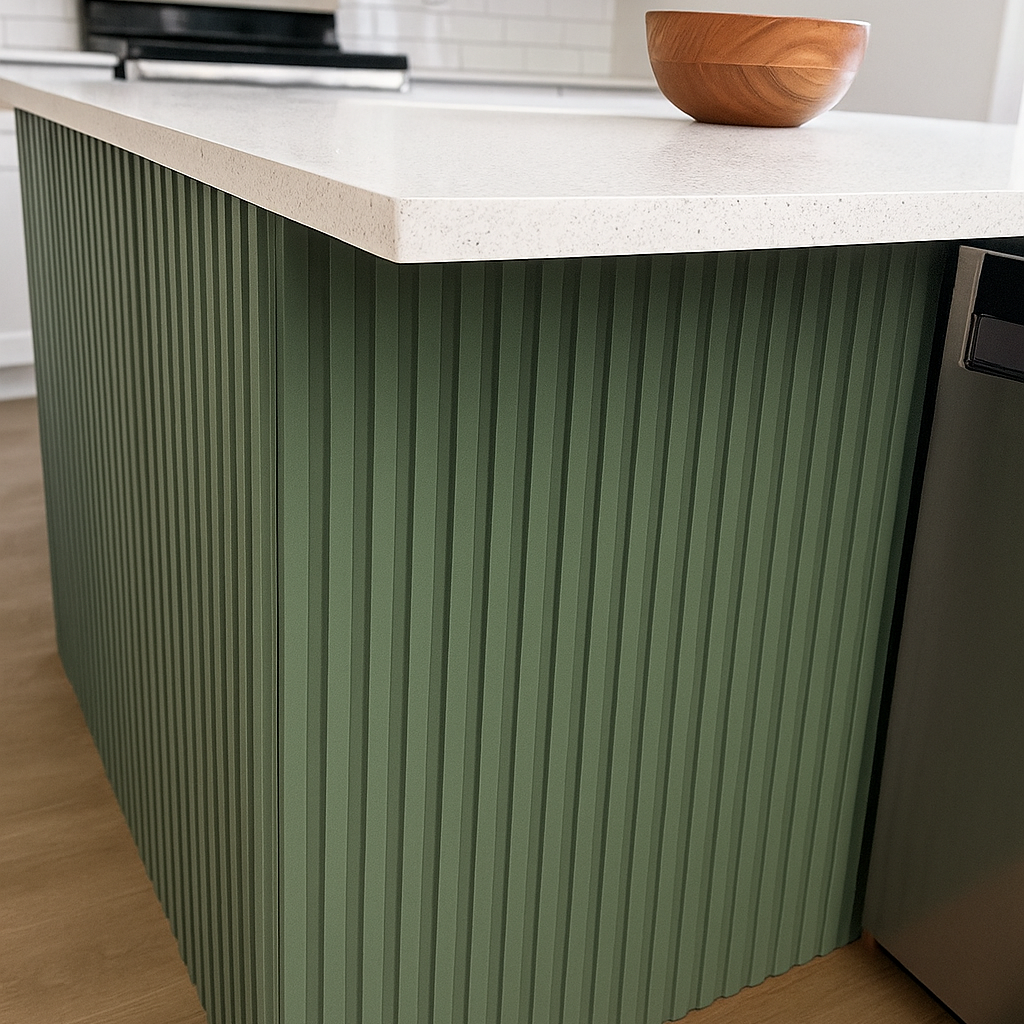
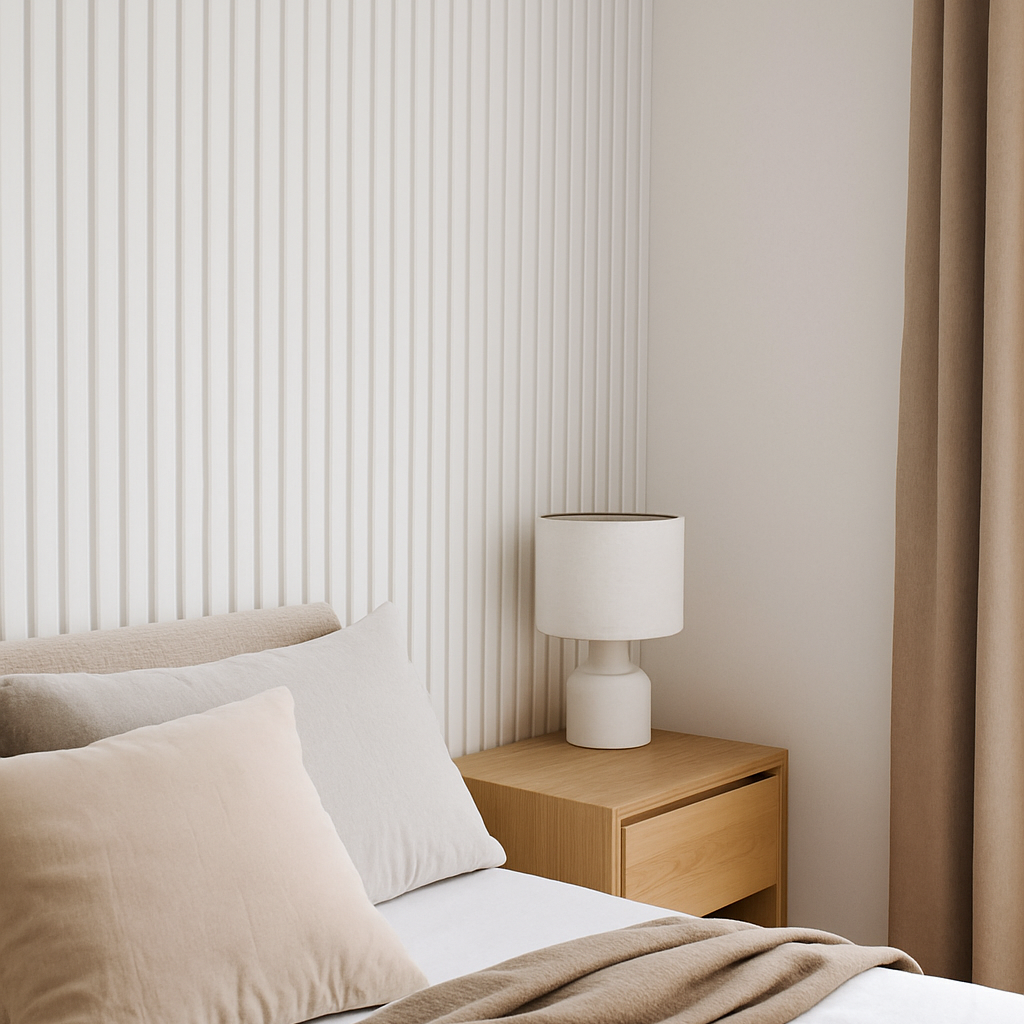
Three Profiles: Slat for a square-cut rhythm, Ridge for soft half-rounds, Valley for scooped hollows. Same panel, three very different walls.
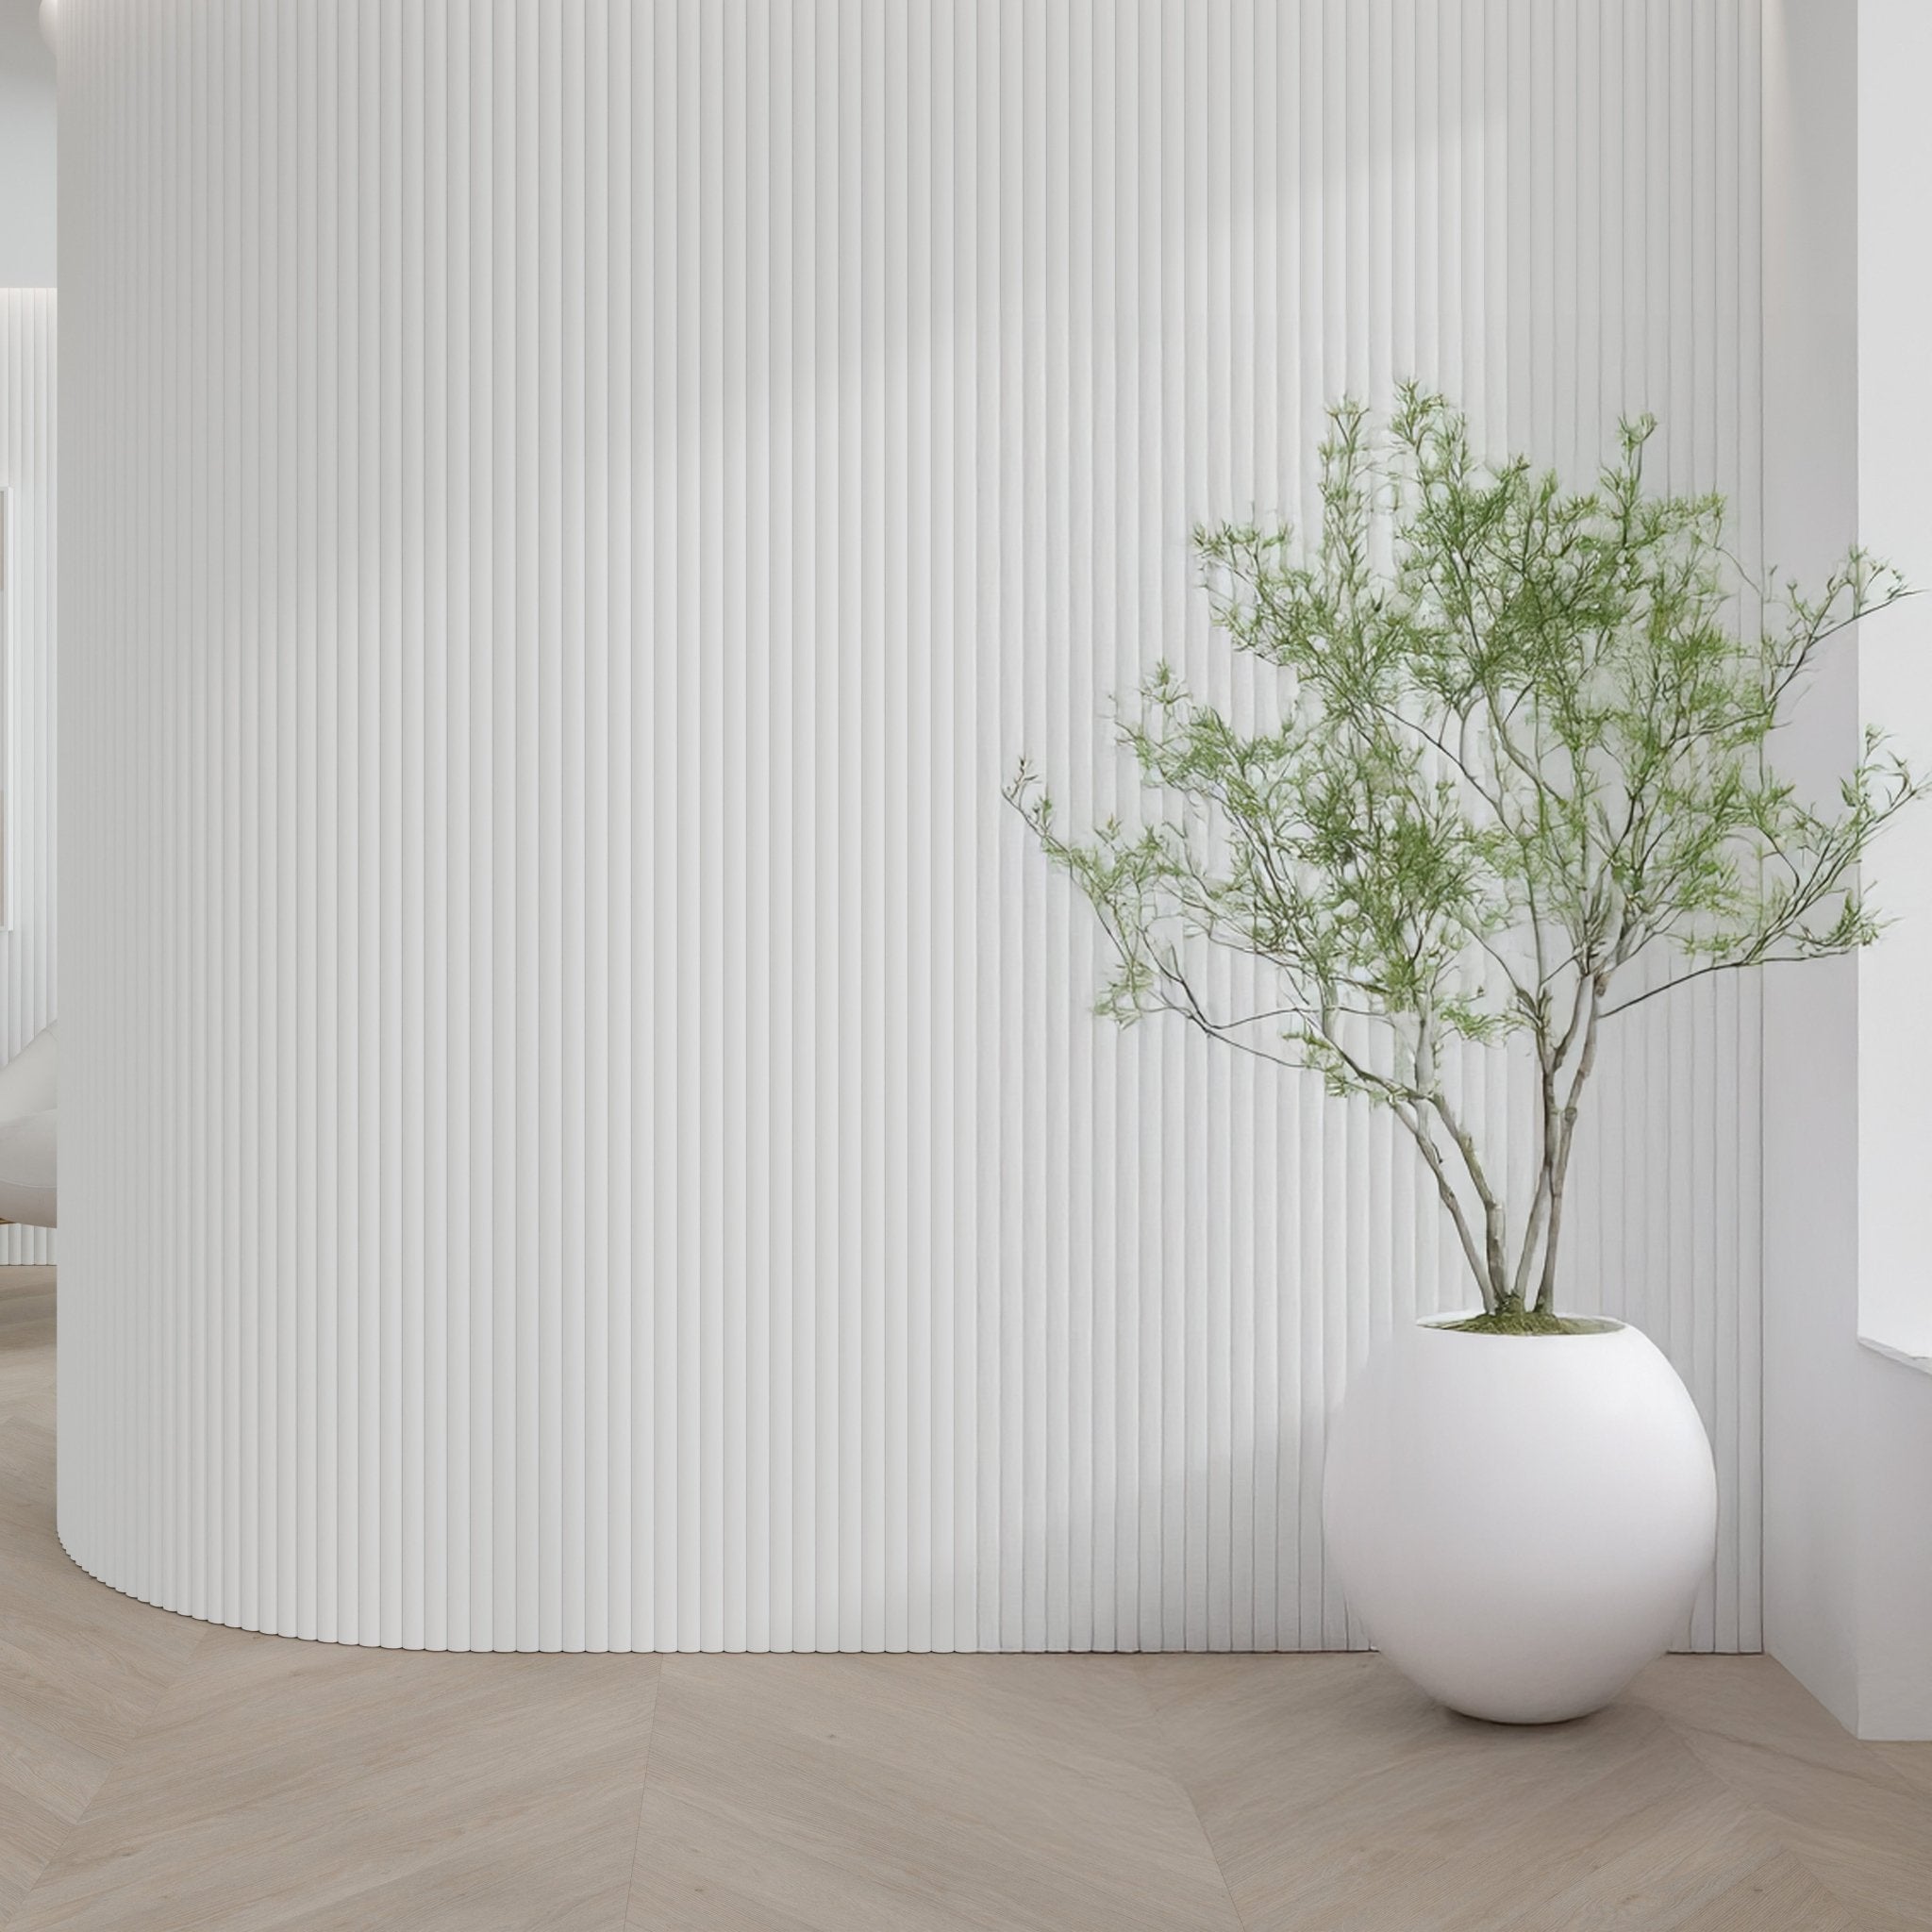
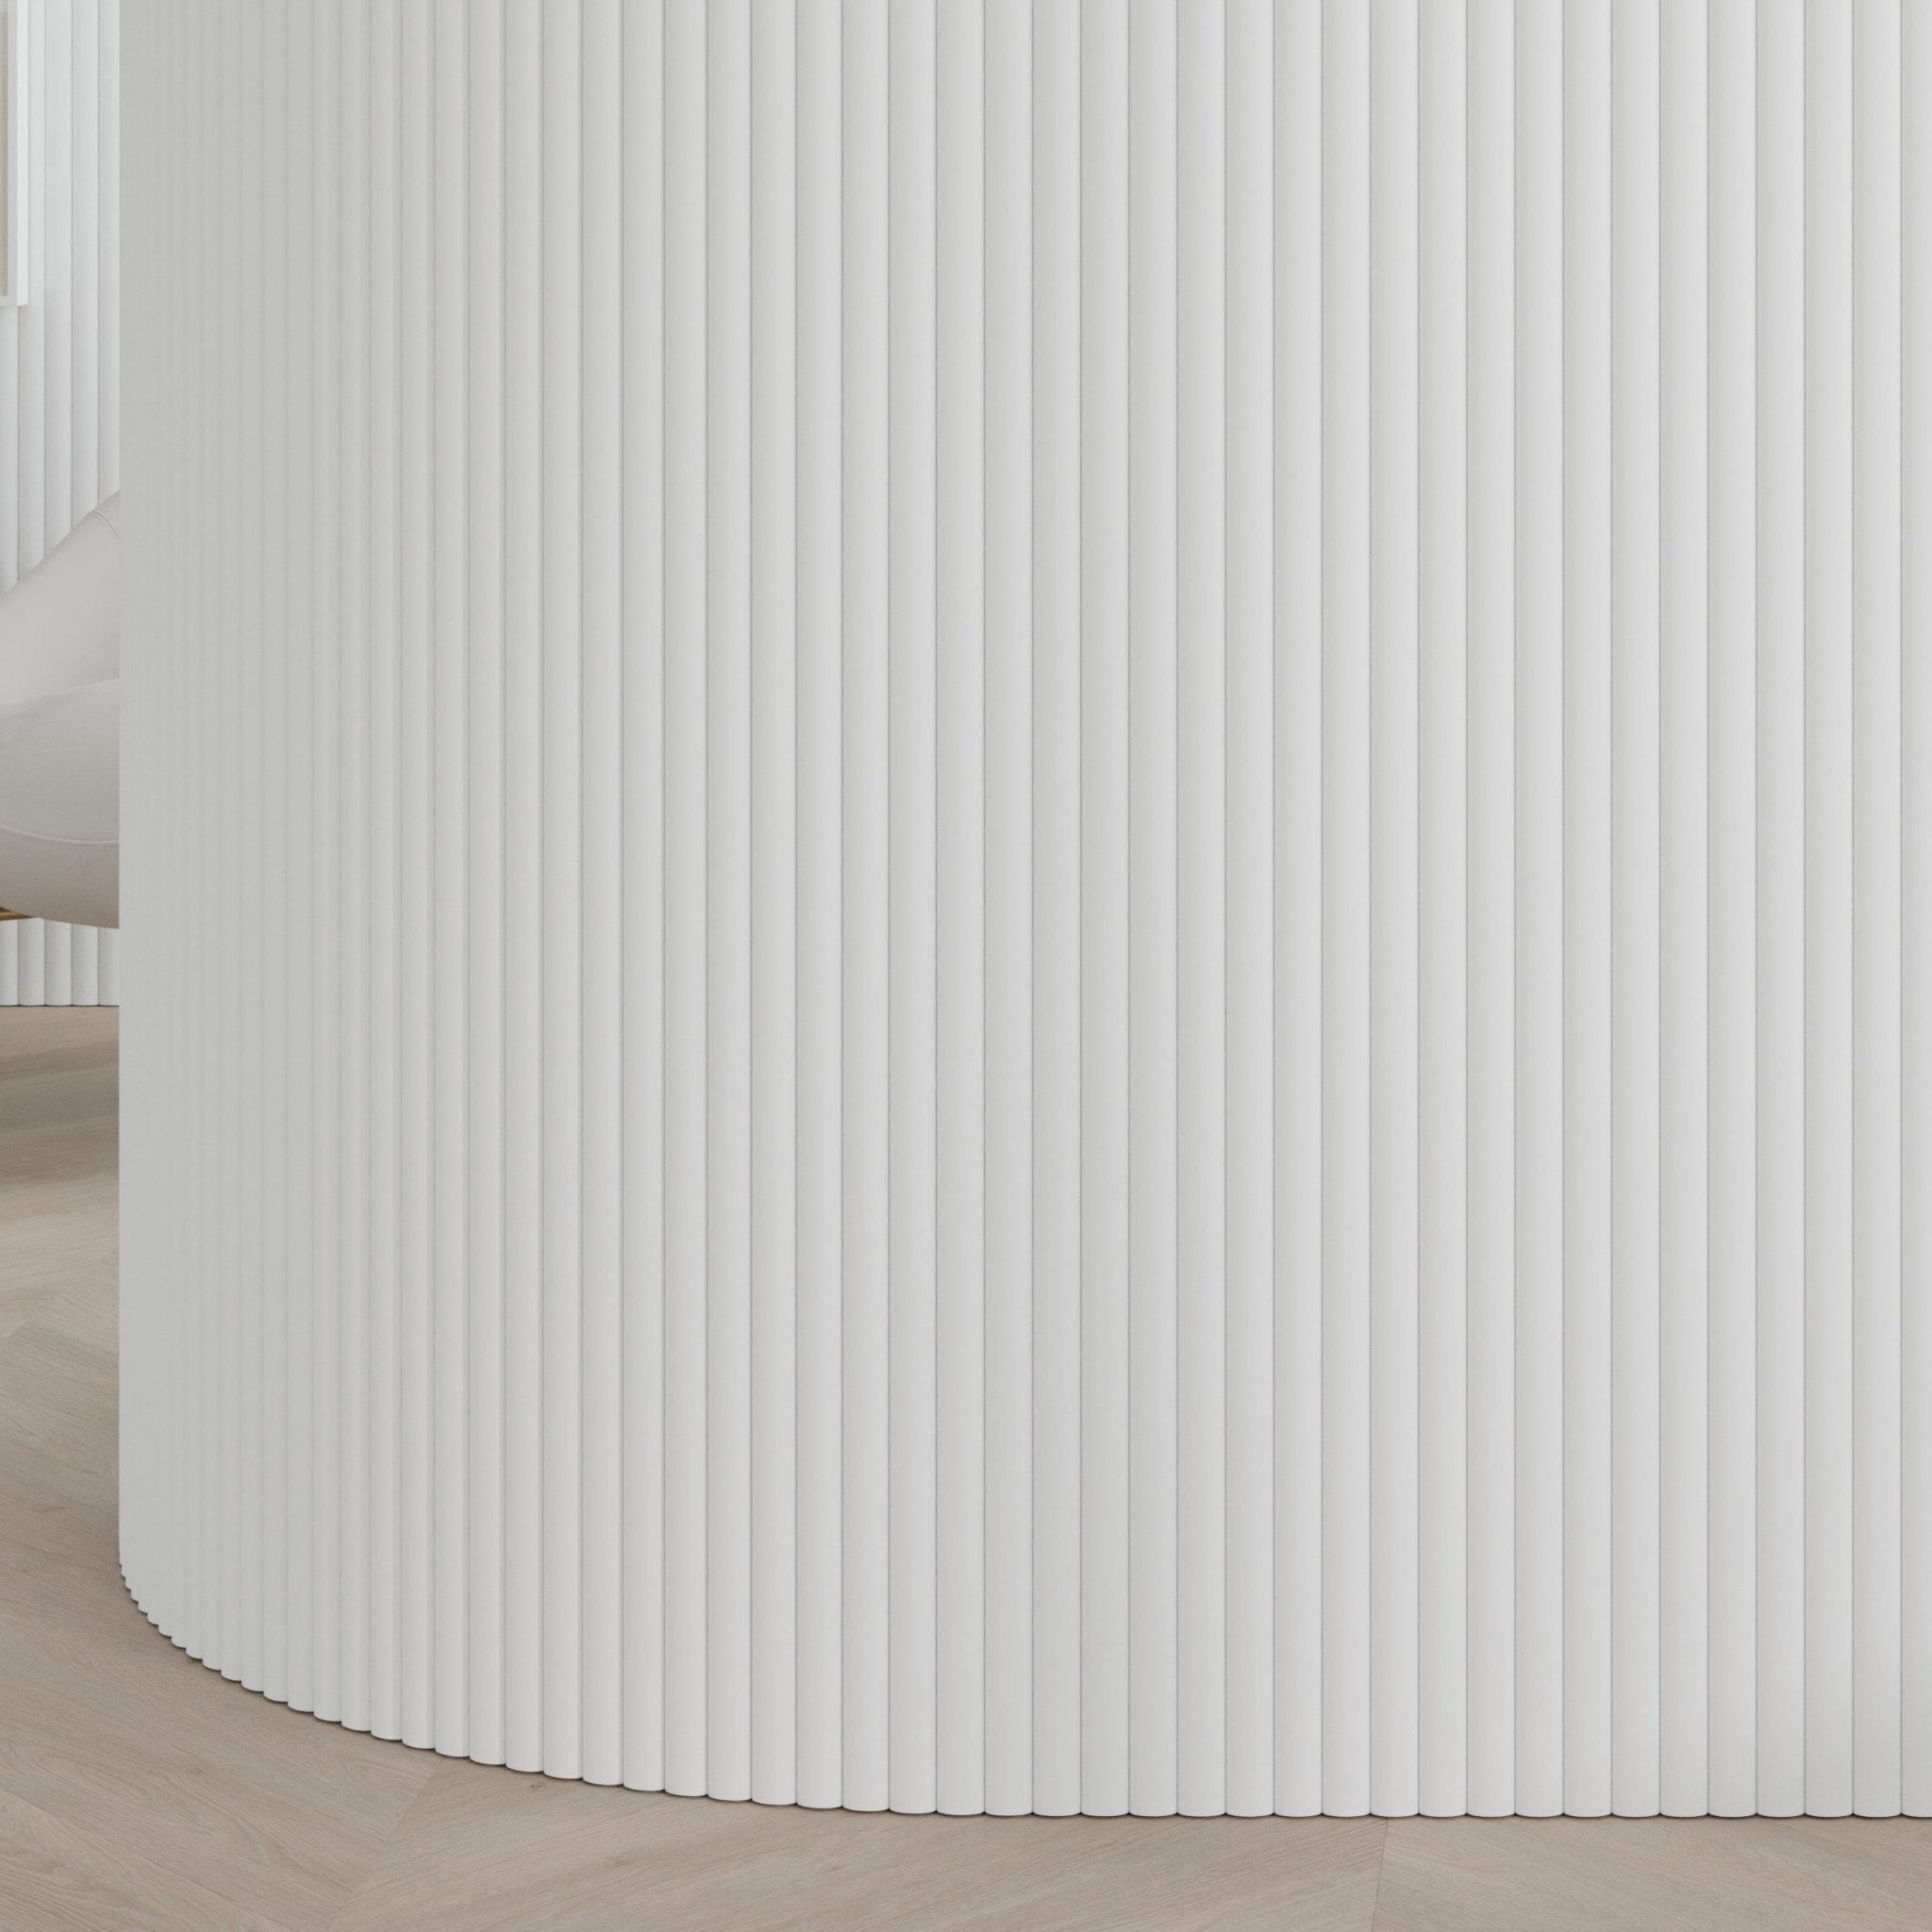
Bends Around Curves: Deep cuts and a thin board behind them let a panel follow a column, an archway or a curved wall, in either direction.
Light to Handle: 20 lbs a box, four panels. One person can carry a box up a stairwell and hold a panel to the wall unaided.
Cuts With What You Own: A handsaw, jigsaw or circular saw. No specialist blade and no training.
Butt Joints, No Gaps: Panels meet edge to edge and the seam falls where the profile already casts a shadow.
Cut for 8ft, 9ft and 10ft Walls: 94.5″, 106″ and 118″, so most walls take a panel with one trim rather than a splice.
 Materials & Construction
 Materials & Construction
Each panel is MDF with the profile routed into the face, then primed — five coats, sanded flat, ready to paint.
Every profile leaves exactly 0.06″ of board beneath the deepest point of the cut, which is why the three finish at different thicknesses: Slat 0.20″, Ridge 0.35″ and Valley 0.37″. The deeper the profile, the thicker the board it starts from.
A PVC film is bonded to the back. That is what keeps a panel this thin rigid enough to handle and hang without it flexing out of shape.
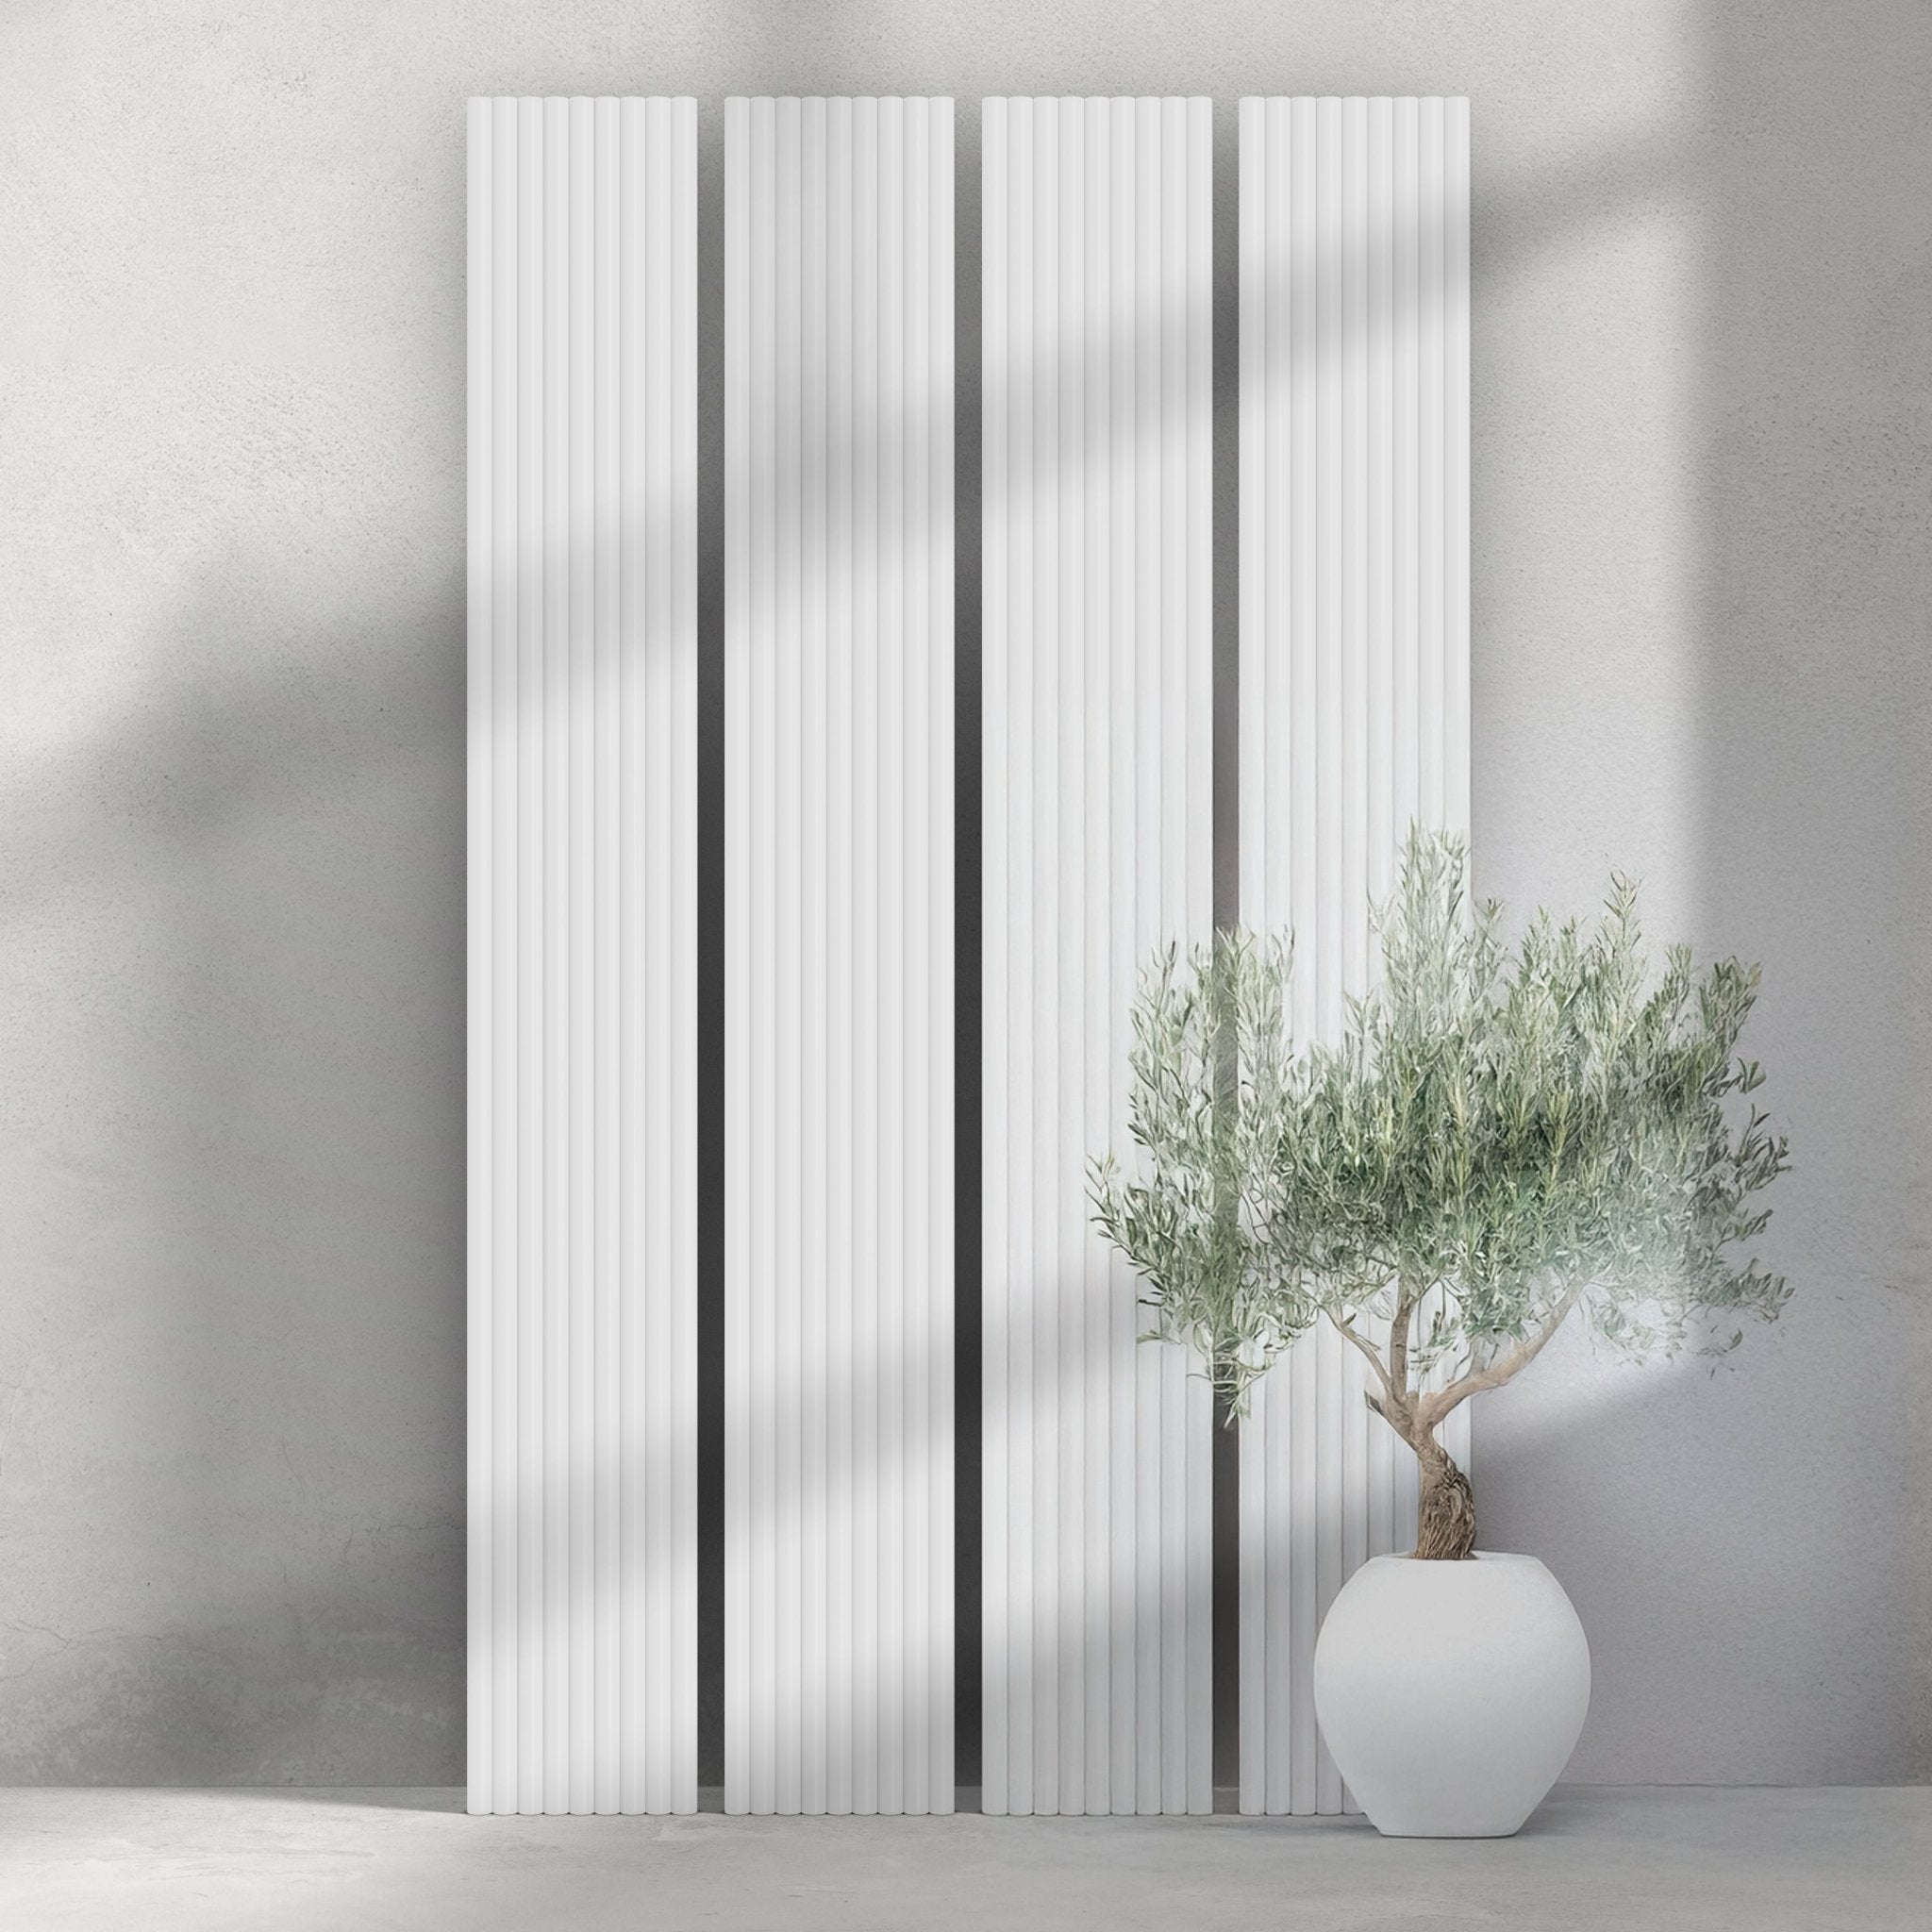
Panels are 11.80″ wide and butt edge to edge, so nothing is lost at a join and four panels cover the full 47.2″ of a box.
 Sizing & Coverage
 Sizing & Coverage
| Panel height | Width per box | Coverage per box |
|---|---|---|
| 94.49″2400mm | 47.20″ 1200mm | 30.97 sq ft |
| 106″2693mm | 47.20″ 1200mm | 34.74 sq ft |
Only the height changes — every box is 47.20″ wide. To work out how many you need, divide your wall width in inches by 47.20 and round up: a 10-foot wall (120″) takes three boxes.
 Installation & Care
 Installation & Care
Adhesive and a few nails. Run construction adhesive onto the back of the panel and press it to the wall. Finishing nails hold it while the adhesive sets; they go into the groove or the trough, where the shadow hides them.
Straight onto the wall. Drywall, plaster or timber — there are no battens to build first.
Cutting. Any standard woodworking saw. Cut the face-side up with a handsaw or jigsaw, face-side down with a circular saw, and the primed edge stays clean.
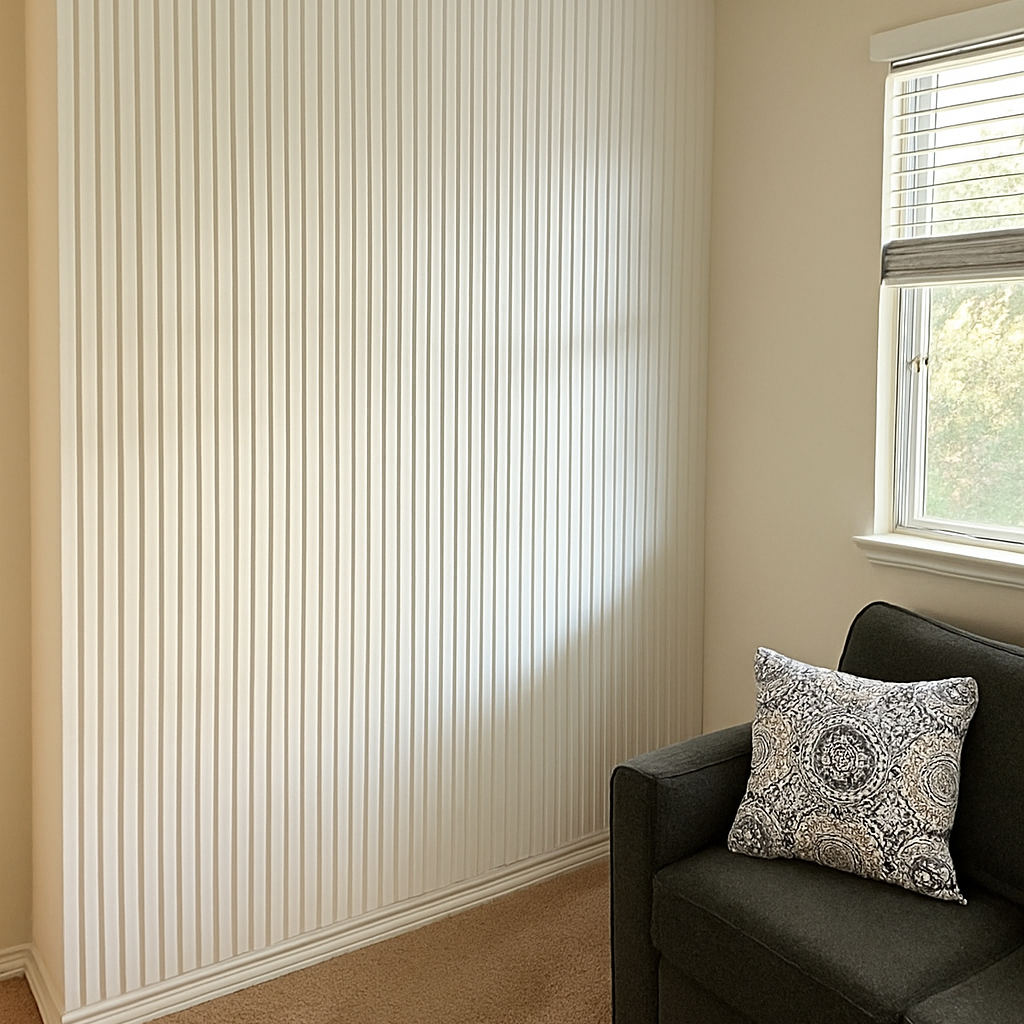
Painting. The face is ready as it arrives. Roll or spray your colour straight onto it. A brush will reach into a Valley trough or a Slat groove where a roller skips.
Care. Dust with a soft cloth. Once painted, wipe gently with a damp non-abrasive cloth. Repaint whenever you like — no sanding or re-priming first.
Primed, boxed and ready.
Less Work Than You Think
Everything that normally slows a panel wall down — priming, sanding, building a subframe, buying a tool you will use once — is either already done at the factory or simply not needed.
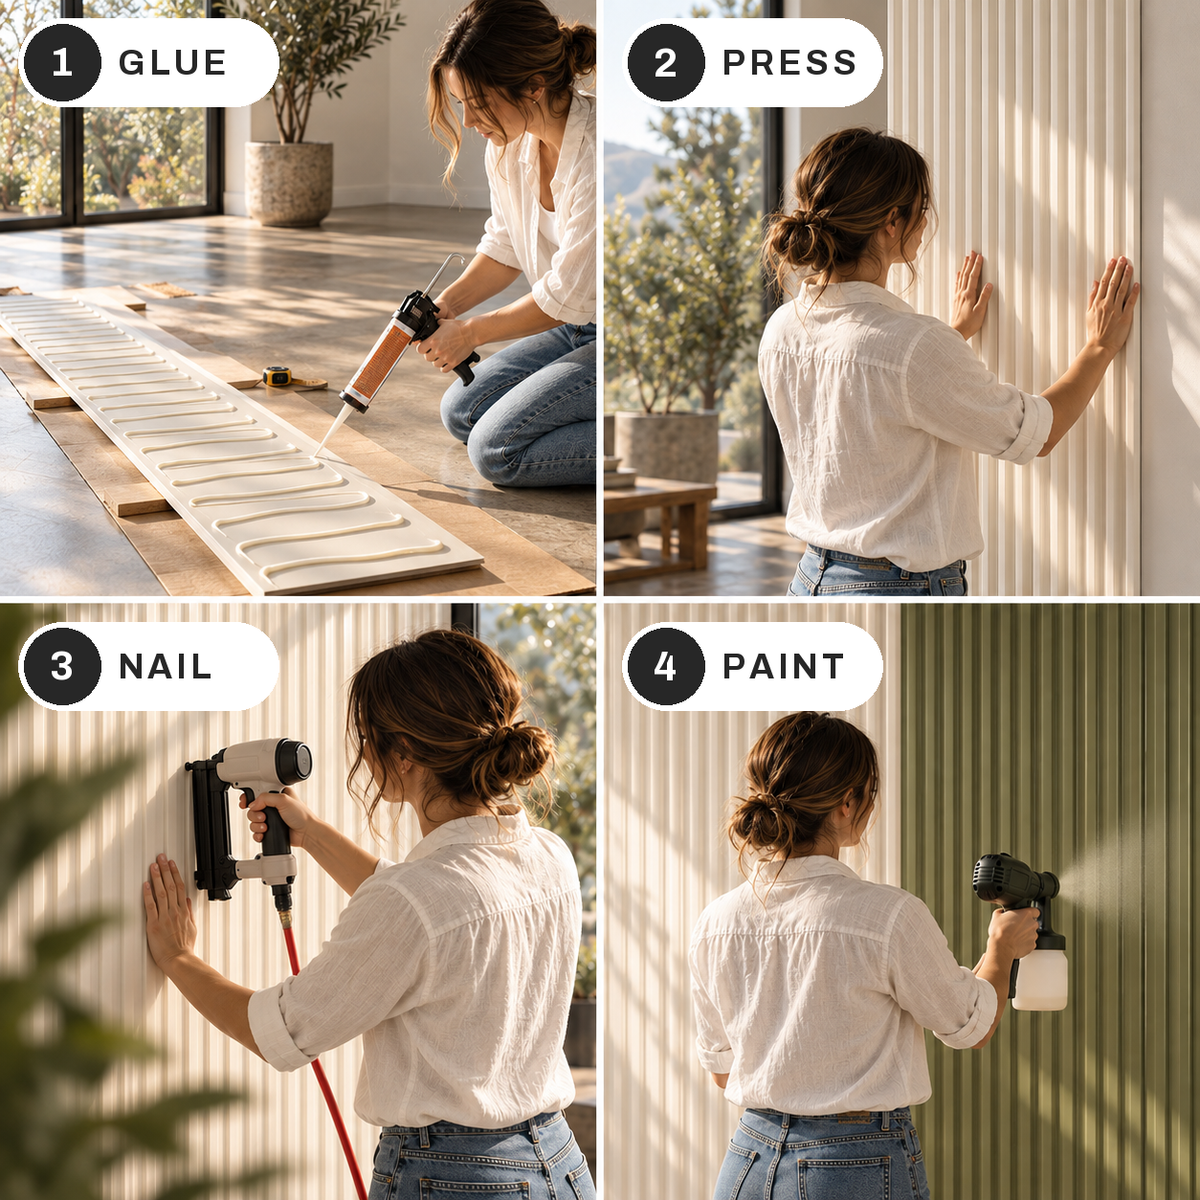
Four Steps, One Afternoon.
Glue the back, press it up, tack it with finishing nails, roll or spray your colour. Panels are light enough to hold against the wall unaided, so nobody has to stand there taking the weight while you nail.
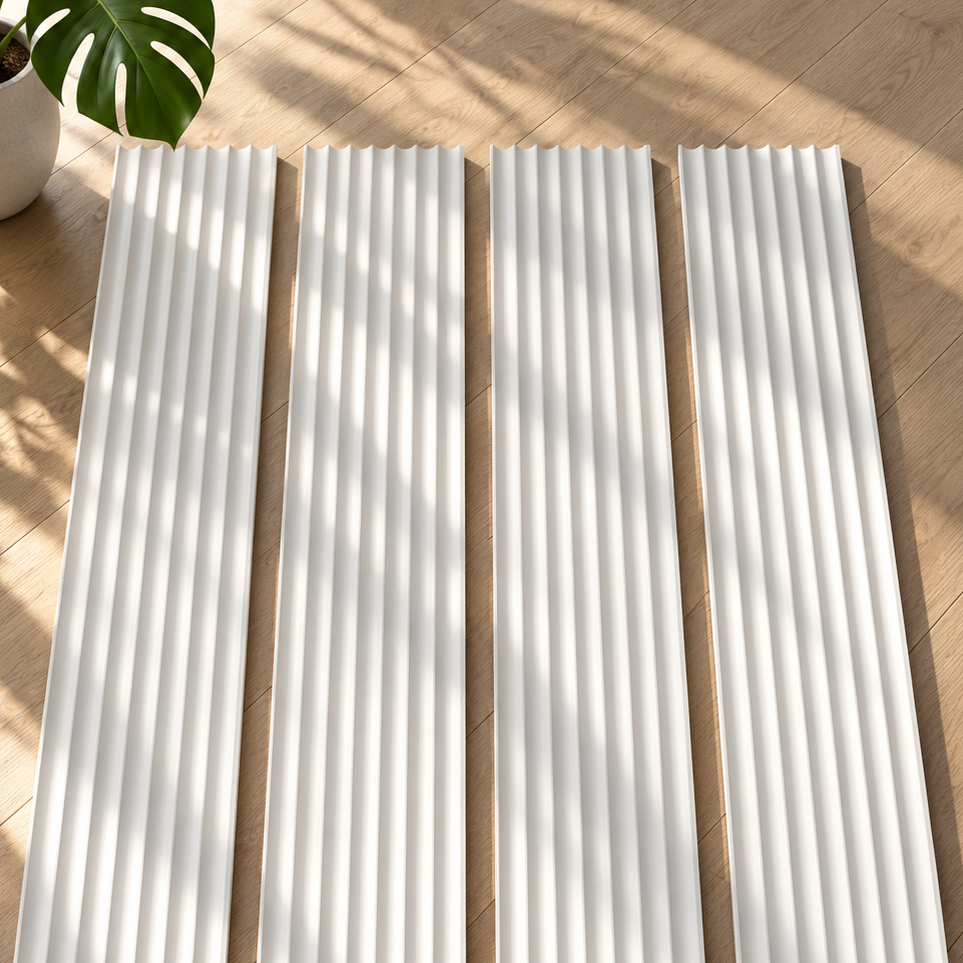
Four Panels to a Box.
Each box covers 47.2″ of wall width, and the panels butt edge to edge so nothing is lost at a join. Measure your wall, divide by 47.2, round up — that is the whole calculation.
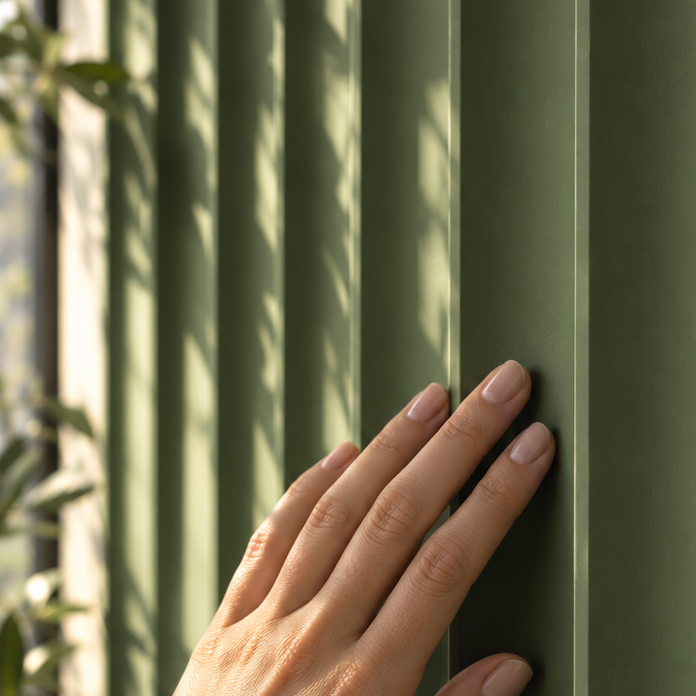
The Finish Starts Underneath.
Five coats of primer, sanded flat at the factory. Paint only ever looks as good as the surface beneath it, and this one arrives with the hard part already done.
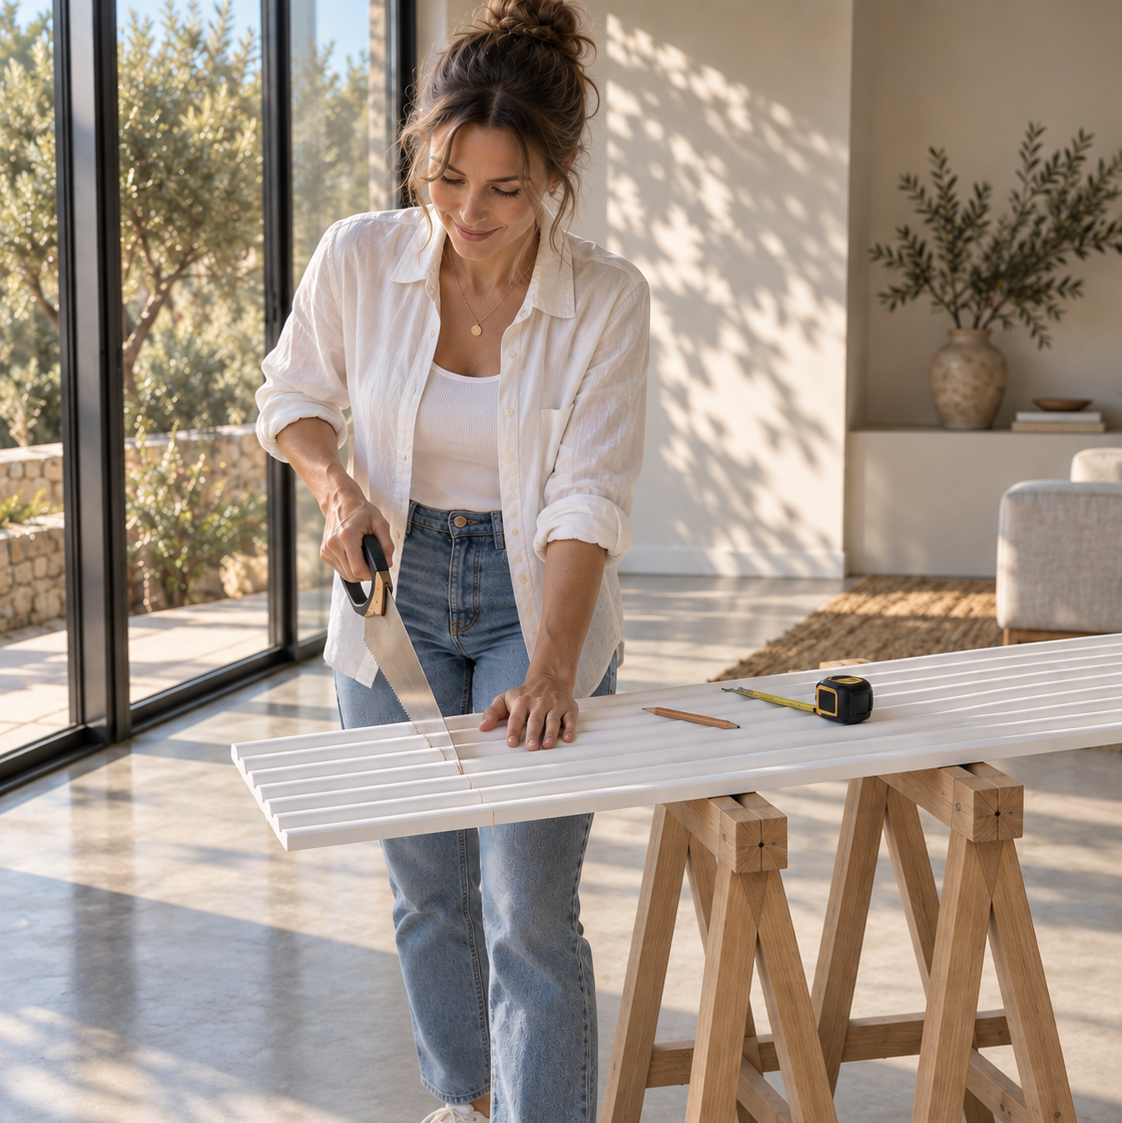
Cut It With a Handsaw.
MDF, not hardwood. A handsaw, jigsaw or circular saw trims a panel around a switch, an outlet or a door frame — no specialist blade and nothing to learn first.
By the numbers
Product specification
Three profiles, one panel. These are the actual routed dimensions, not nominal ones — where a number differs by profile, all three are listed. Each box holds four panels and covers 47.2″ of wall width.
Slat — a 1.11″ flat face beside a 0.55″ square-cut gap
Ridge — a 1.31″ convex half-round
Valley — a 1.18″ concave scoop with a 0.13″ flat peak
1.66″ on Slat · 1.31″ on Ridge and Valley — how often the pattern restarts
0.14″ on Slat · 0.29″ on Ridge · 0.31″ on Valley
0.20″ on Slat · 0.35″ on Ridge · 0.37″ on Valley — every profile leaves the same 0.06″ of board behind the cut, so a deeper profile starts from a thicker board
7 on Slat · 9 on Ridge and Valley
Five coats of primer on MDF, sanded flat — paint goes straight onto it, with no priming and no sanding first
A PVC film bonded to the back, which is what keeps a panel this thin rigid
11.80″ (299.7mm) — panels butt edge to edge, so nothing is lost at a join
0.06″ is left beneath the deepest point of the cut — the same whichever profile you choose
4
47.2″ — four panels side by side
30.97 sq ft at 94.5″ · 34.74 sq ft at 106″ · 38.71 sq ft at 118″
94.5″ · 106″ · 118″ — cut for 8ft, 9ft and 10ft walls. Ridge goes up to 106″
20 lbs per box of 4
Construction adhesive, with finishing nails to hold a panel while it sets
Any standard woodworking saw — handsaw, jigsaw or circular saw
Flexes in both directions, so it will follow a column, an archway or a curved wall
FAQ
What does paint-ready actually mean?
The face arrives primed — five coats, sanded flat. You paint straight onto it. No priming, no sanding, no filling. Roll, brush or spray whatever colour and sheen you like.
What are the panels made of?
MDF, with the profile routed into the face and primer over it. A PVC film is bonded to the back, which keeps a panel this thin rigid enough to handle and hang.
What is the difference between Slat, Ridge and Valley?
Slat is a square-cut profile — a 1.11″ flat face beside a 0.55″ gap, cut 0.14″ deep. Ridge is a run of convex half-rounds repeating every 1.31″, cut 0.29″ deep. Valley is the inverse: a 1.18″ concave scoop with a 0.13″ flat peak between each one, cut 0.31″ deep. Slat reads as clean lines, Ridge as soft relief, Valley as deeper shadow.
Are all three profiles the same thickness?
No. Every profile leaves the same 0.06″ of board beneath the deepest point of the cut, so a deeper profile starts from a thicker board. Slat finishes at 0.20″, Ridge at 0.35″ and Valley at 0.37″.
How many panels do I need for my wall?
Measure your wall width and divide by 47.2″ — that is what one box of four panels covers. Round up, and order a spare box if your wall has openings to cut around. Panels butt edge to edge, so nothing is lost at the joins.
Can I cut the panels? How easy is it?
Yes. A handsaw, jigsaw or circular saw all work — it is MDF, not hardwood, so no specialist blade is needed. Cut face-side up with a handsaw or jigsaw and face-side down with a circular saw to keep the primed edge clean.
Do the panels flex in both directions?
Yes. There is very little board behind the deepest part of the cut, so the panels bend horizontally and vertically — enough to wrap a column, an archway or a curved feature wall.
How do I install them?
Construction adhesive on the back of the panel, pressed straight onto drywall, plaster or timber. Finishing nails hold each panel while the adhesive sets, driven into the groove or trough where the shadow hides them. No battens or subframe to build first.
Will the seam show where two panels meet?
Each profile is cut so the panel edge falls where a shadow already is. Ridge and Valley panels are cut at the bottom of a notch or scoop, so two half profiles close into one whole one across the join. On Slat, one panel ends on a slat’s top corner and the next begins at the groove floor, putting the seam in the shoulder line.
Can I paint them before installing?
You can, and it is often easier — spraying a panel flat on trestles beats working into a Valley trough overhead. Leave the cut edges until after fitting, then touch them in once the panels are up.
What kind of paint should I use?
Any interior wall paint will take. The primer is the bonding layer, so the choice is about how you want the profile to read: a flat or matte finish softens the shadow, a satin or eggshell sharpens it. A brush reaches into a trough or groove where a roller skips.
Can I repaint them later?
Yes, as often as you like. Clean the surface, let it dry and paint over it — no sanding back or re-priming.
Can they be installed on a ceiling?
Yes. Use construction adhesive and finishing nails as you would on a wall, and support each panel while the adhesive sets.
Can they be installed horizontally?
Yes. The profile runs the length of the panel, so hanging them horizontally turns vertical fluting into horizontal banding. Plan your cuts from the same end of each panel so the pattern stays in step across the wall.
Can I hang a TV or shelves on the panels?
Lightweight items can mount to the panel itself. For anything heavy, find the studs behind the panels and fix through into them — the panels are a finish, not a structural layer.
How do I cut around outlets and light switches?
Mark the opening on the face, drill a starter hole inside the waste and cut it out with a jigsaw. Test-fit before the adhesive goes on. Standard outlet extenders bring the box forward to sit flush with the new face.
How do I finish an outside corner or an exposed edge?
Mitre the two panels where they meet, or run a slim trim down the corner and paint it the same colour so it disappears. An exposed end can be filled and sanded, then painted with the rest of the wall.
Can they be stacked for a taller wall?
Yes. Panels come cut for 8ft, 9ft and 10ft walls, so most rooms take a single run. For anything taller, stack a second piece and keep the horizontal join at a consistent height across the wall, where it reads as a deliberate line.
Can I use them in a kitchen or bathroom?
They are an interior panel and the face is primed MDF, so keep them away from direct or standing water — not a shower surround or a splashback behind a tap. Elsewhere in the room, seal the cut edges when you paint and they will behave like any other painted wall surface.
Are the panels renter-friendly?
Not really. They go up with construction adhesive, which will take the wall surface with it when it comes off. If you may need to remove them, fix a plywood backer to the wall first and mount the panels to that.
Do the panels absorb sound?
No. These are decorative panels with no acoustic backing. The profile breaks up a flat wall visually, but it will not change how a room sounds. For acoustic performance, look at our felt-backed slat panels instead.
Do you have samples?
Yes. A single profile is $4.99, or all three come in the Paint-Ready Sample Kit for $12.99. Worth painting a swatch before you commit a wall — colour behaves differently once it is sitting in a shadow.
How much does shipping cost?
Shipping is free to the contiguous U.S. on most panel orders. The exceptions are samples and 118″ panels ordered in quantities of 1–3 boxes, where shipping is calculated at checkout — order 4 or more 118″ boxes and shipping is free again. Alaska and Hawaii are calculated at checkout.
Where are you based?
We’re a family-owned business based in Southern California, and all of our panels ship directly from our SoCal facility.
Customer Satisfaction
4.94
out of 5 stars
200+
Customer reviews
20k+
Panels shipped
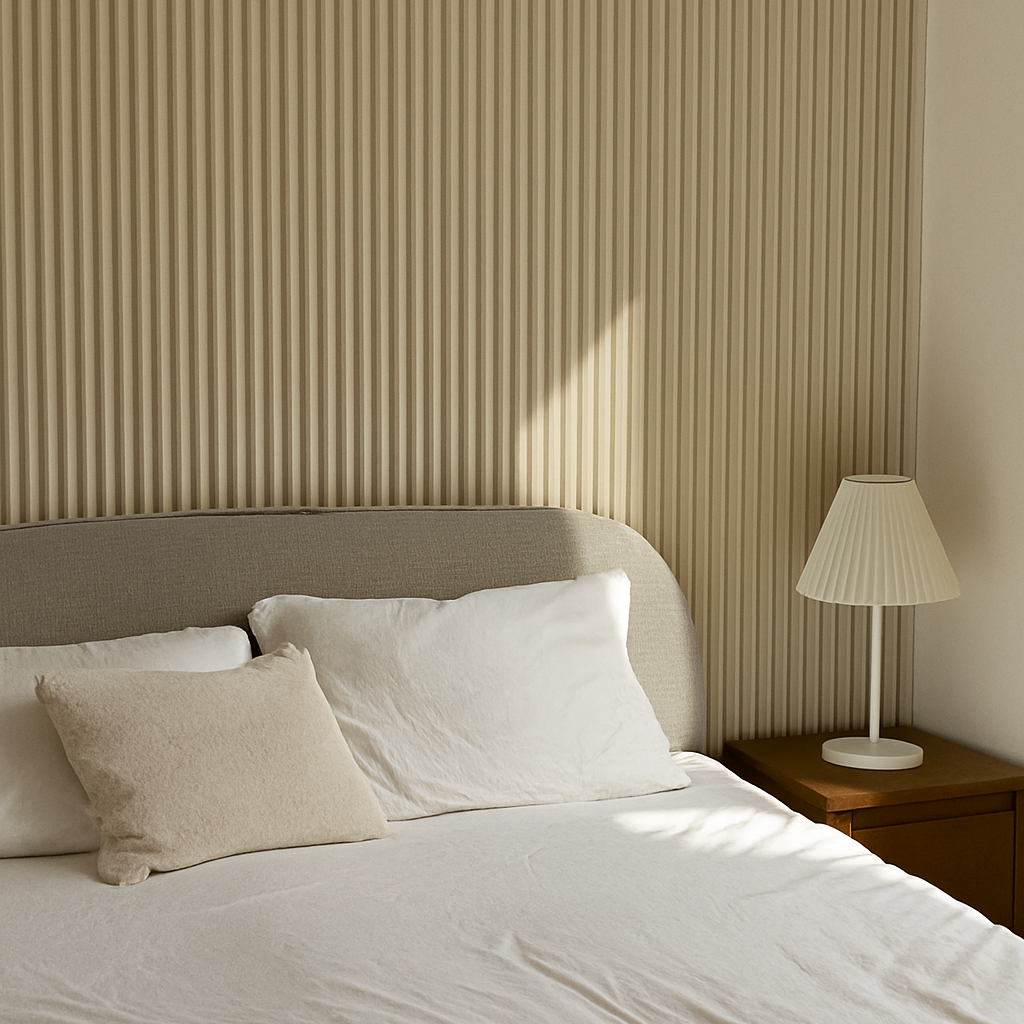
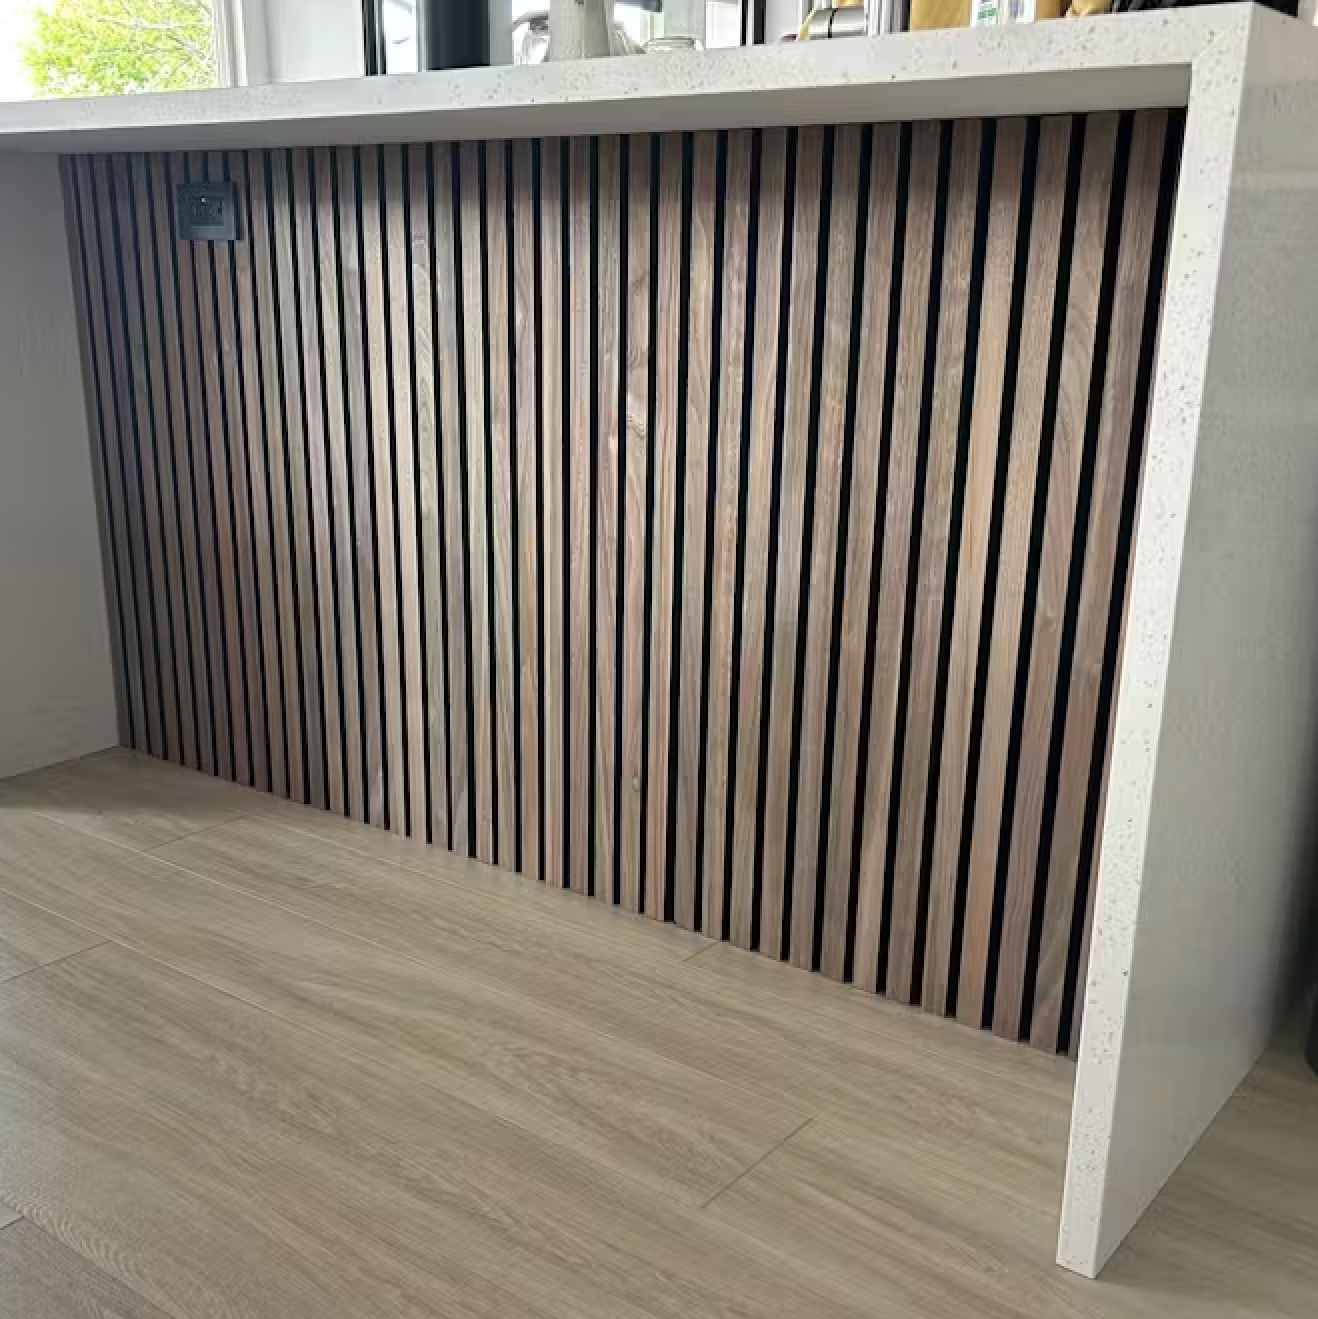
Everything about this company is absolutely outstanding! Quality of the bamboo slats was top notch with excellent, consistent coloring of wood across over 21 feet of slats; customer service answering questions was responsive, clear, courteous, and spot on; the shipping was fast and each pair of slat panels was separately boxed and well-protected so there was ZERO damage to the slats; the installation using circular saw, jig saw, and drill was easy, just like YouTube described. I was worried that cutting the slats would cause splintering, but painter's tape prevented that. I shopped around for two months looking at various companies and wood slats. This company stood out for their solid bamboo slats in 1 foot wide panels from California. The company's attention to detail and superb customer service only made the experience so much more satisfying. But the best part was the final result: the slat panels completely transformed a cold, blank wall into a warm backdrop for our art and Frame TV.
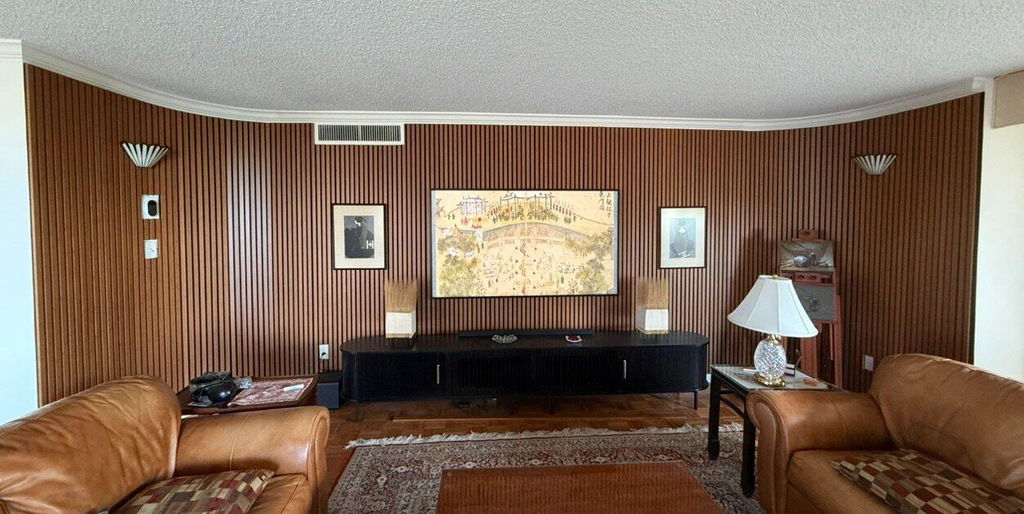
Slats.co makes such an amazing product! I cut and installed their wall panels in my home office in one day and it completely transformed my office into a quiet, warm, inviting, and professional workspace. I cannot say enough about this amazing product! Thank you Slats.co!!
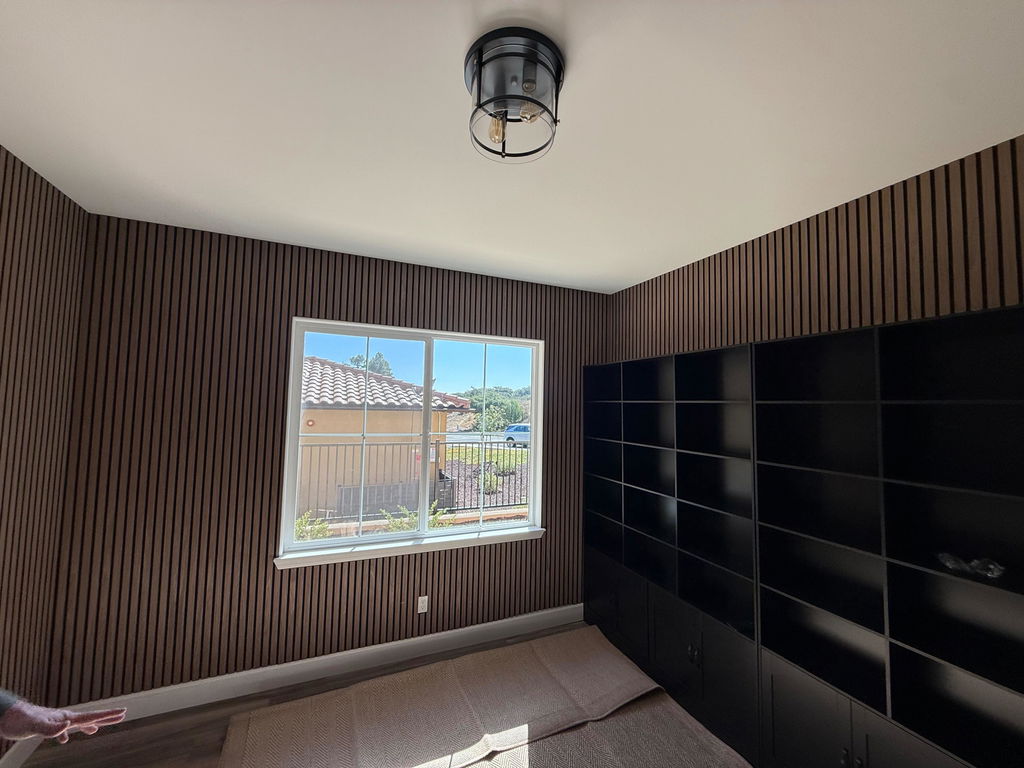
Felt backing and the slats itself are good material. I ordered 3 boxes, out of which 1 had stapled slats on felt while other 2 were glued. The staples one became loose at few points and cutting them was difficult as loose pieces came out. I had to glue them back. I believe they updated the process and now glueing them on the felt which is much better. I would recommend getting the glued on panels instead of staples.
Lite version looks good but I wish they made regular version for long lengths too. Overall, I am happy how they look on the wall - Get the truewood!
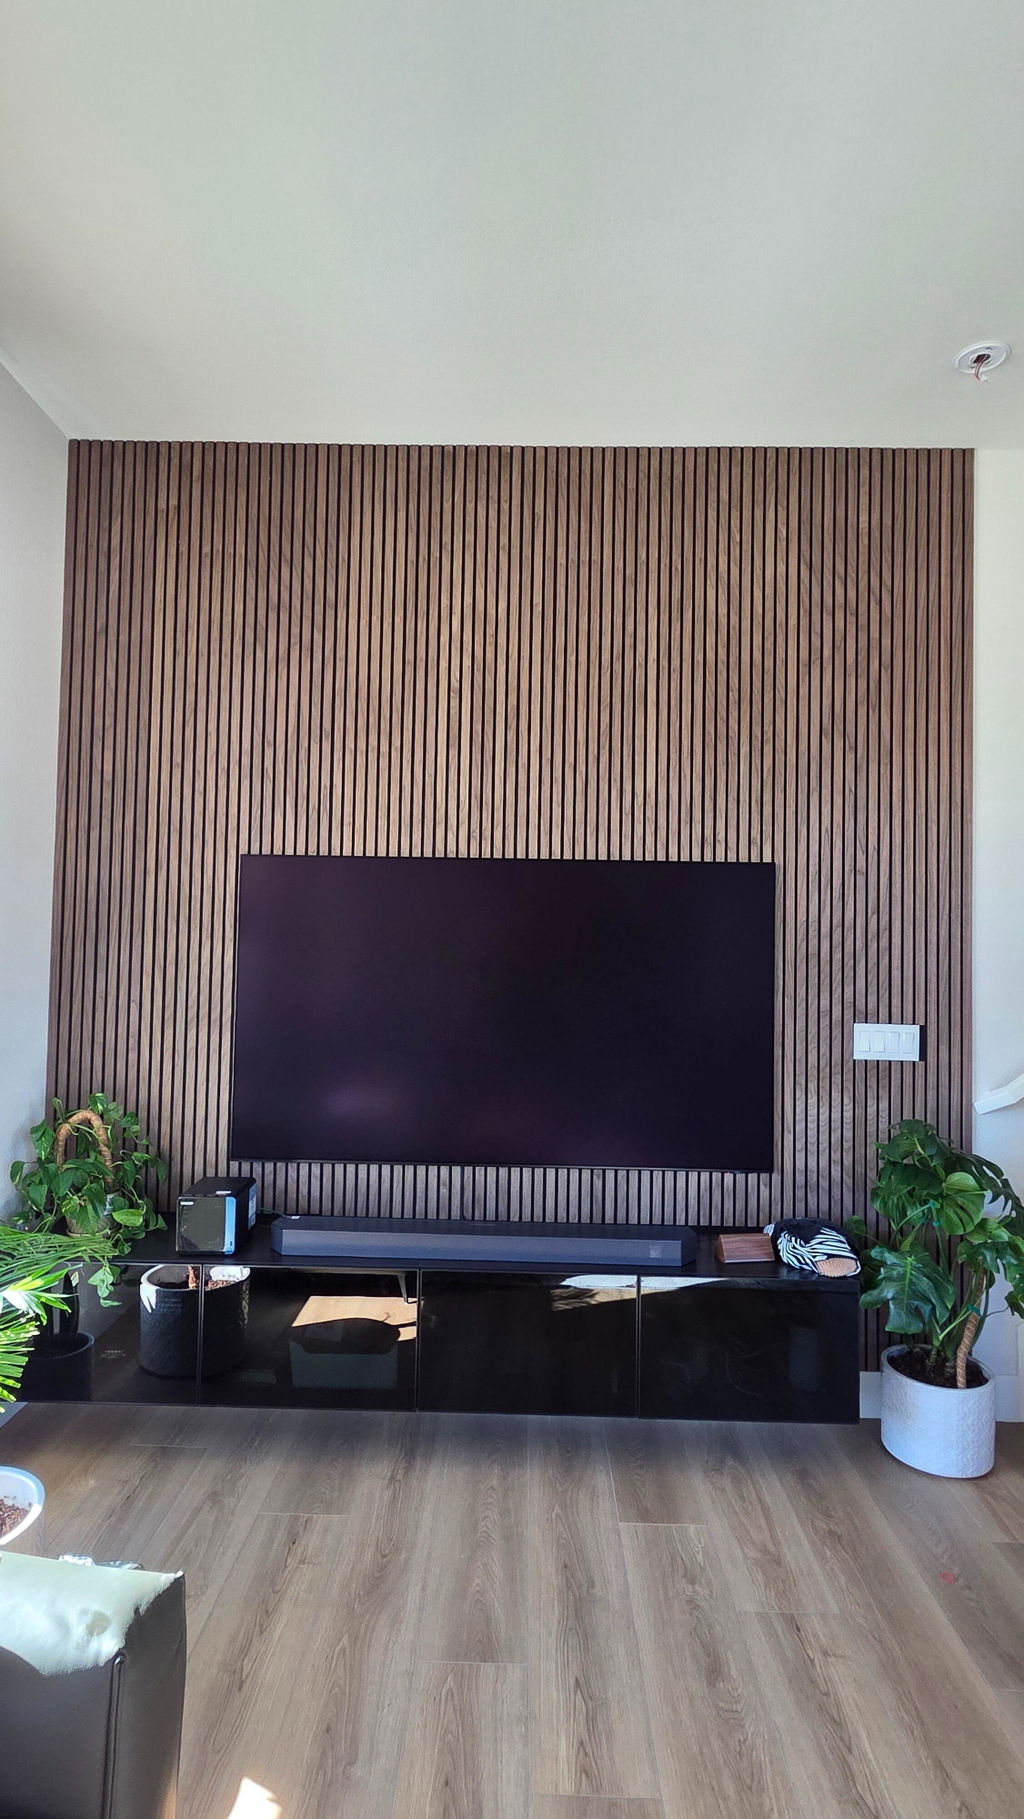
VERY happy with this purchase! Excellent product quality, easy installation, and superb customer service! The wood has dimension to it and looks great, especially in a room with a lot of natural light. Highly recommend!
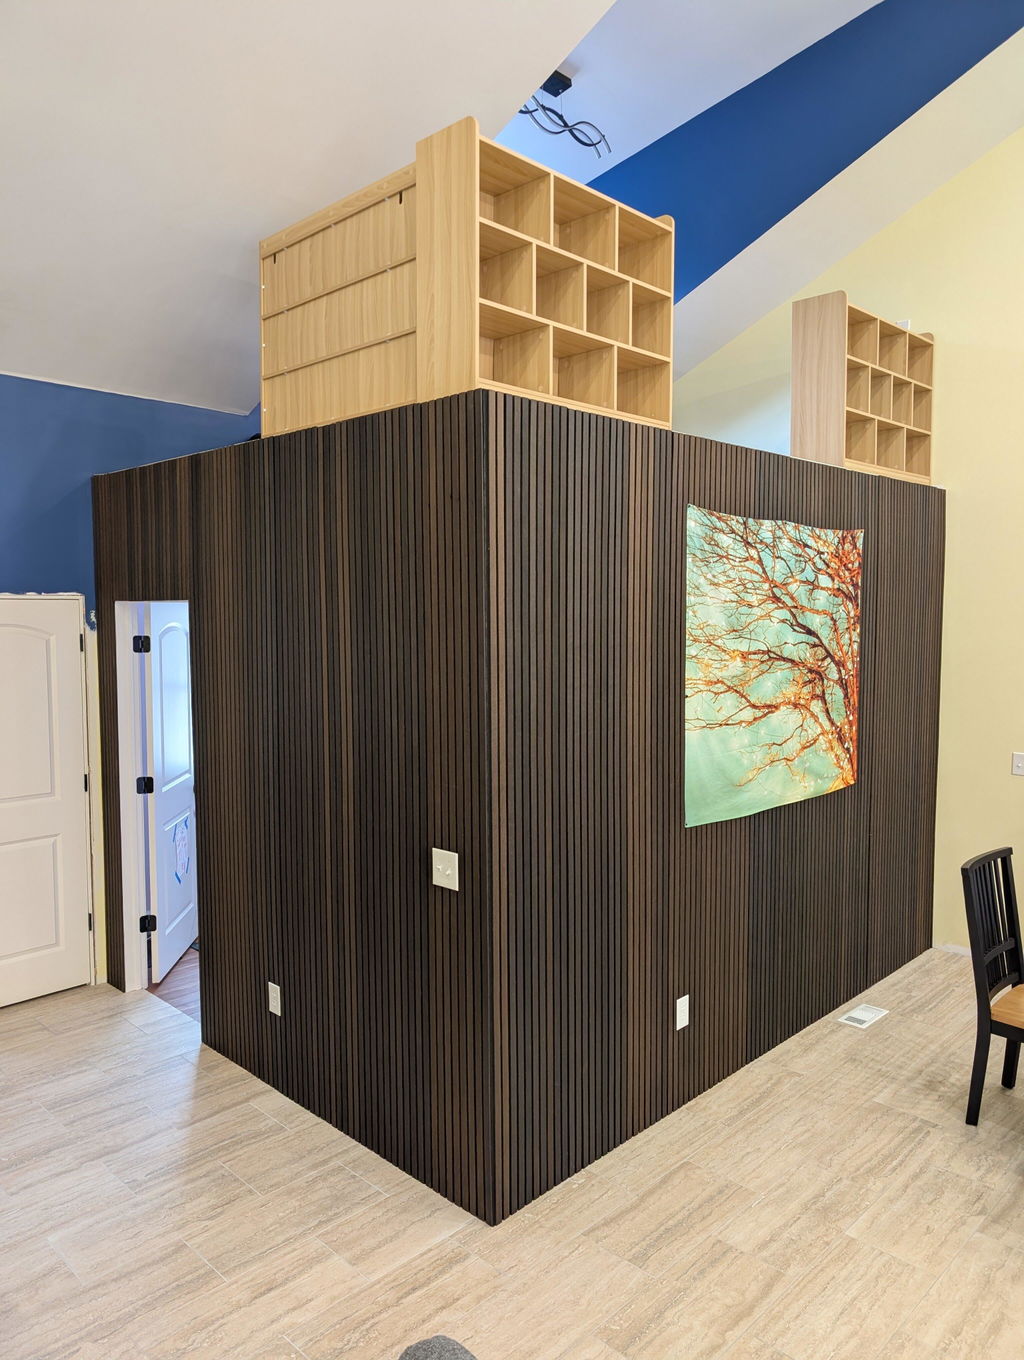
We had a great paper white room hat needed a feature wall to make it pop. So after a ton of research, we figured we needed the Ultralight Walnut version, and we are so glad we did. We are so addicted to the outcome that we have identified two more rooms/walls to do the same, and we ordered 5 more boxes!
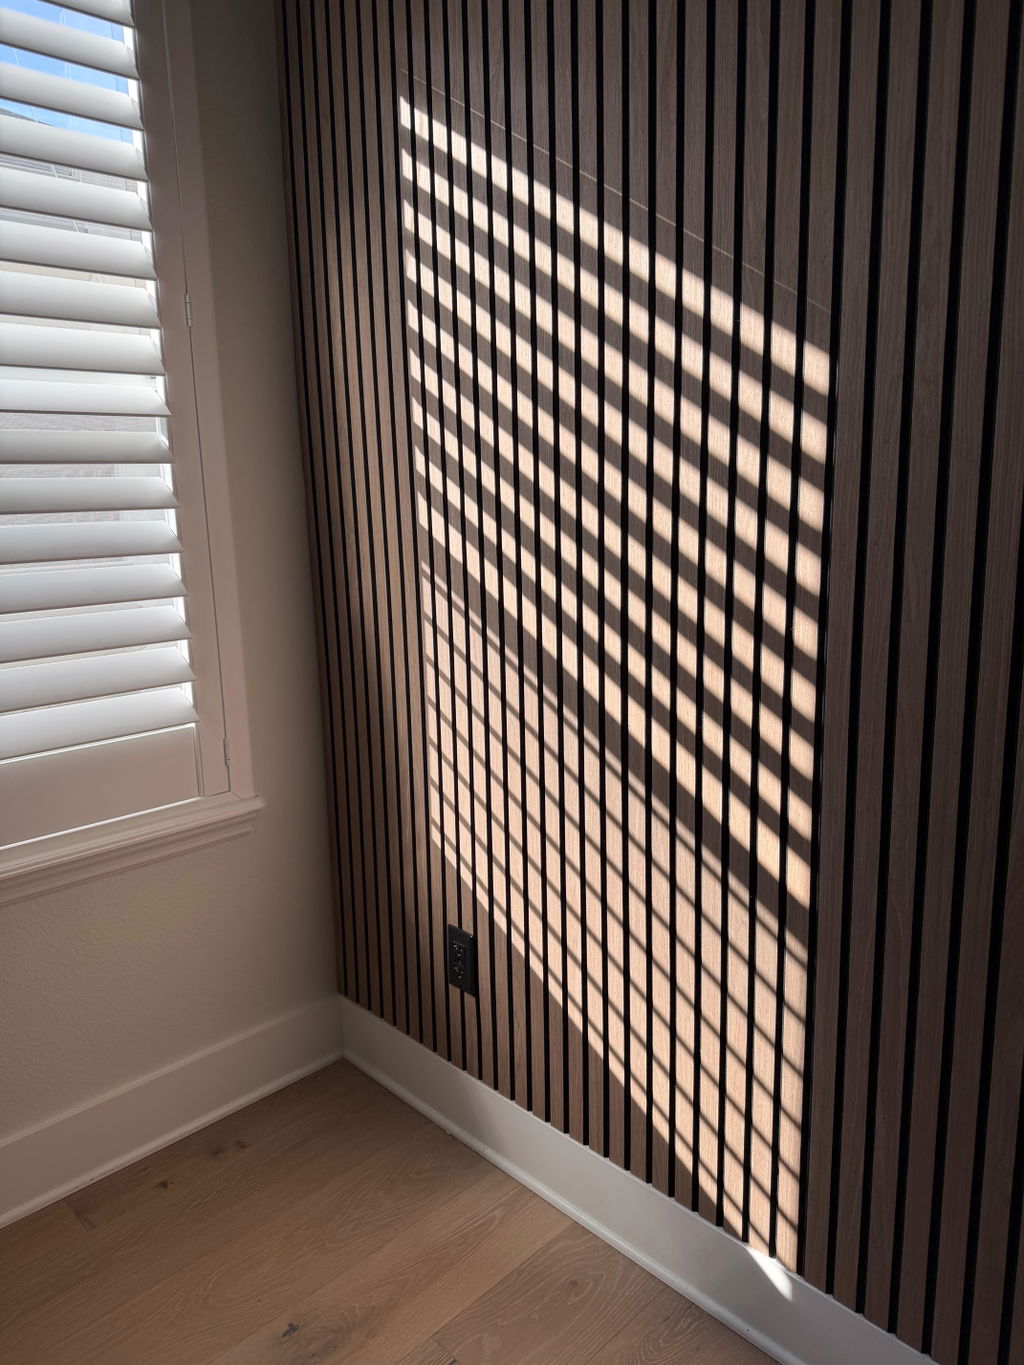
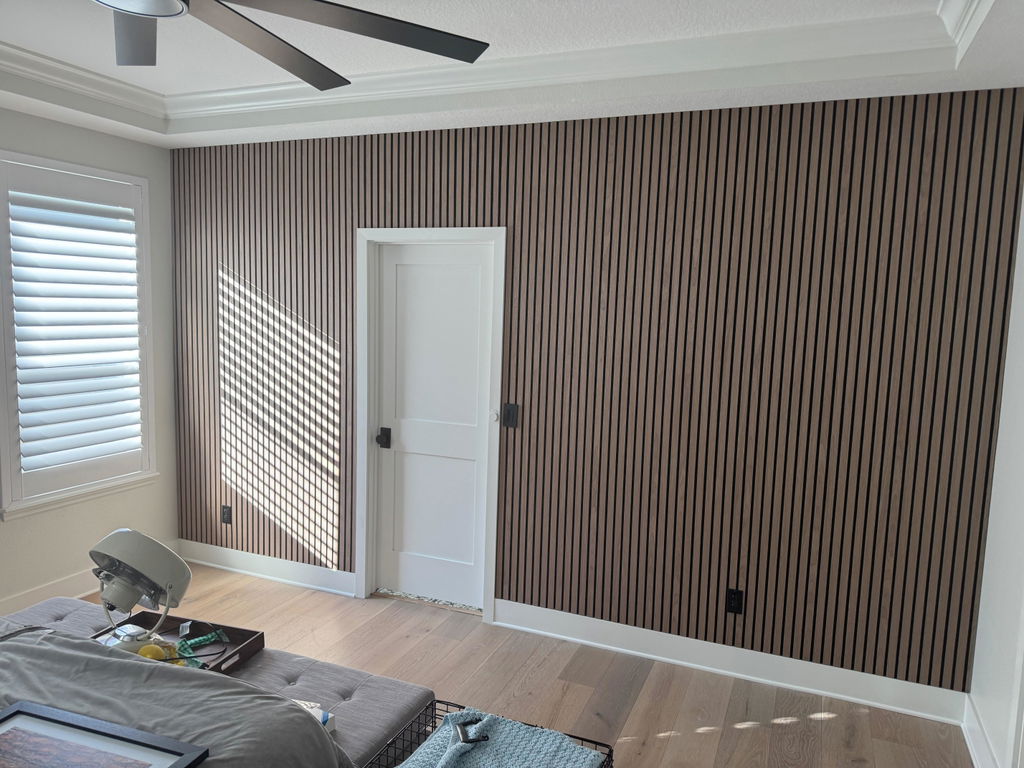
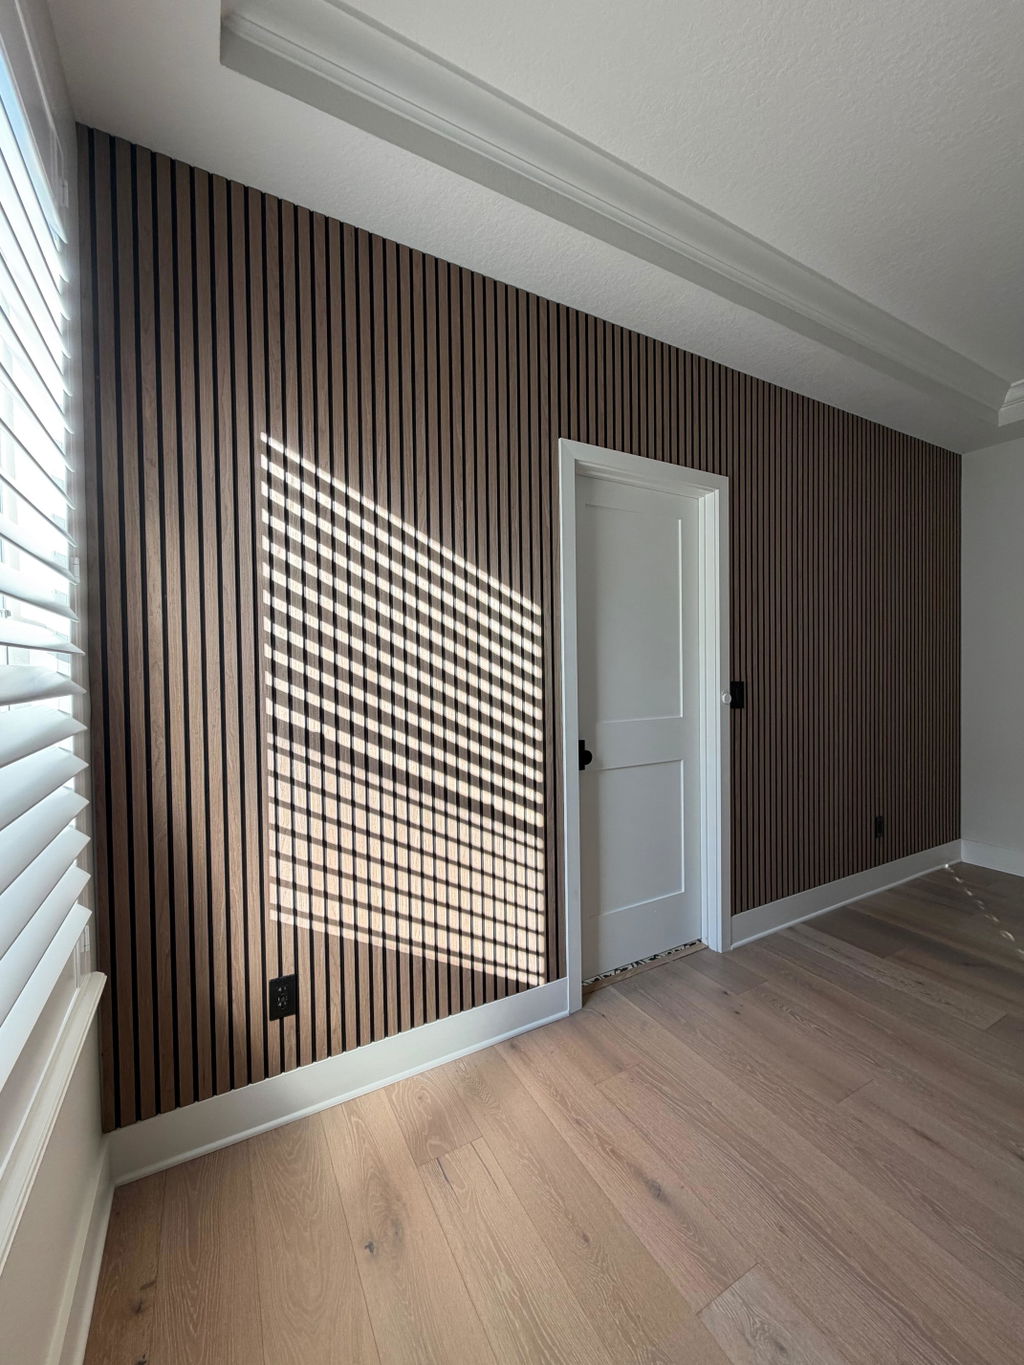
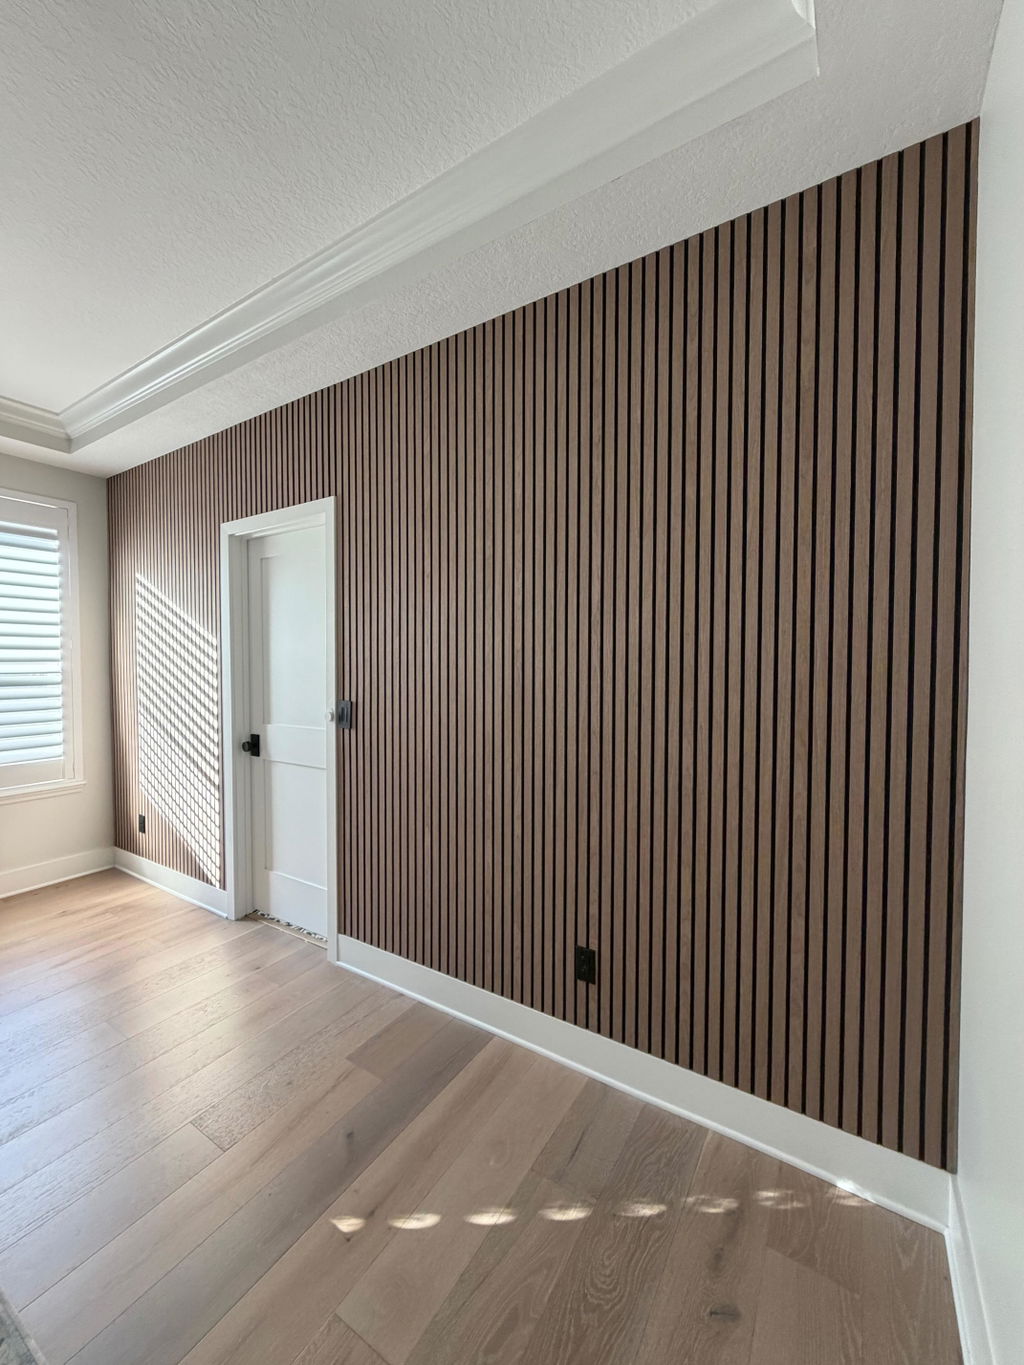
Overall I am happy with the new slats. The veneer is extremely thin and I had to be careful not to chip it simply handling them during cutting and install. They did cut well on my table saw. They look great installed, but I'm not expecting years of durability. If the veneer was even a 16th of an inch, I'd give them 5 stars.
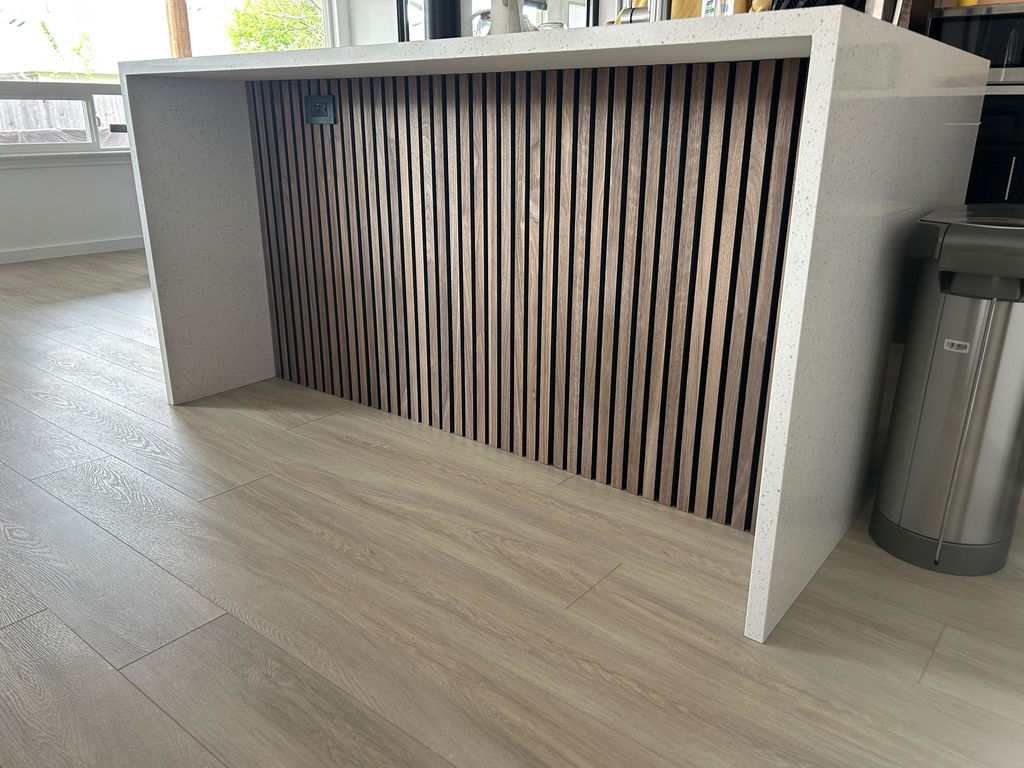
These were just what I was imagining my plain-walled office space needed. Having virtual meetings with an empty white space behind me was getting old and I didn't want to just hang shelves. Enter Slats and I now have the visual interest I needed (with the help of a couple framed pictures). Perfect in every way!
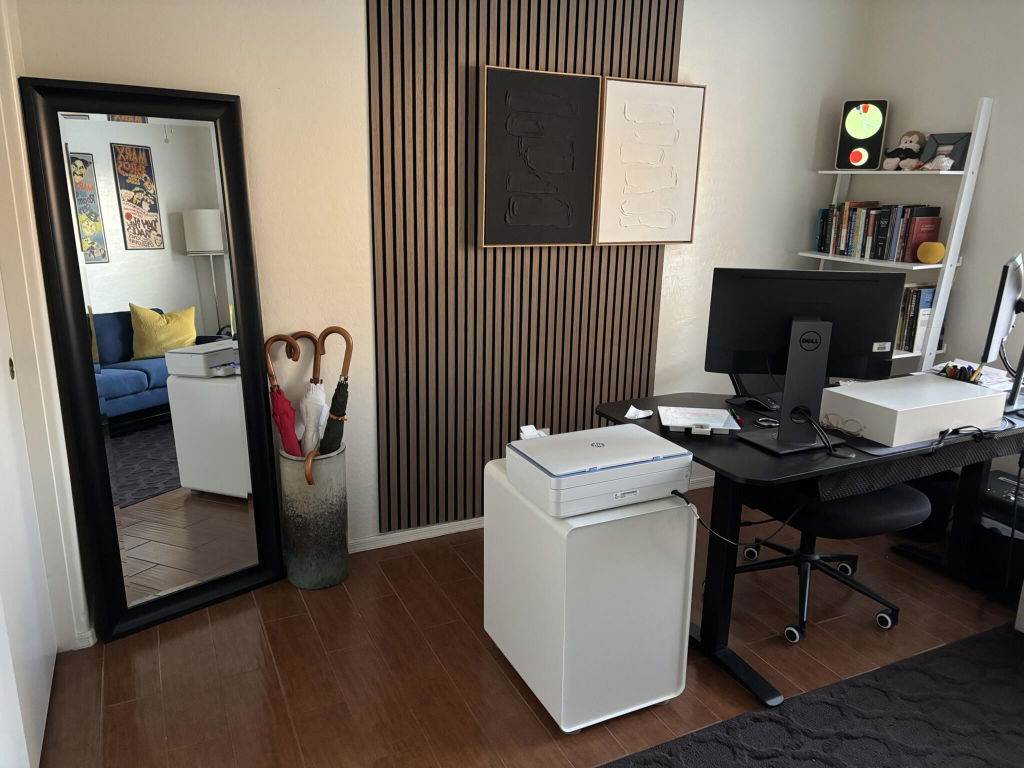
I had a wall that was a little boring and the room on the other side, sometimes complained about noise. It was easy to cover the entire wall with these, and I just used a box cutter, ruler, and finishing nails.
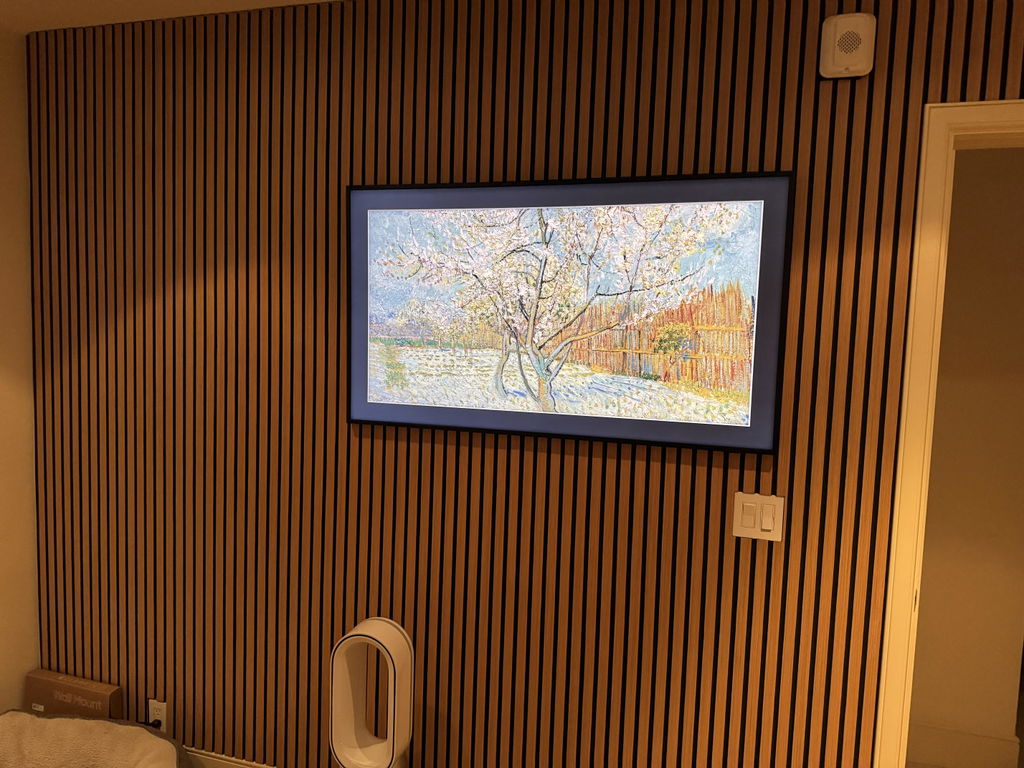
They look beautiful and work well at damping sound. Shipping was quick, and the product was nicely packaged.
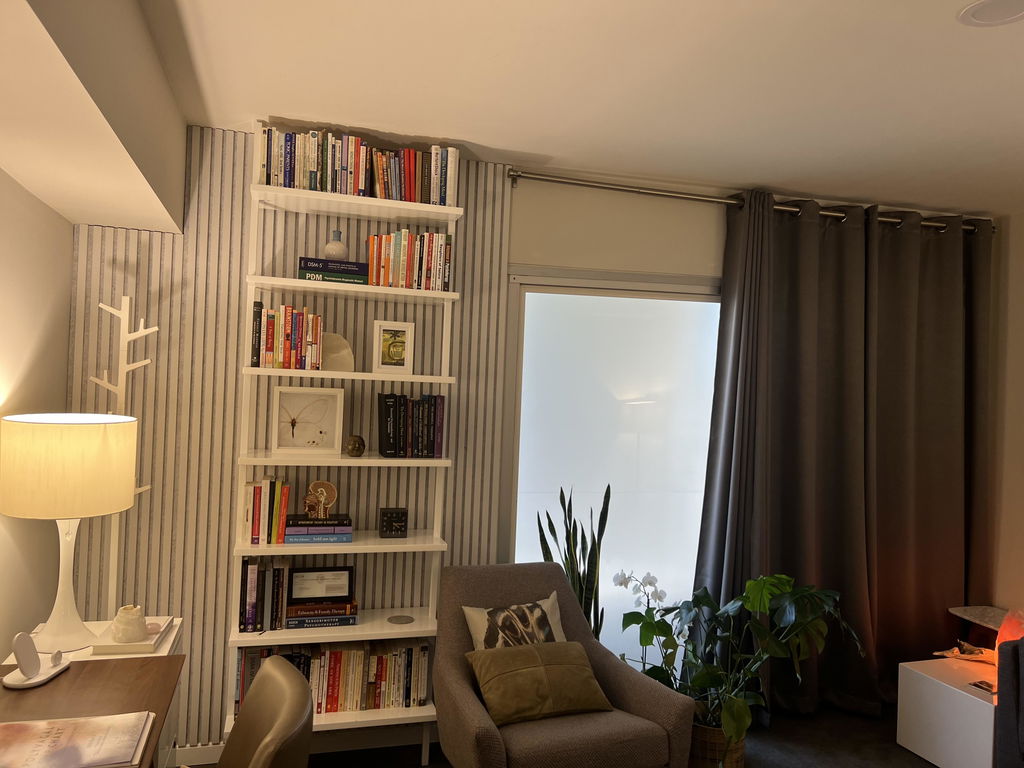
Fantastic product!
Beautiful real solid Walnut hardwood. Surface feels smooth and solid. Natural minor warping, but not a problem after glued and mounted to wall.
Super nice! Just what I was hoping for and they look really classy. The black felt and gray oak is a great combo. These are perfect for our .5" thick trim.
Pleased with the quality and the ease of installation with the product.
Slats has been very helpful with a miss order on my part and resolved my order.
It’s been installed and looks great.
Dark Smoke Oak TrueWood Lite 3-Sided Veneer Acoustic Slat Panel
Very easy to put up and looks amazing
Beautiful wood ! Easy to install only thing that i dislike is the slats come loose. Needsmore staples and maybe glue to hold the slats on . I worked around that prby gluing and tapping the slats that came off.
Could not be happier with American Walnut TrueWood Lite 3-Sided Veneer Acoustic Slat Panel. The order arrived within days. It is a high quality product. The slates went up easily and added a rich look to an otherwise plain room. Will definitely order again for future projects!
American Walnut TrueWood Lite 3-Sided Veneer Acoustic Slat Panel is a great product. Easy install with construction adhesive. Used my trac saw to cut the slats and it worked great both horizontal and vertical. Staining was easy due to the three-sided veneer. Matches perfectly to my black walnut dining table. Slatsco offered great customer service. Can't wait to install some of their other great products.
I absolutely love these slats! The quality is fantastic, and they look beautiful once installed. They’re also surprisingly easy to work with — easy to cut to size, and you can attach them to the wall using adhesive or nails.
One tip: be a little careful when taking them out of the box and handling them before installation, as you don’t want to accidentally bend them.
What really stood out to me was the customer service. Truly A+++! They are incredibly kind, genuine, helpful, and very fast to respond. You can really tell there are real people behind this company who care about their customers.
I also love supporting a small, family-owned business, especially when both the product and service are this good. I would absolutely purchase from them again and highly recommend them to anyone considering these slats!
Great quality product, uniform and clean all around.
ULTRALIGHT Flexible Lightweight White Oak Acoustic Wood Slat Wall Panels with Beige Felt Backing
Very easy to use. Fast shipping. A great easy upgrade to any room!
Took for ever to get them (3 months) even though it says 5 to 7 days shiping
Overpriced. Bed material
They scratch and broke while we were profesionaly installed
Do not rekomend
If posible I will give them -5 ⭐️
Thank you for taking the time to share your feedback — we're truly sorry your experience didn't meet expectations.
Your order was for a pre-order item, which we communicated at the time of purchase and followed up on directly. Our 5-7 day shipping applies to in-stock products, and we completely understand how frustrating the wait can be when you're eager to get your project started.
Throughout your order we did our best to keep communication open and transparent — we shipped complimentary samples via expedited shipping so you could see the product while you waited. We even shipped you another box of the panels at no additional cost. We truly tried our best to make things right.
We genuinely want every customer to have a great experience, and we're sorry we fell short for you. If there's anything else we can do, please let us know! We are truly open to hearing from you.
Very light weight and easy to install. A great product. I did order the $30 sample pack and it said you would get 30. Off your order but I didn’t see anyway to get the 30 taken off on my order.
Lovely well packaged panels that added pizazz to my accent wall.